Rainbow Dust Metallic Food Paint Tips and Tricks
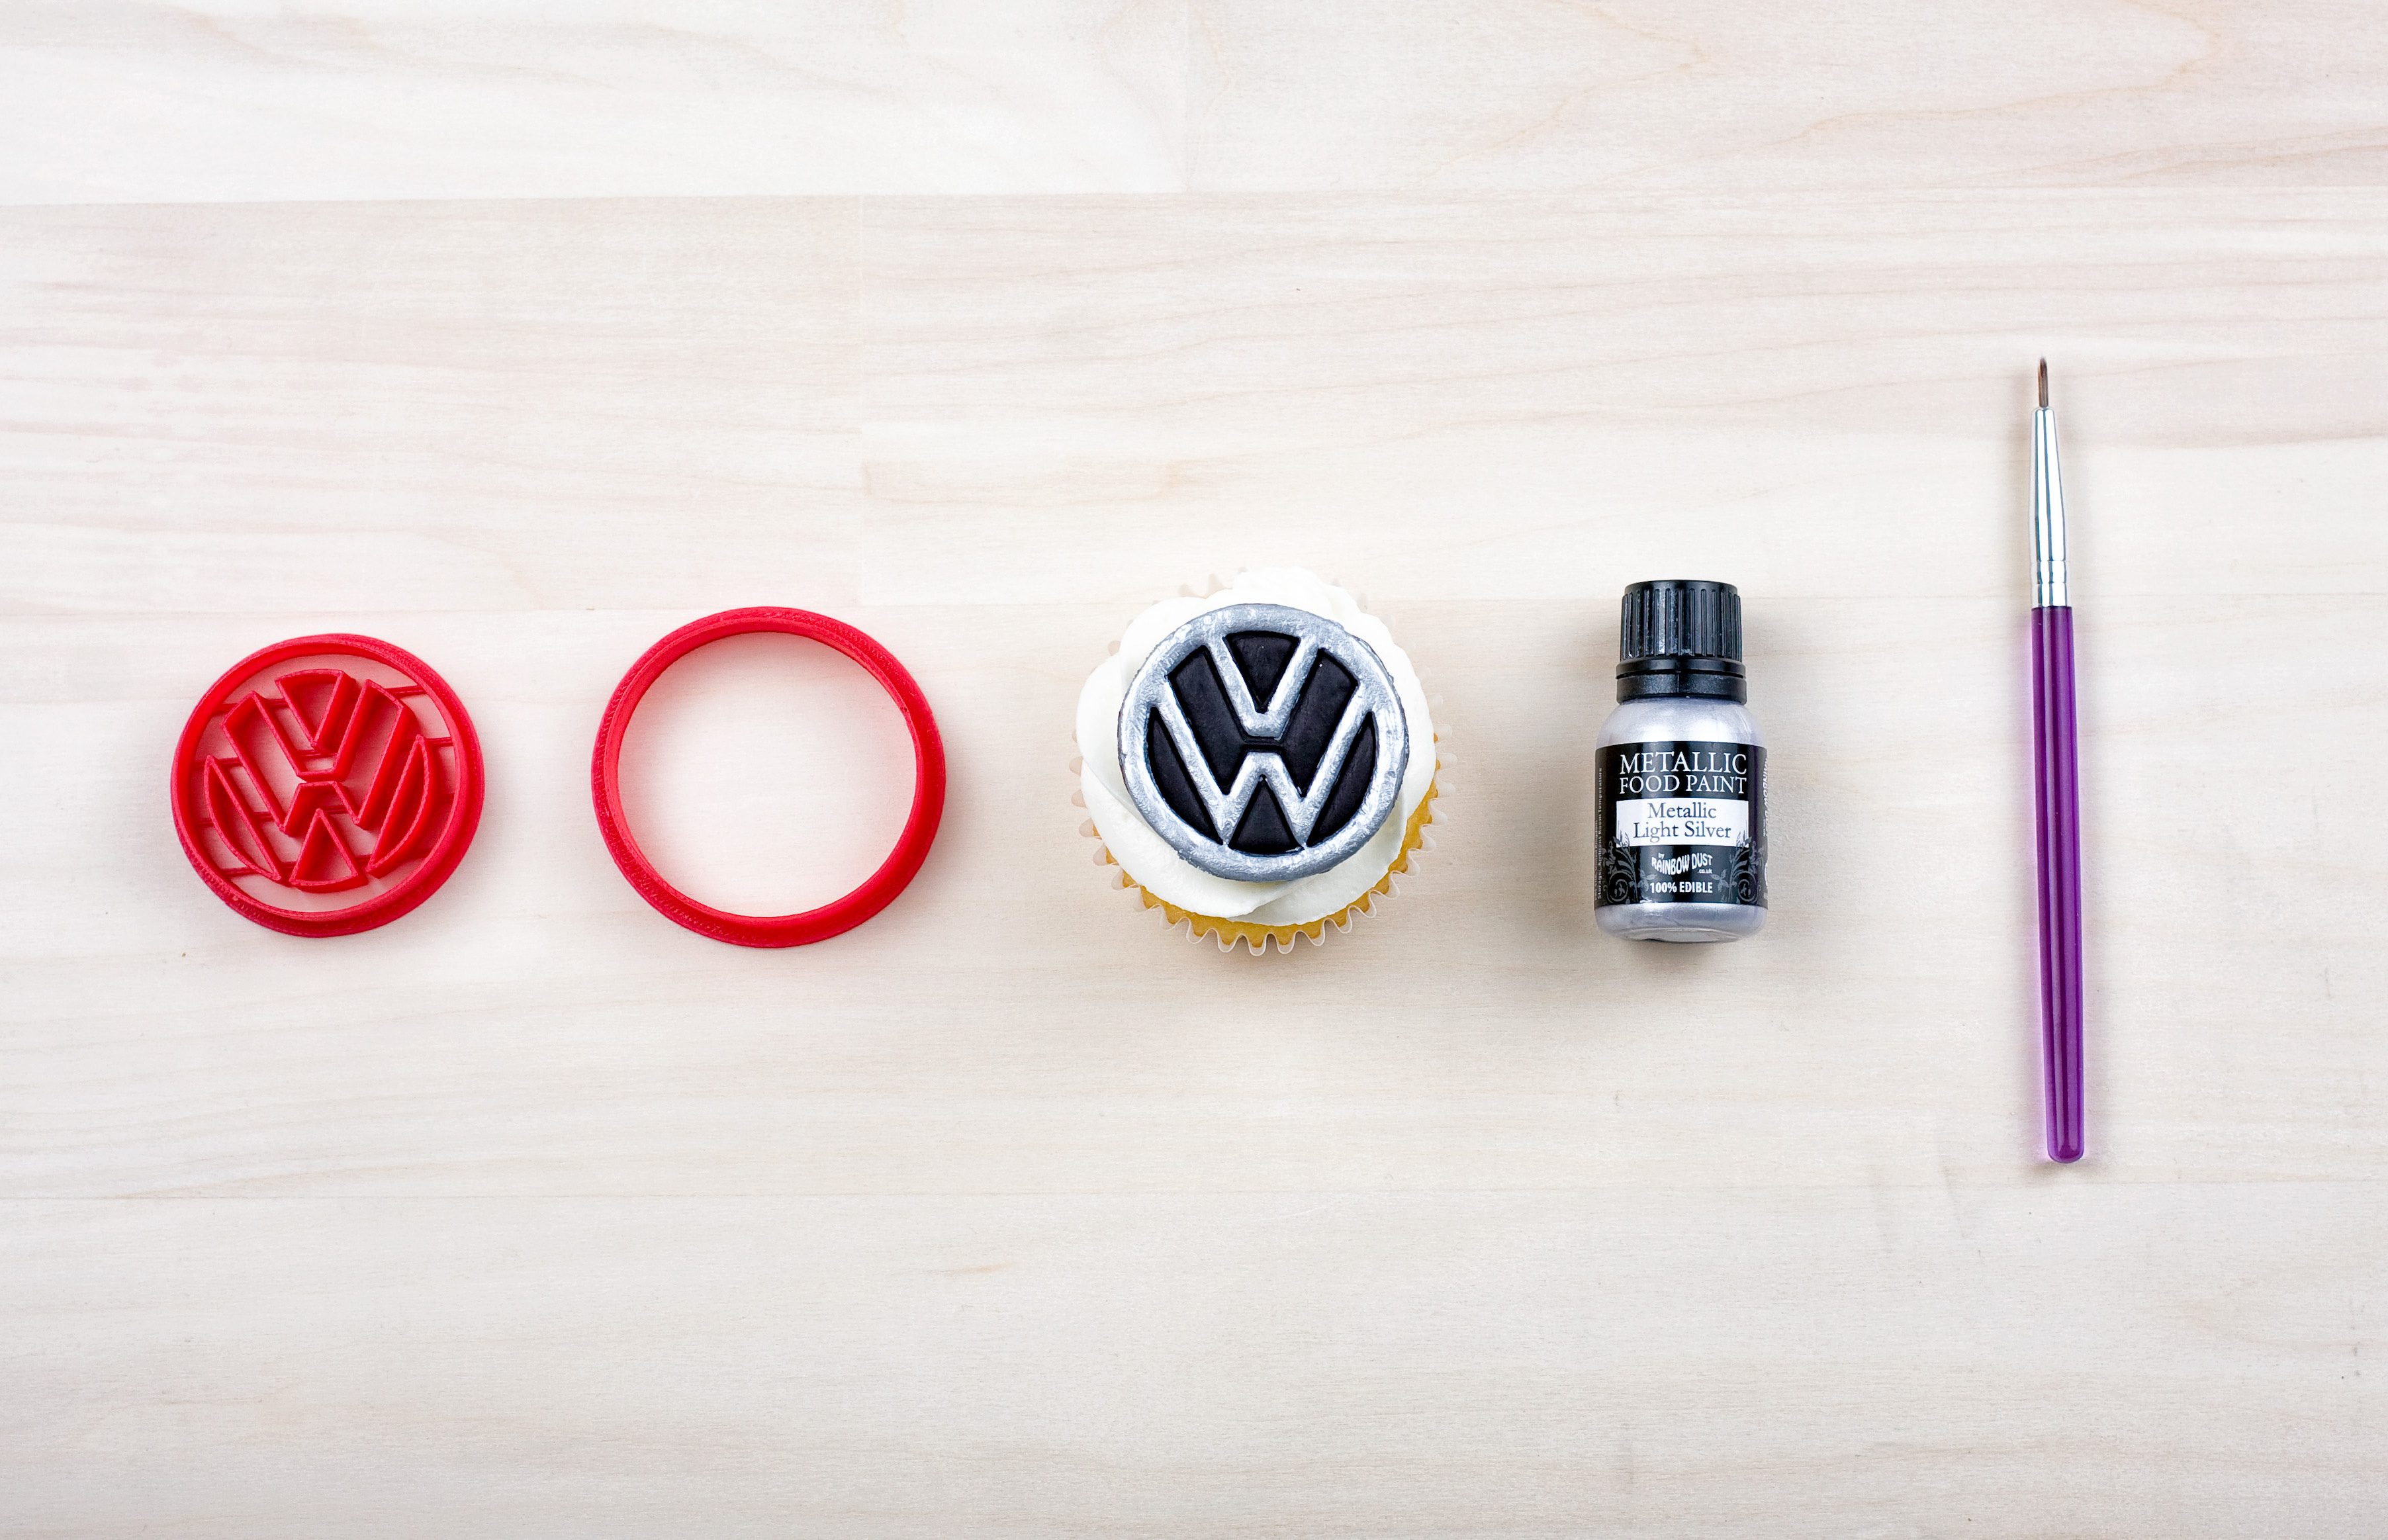
Rainbow Dust metallic food paint tips and tricks is nothing I ever thought I’d be writing about. Metallic food paint is a new dimension to cake decorating I just discovered. I found it as a side note when watching some baking videos on youtube. A small piece of fondant was being painted as an accent to a much larger design with bronze Rainbow Dust metallic food paint. It caught my attention as my husband’s orders for Volkswagen Cupcakes had been on my mind for years already. I had the cookie cutter and idea already, but was procrastinating as I was in despair over how to achieve the metallic look. This stuff came out of nowhere when I least expected it and dazzled beyond belief!
I must have replayed those few seconds of the video a hundred times. If it was a fave song on a new CD I would have made it start skipping, and I’ve dated myself now. Moving on….
Learning more about this metallic food paint and how I could get my hands on some was the mission. Trying to research it proved a challenge. Not many results came from googling this amazing new item. There were plenty of shopping results, but not many on how to use it. Metallic food paint tips and tricks was proving hard to find. Going into this blind was not fun, I like to know all the details, suggestions, reviews, everything before making decisions. The limited information made me nuts. Finally, just be slower became the mantra as usual. Here goes nothing, commit to buy.
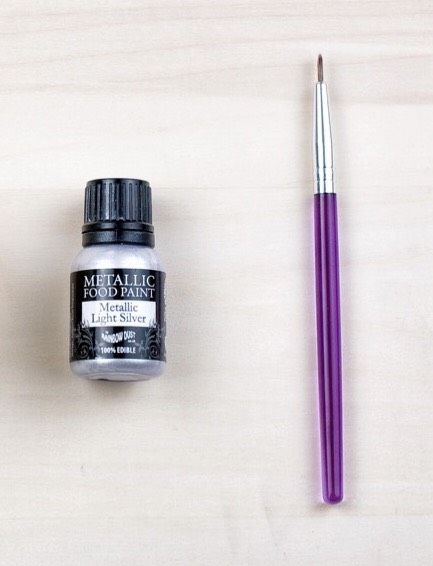
When it arrived it was thick, smooth and liquid as expected. Off to a good start. Time to test. Here are some of my DIY Rainbow Dust metallic food paint tips and tricks:
- shake it up, and shake it often
- apply thin coats with food safe brushes
- use a small corner of paper towel to remove any mistakes immediately
- allow to dry between coats at least 1 hour
- be patient and do the whole hour–it will ripple and smudge if you try to rush. I’d compare it to painting your nails. If you put it on too thick or do the next coat too soon, it’s ruined.
- apply 3 coats
- remember to get the sides with each coat–this I neglected a bit after the first coat
- dry completely before moving–overnight may be best
- if saving these, you can layer them in a container with wax paper
- try to handle as little as possible
There you have it. If you ever find the need for a metallic accent to your edibles, I hope my metallic food paint tips and tricks are helpful. Let me know what works for you. These tiny bottles do go a long way even with multiple coats as described. I can’t wait to use it again and see what other beautiful confections come from the use of Rainbow Dust Metallic Food Paint.
What will you use it for?