Olive Bread 2 Ways
Olive Bread came into my life like a beam of sunshine a few years ago. I came across this delicious invention from The Pioneer Woman on my YouTube feed and just knew I had to make it. Once I made it, I knew the recipe was in fact deliciously perfect, and perfectly simple to make.
You can find the video I watched here. It is one of those flash bird’s eye view recipe videos, which I find oddly satisfying whether or not the food makes me drool. This recipe will make you drool though, so be ready. What’s not to love about bread and olives anyway?
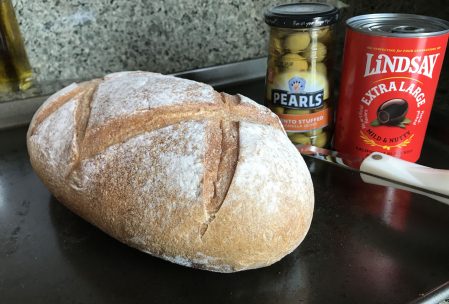
This cheesey olive bread recipe has a few regular ingredients that combine perfectly to make a warm gooey bead that is perfect as a starter or even a side dish. The star ingredient has to be the bread here. You want a nice crusted bread on the outside, and a soft pillowy bread on the inside. The French bread loaves from the bakery at Costco are the perfect combination of those bread traits. Better yet, they come in a 2-pack for somewhere around $6.

Cheesey Olive Bread a la The Pioneer Woman
- 1 loaf french bread
- 1 pound shredded monterey jack cheese, fresh shredded is best, more on that later
- 8 oz black olives roughly chopped, I like to use an egg slicer–see below
- 8 oz green olives roughly chopped
- 1/2 cup mayonnaise (just go with it, I cannot stand mayo myself, and still love this recipe)
- 1 stick of butter at room temperature
- 1 tablespoon dried chives (or fresh green onion if you have it)

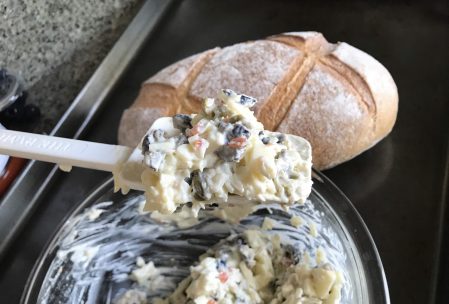
Slice bread loaf in half lengthwise. Mix all other ingredients together in a large bowl until well mixed. Spread mixture onto bread all the way to the very edges. Bake for 15-20 minutes at 350 degrees. Allow to cool for a few minutes before slicing into wedges. Enjoy!
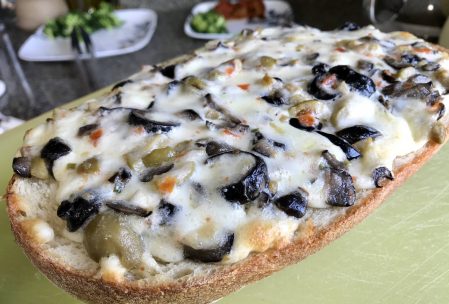
This night I served the olive bread in its originally intended form alongside some meatballs in marinara sauce and some broccoli. We decided to forego any pasta with such a delicious and carby side dish. The kids, who are avid lovers of any noodles, didn’t even miss them.
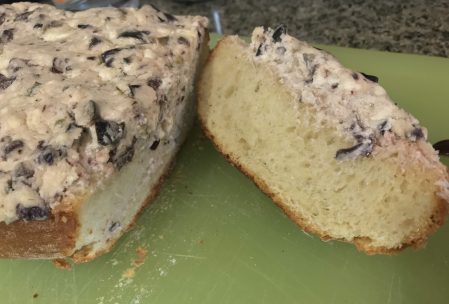
Now, this recipe is very nearly perfect, but I did struggle with one aspect of it. The way the bread is prepared whole and sliced after baking, does lend it to being a little awkward. My husband with his engineering mind thought it would be better to slice before baking next time, so that’s what we decided to do. Testing his idea had to be done. You don’t have to twist my arm to get me to make even more of this olive bread. Yum!
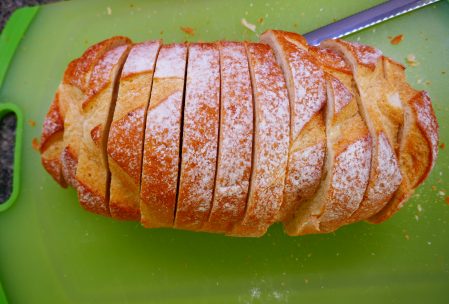

We like to call these olive toasts now. It was an amazingly simpler approach to preparing, serving, and eating this delicious bread. Again, all credit to my mindful husband for reinventing these. With the strong resemblance to a crostini, I imagine this could even be further adapted to small baguette rounds and make a perfect holiday party platter out of them. …. and I might have just decided what I’ll be bringing to the holiday potluck this year. ; )
As the title of this recipe blog promised, we need to deliver a second olive bread recipe here. Don’t worry, we really do have 2 ways to make this olive bread, not just the wedges/toasts evolution we just went through. Let’s get to it!
I want to preface this next recipe with the fact that I love olives. They are the first thing on my charcuterie board, and the first thing that needs refilled. (Because I ate them all before I finished filling the rest of the platter.) Confessions aside, I love all olives and none more than Greek or Kalamata olives. There is something so tangy, briny, salty, and pungent about these olives that just hooks me. Greek food is in fact my favorite food genre so it just fits. With olives being so prominent in Greek flavors, and this olive bread being so delicious, I thought I could reinvent it a bit more with a Greek inspired flare.
That’s right, I used the above recipe and my love of Greek olives and food to inspire a Greek Olive Toast. You’re welcome.
JBS’s Greek Olive Toast
- 1 loaf French bread sliced
- 8 oz brick cream cheese at room temperature
- 8 oz feta cheese crumbles
- 8 oz black olives roughly chopped, I like to use an egg slicer–see above
- 8 oz pitted Greek/Kalamata olives roughly chopped
- 1/2 cup mayonnaise (like I said before, just go with it, I cannot stand mayo myself, and love this recipe)
- 1 stick butter at room temperature
- 1 tablespoon dried chives (or fresh green onion if you have it)
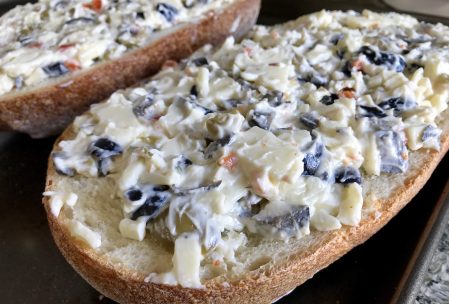
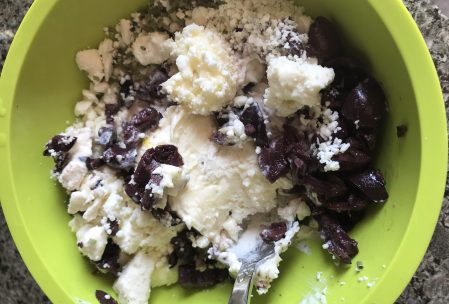
Slice bread loaf in 3/4 inch slices. Drain all olives well. Draining the Greek olives especially because too much of their brine will turn the mixture pinkish, which doesn’t effect the taste, but it looks … interesting. Mix all ingredients together in a large bowl until well mixed. Spread mixture onto slices of bread all the way to the very edges. Bake for 15-20 minutes at 350 degrees. Allow to cool for a few minutes. Serve and enjoy!
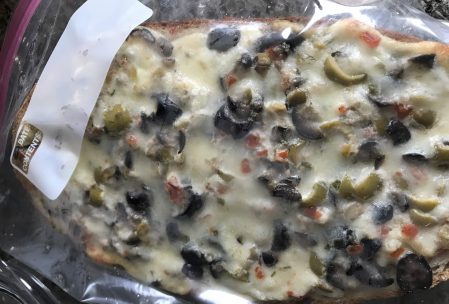
As you can see from the photos, I created and tested this recipe before the evolution of slicing it into toast first, but you get the idea. Apologies for not having a better quality photo of this Greek Olive Toast, but it was gone in a flash. We were so excited to taste test this recipe creation, we got a little carried away and ate the whole thing. If you love Greek inspired dishes, you have to make this recipe. Pair with a Greek salad or pita night (which is a fun take on Taco night we do in my house quite often) and you have yourself a winning meal.
If there are leftovers, these loaves or toast slices freeze beautifully too. Simply wrap in freezer bags and store in the freezer. I would say they are best if eaten within 2 months to avoid that freezer taste that can get into bread. Cook from frozen the same way as fresh, checking the center for meltiness and add a couple more minutes if needed.
That’s all the olive bread for today folks, but this blog is not yet complete without talking about my new kitchenaid grating attachment. I’ve had the stand mixer for years. As coveted as I know they are in many a household, I never used mine too much, until more recently. This year I was surprised with some attachments as a housewarming gift and I don’t know how I lived before them. One attachment I received was the slicer/shredder attachment. It is undeniable that a freshly shredded block of cheese is far better than the pre-shredded bags. No shade to taking help from the store, lord knows that’s how I do it the majority of the time. However, for those times of such delicious recipes (like olive bread) you go the extra mile.
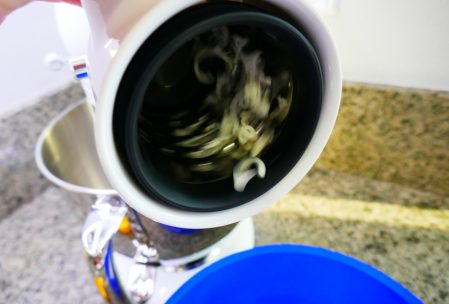
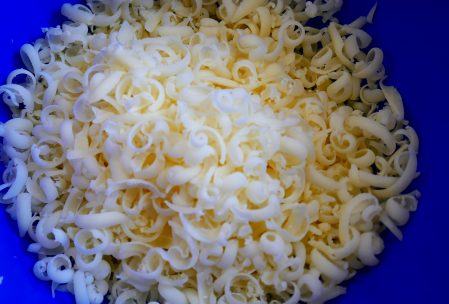
For, gosh, 15 years (yikes I sound old now) I’ve been using a box grater and grating cheese and other foods by hand. When I received this attachment I was skeptical with a ‘why reinvent the wheel’ type attitude. Then I used it. Goodness. Where has this been the past 15 years? And many extra thanks to my husband for buying me this. Hello, my eyes are open now. It is so simple to use and truly makes quick, beautiful work of shredding. I wish the pictures did it justice, but just look at these delicate shreds of beautiful monterey jack.
There we are, Olive Bread 2 Ways with some extra cheesey content. I can’t wait to share more that I’m up to as 2019 winds down. Hopefully I can post more olive bread soon when I make it for an upcoming holiday potluck.
What other types of olive dishes do you enjoy? Let us know! We would love to make and share more!