DIY Cardboard Headboard
That’s right! A headboard made out of cardboard. I saw other posts like this on Pinterest that looked so simple and affordable. It piqued my interest enough to give it a shot and truth be told, it all cost less than $20! No major tools, time or experience needed.
I’ve wanted a specific headboard for over a year now. The price is the only thing that kept this statement piece of furniture out of my house. This stay at home mom has to be on a budget. While we do have the ability to splurge here and there, a $500 headboard was simply a daydream. It has been on my mind and in my face every time I watch my favorite YouTube channel. Still, the 500 buckaroos could not be compromised.
Our house is well put together with furniture we love and other decor. Our master bedroom though, way different story. It lacks any style, but captures the just moved out from mom and dad’s feel for sure. Furniture I’ve had since I was a kid and likewise with my husband. It is not a room to be proud of and I’m sick of it. I am almost 30 (yikes to that!) and my room is in sore need of a redesign. Well, any design really. And so I began to look for other headboards or DIY ideas. I stumbled across this post during a major wave of cyber surfing.
She Said $30 DIY Headboard.
Wait.
Really?
Read…scroll…read…scroll…looks legit to me.
I think I can do that.
As the Home Depot commercials say, Let’s Do This!
I decided to make one as practice first before diving into our own, so my lucky little daughter gets a nice needed upgrade for her room too.
Step 1
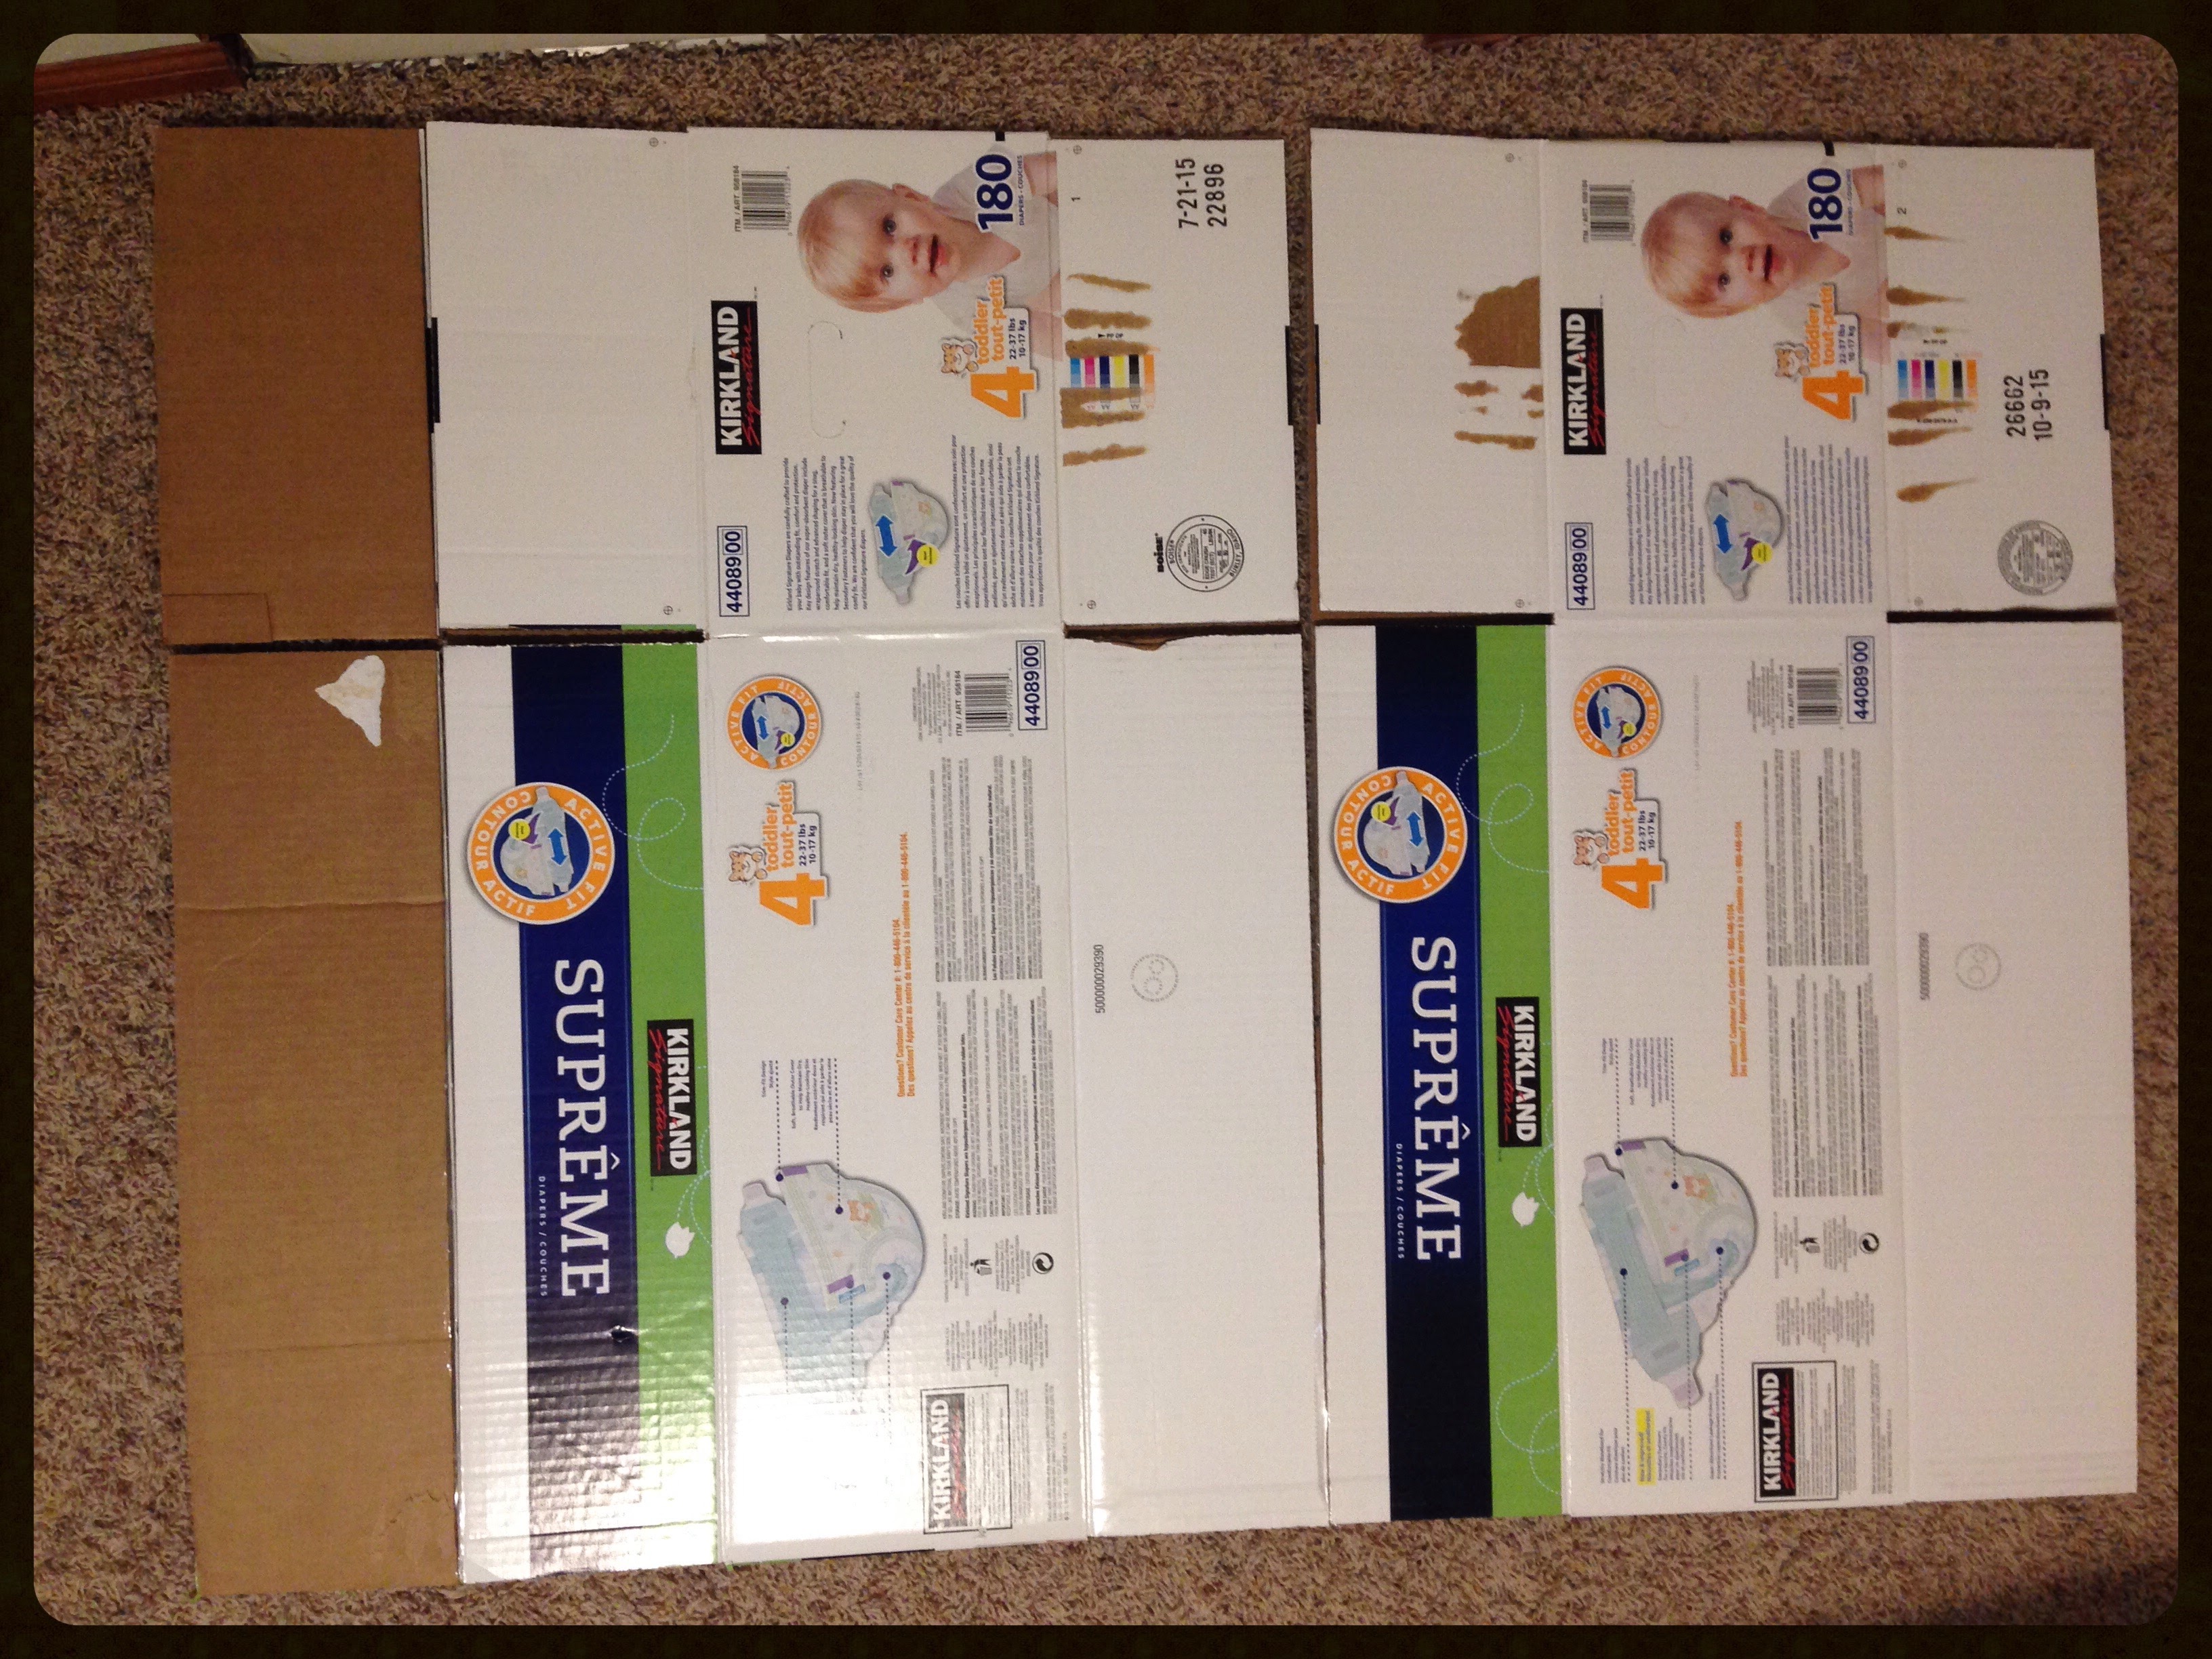
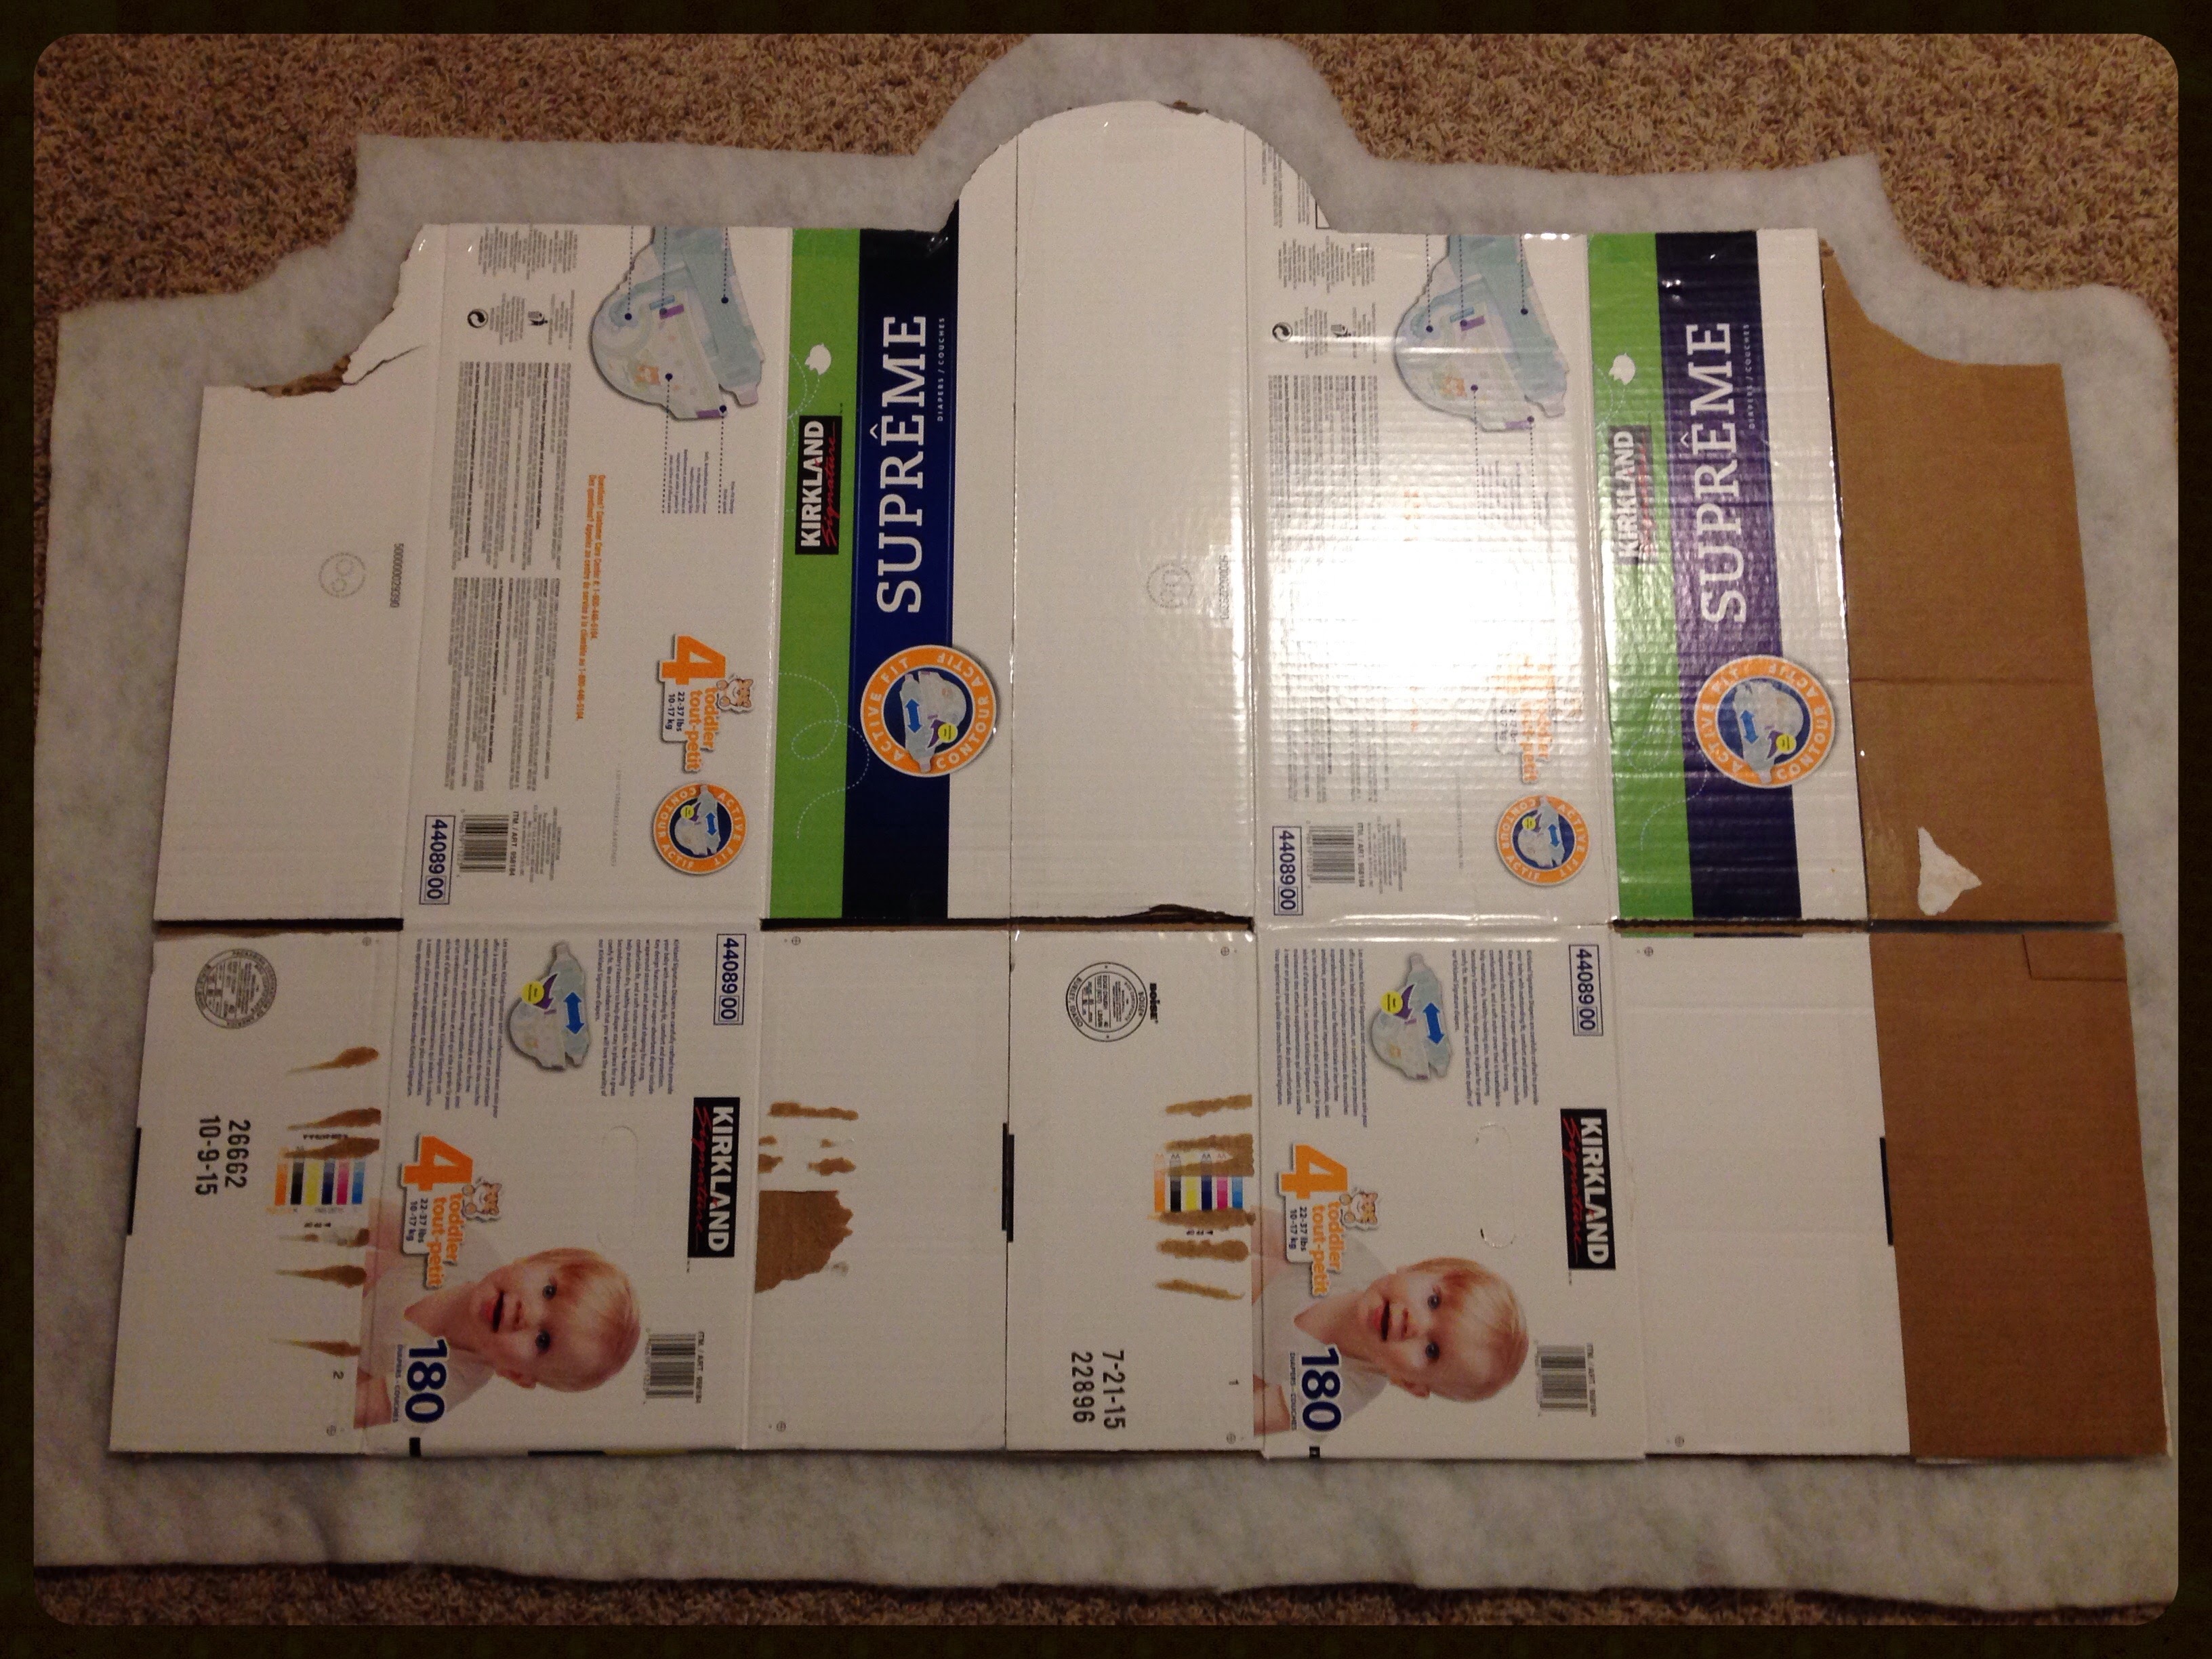
Find a large piece of cardboard. Big enough to fit the width of your bed and the height you desire.
I used 2 whole Costco diaper boxes and several inches from a third. I folded them flat leaving 2 layers of cardboard to be more sturdy.
Step 2
Use packing tape to secure all the cardboard into one piece.
See photo above.
Step 3
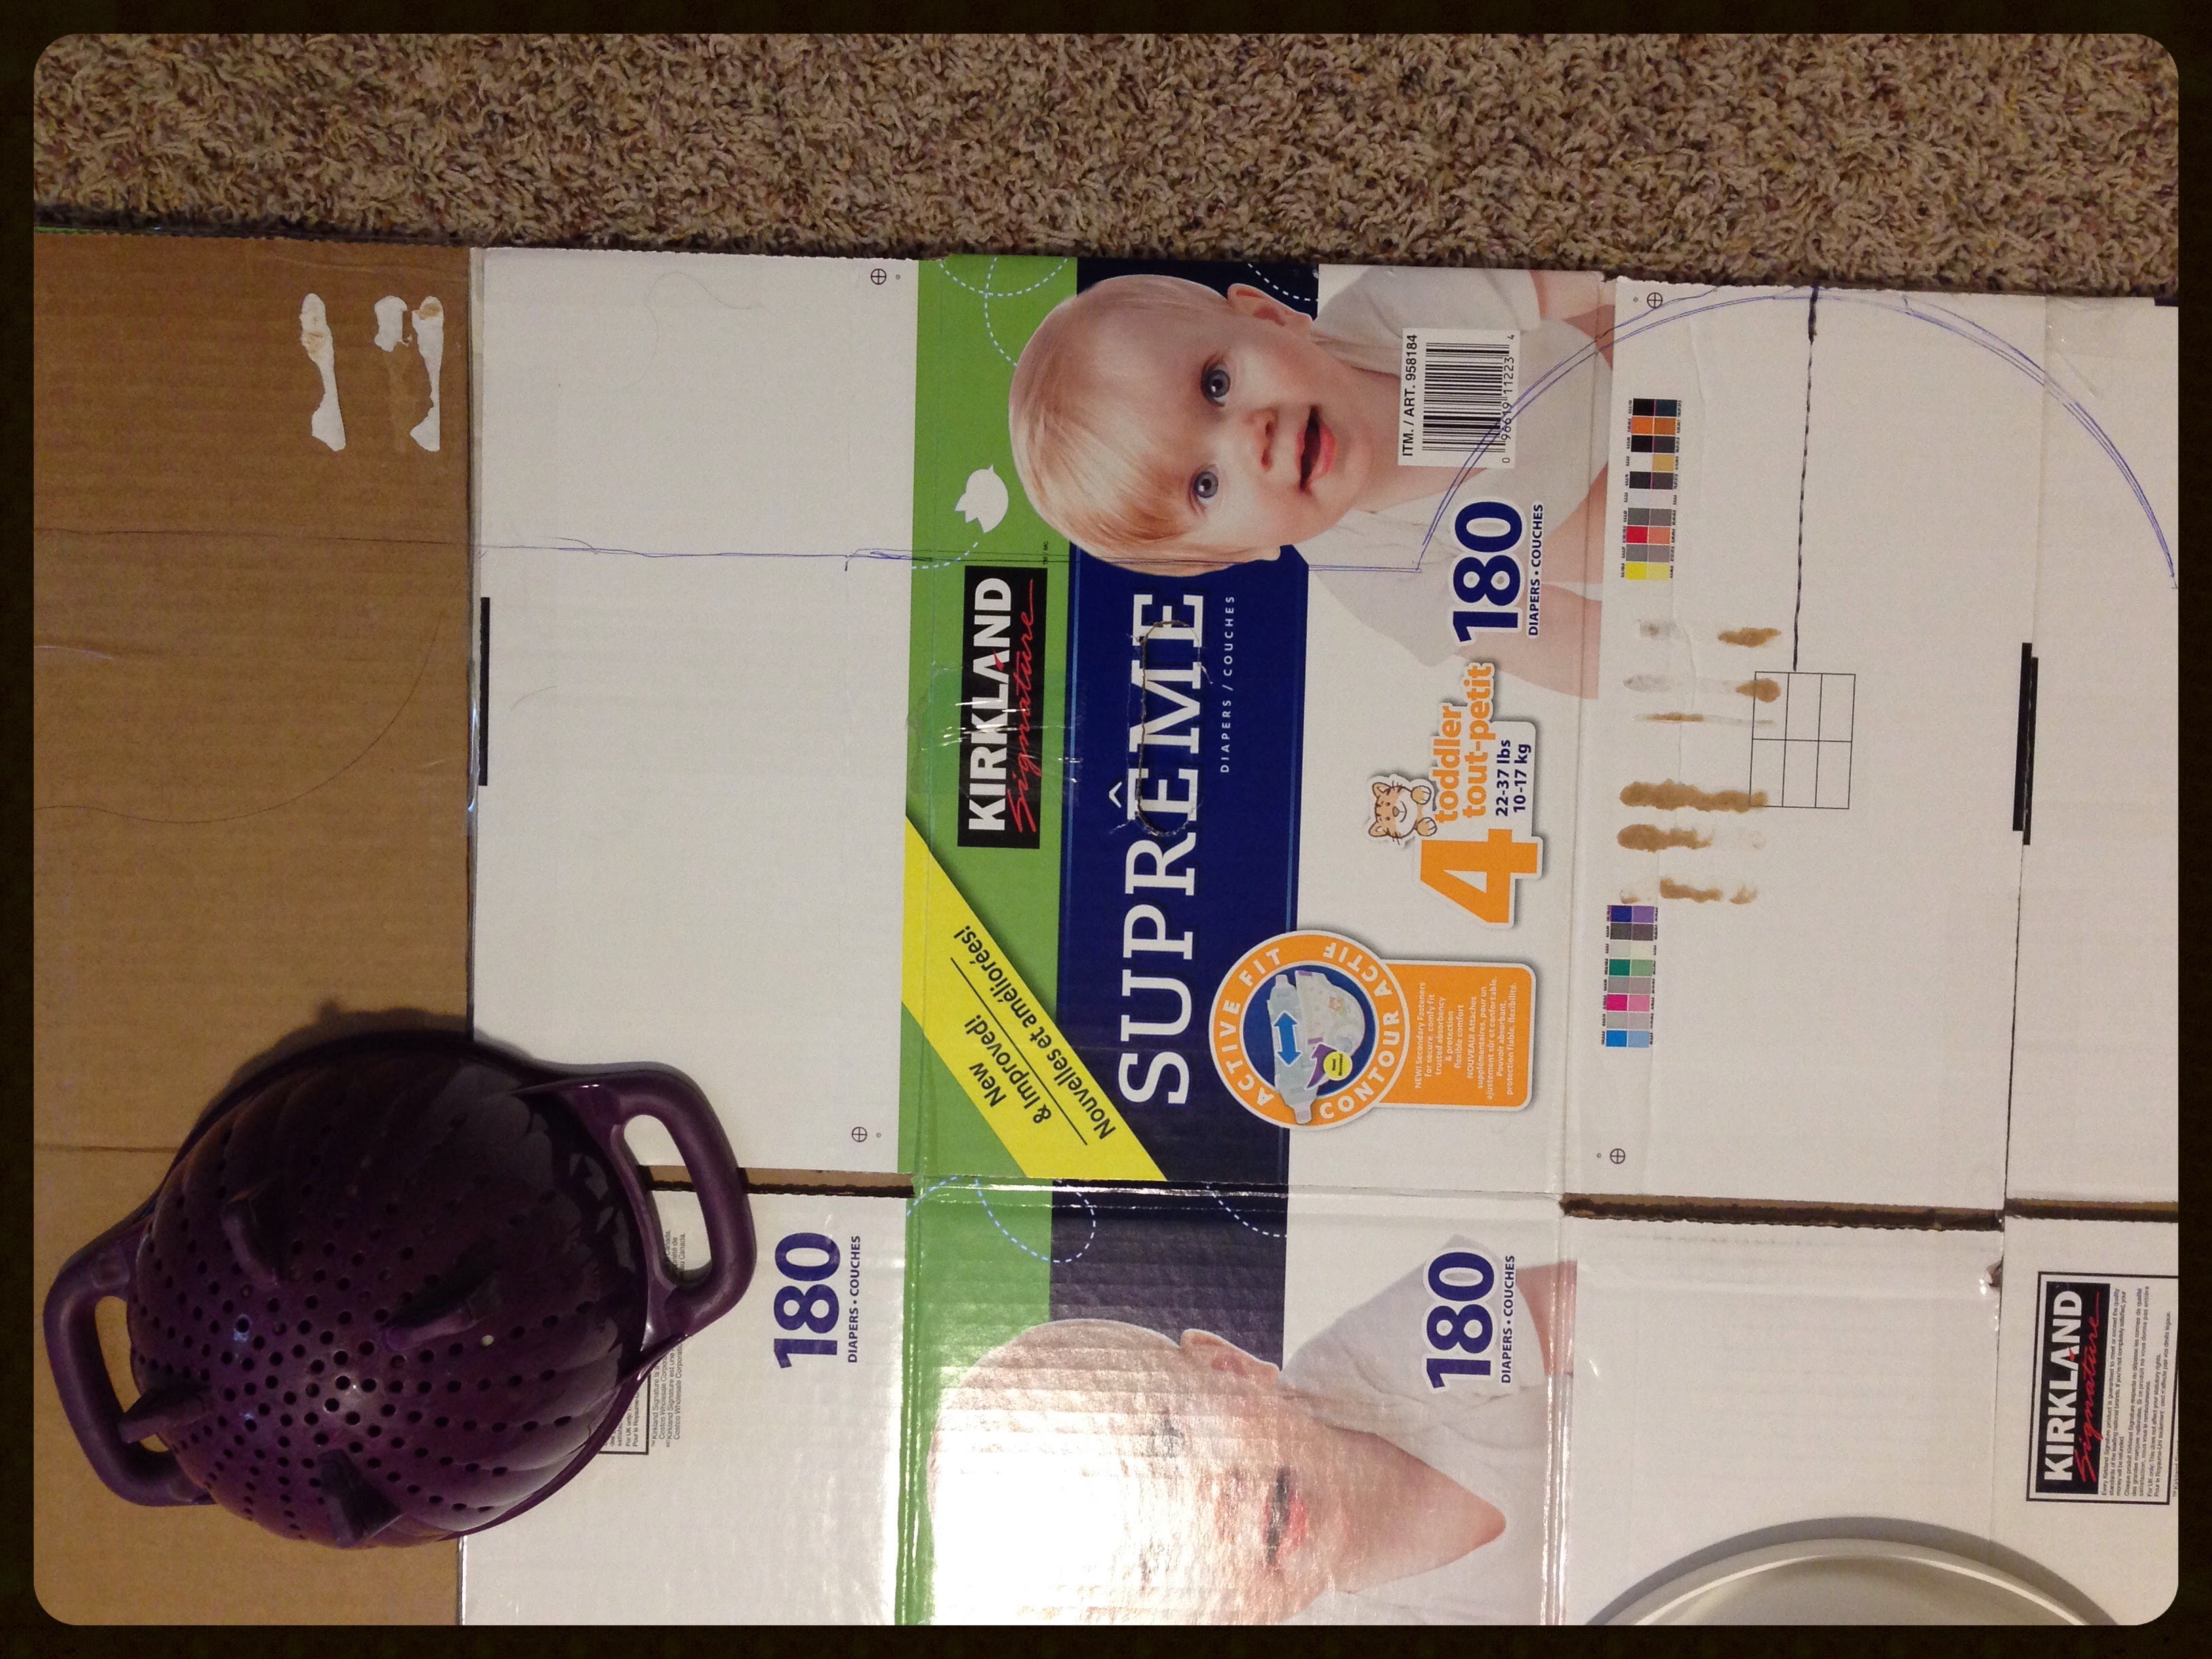
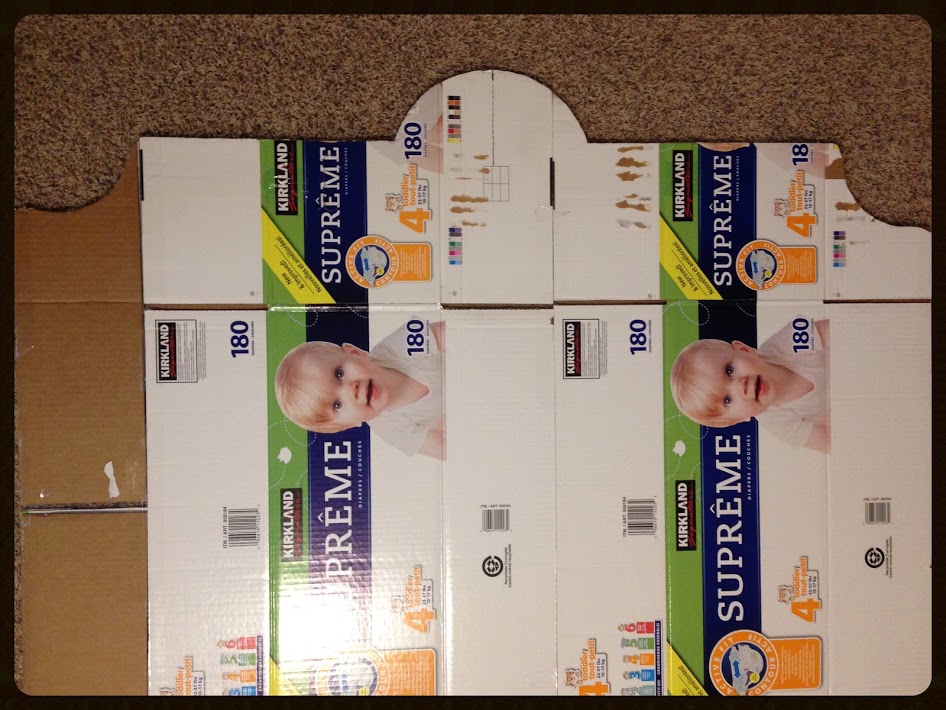
Decide on a design if you’d like one. I chose a Portman style and used 2 different sized colanders to trace the shapes. The holes in the colanders acted as a guide to make sure they were centered and lined up properly doing both sides.
Step 4
Use an X-Acto knife, box cutter, or other such straight blade to cut out along your design line.
It helps to pierce or score all along the line first.
Step 5
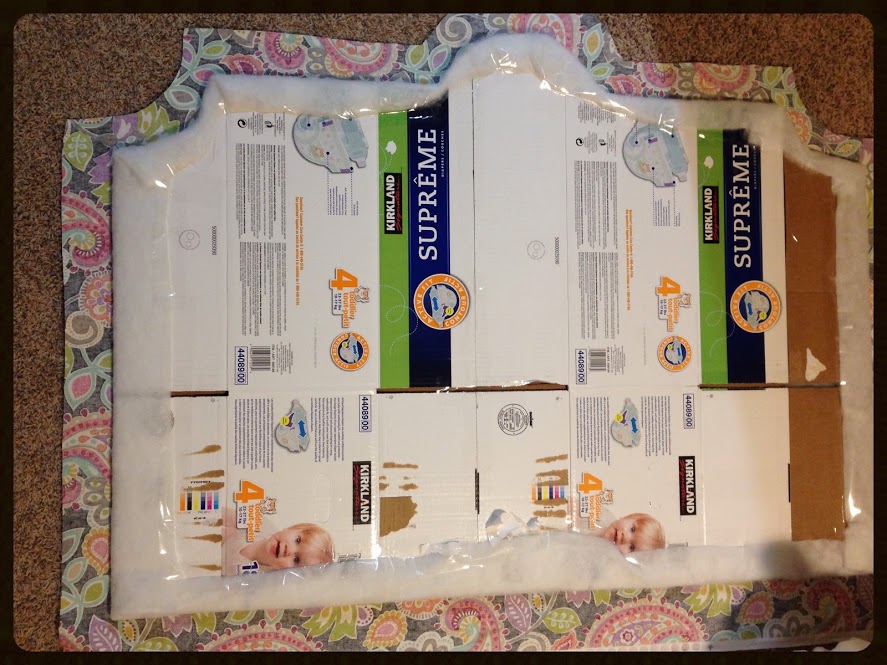
Lay quilt batting down and cut out around your cardboard leaving several inches excess to wrap around.
Step 6
Use packing tape again to secure the batting around the edges. Do not pull too tightly, it will diminish the fluffy upholstered look.
I forgot to photograph this exact step, but you can see it in the photo for Step 7.
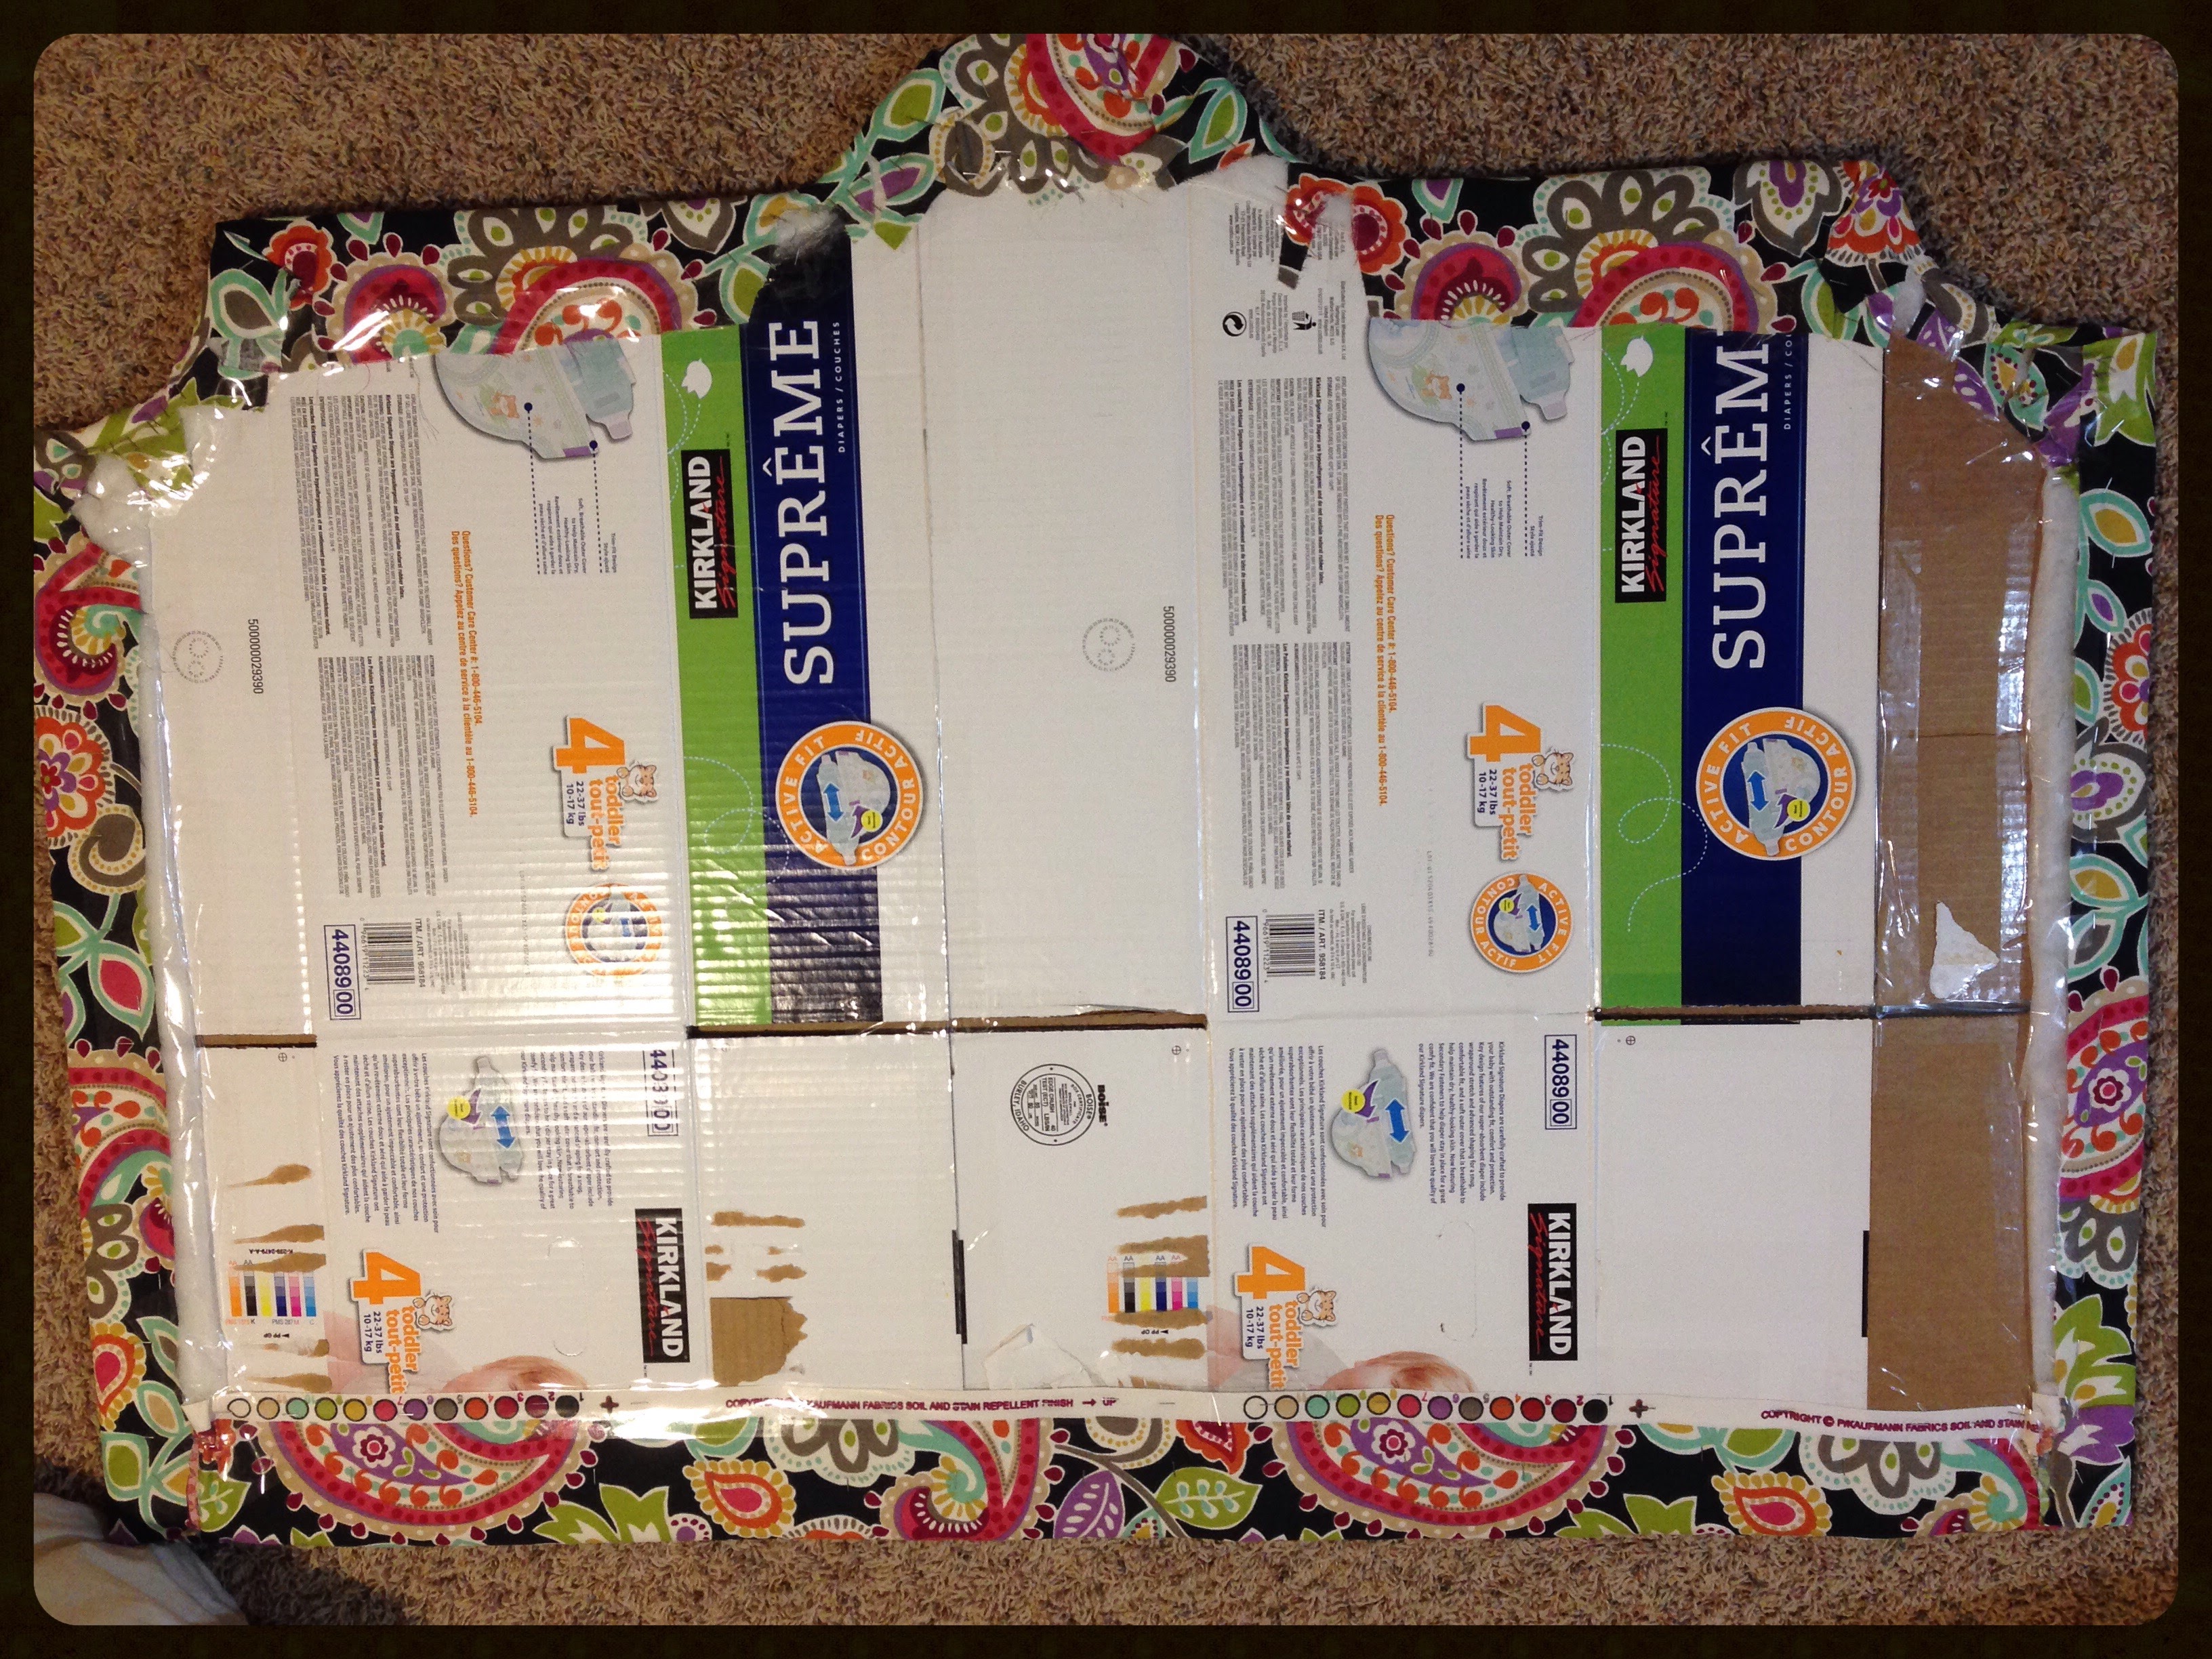
Step 7
Similar to Step 5, just now with your fabric of choice.
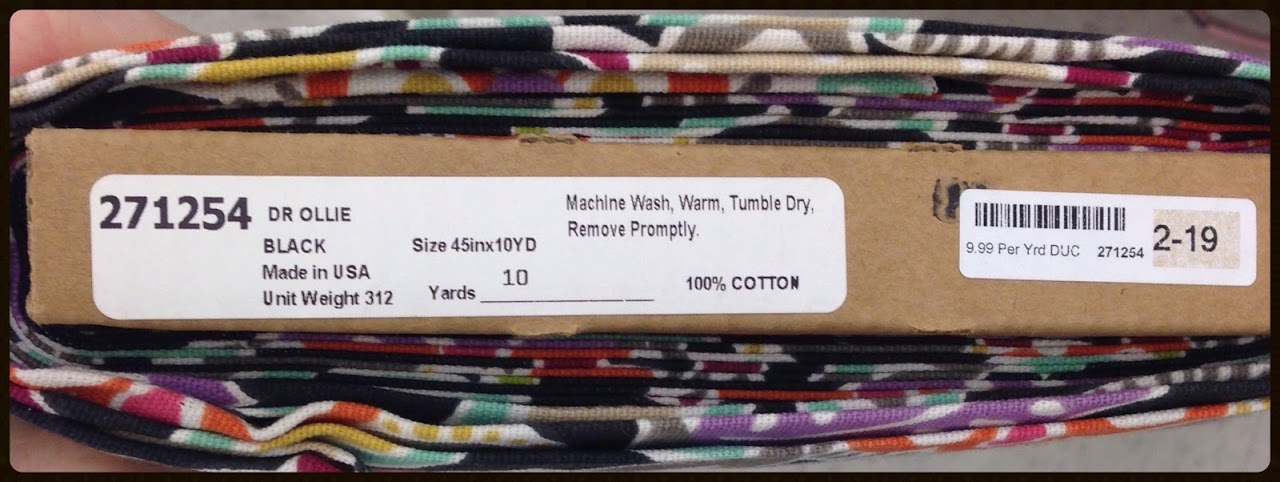
I used a Printed Duck fabric. It was affordable while still having a thick textured quality similar to upholstery fabrics.
Step 8
Fold the fabric over the back pulling taut. Use a staple gun to secure in place. Begin in the center and work out to the edges. It helps in the rounded areas to cut slits so the fabric doesn’t bunch.
Getting it just right on the areas going from rounded to straight were the most difficult. It took some trial and error, but was still simple to keep trying as the staples pull right out. This was definitely easier with my husband helping. The extra hands to handle the fabric and the staple gun sure helped.
(Thanks Darling!)
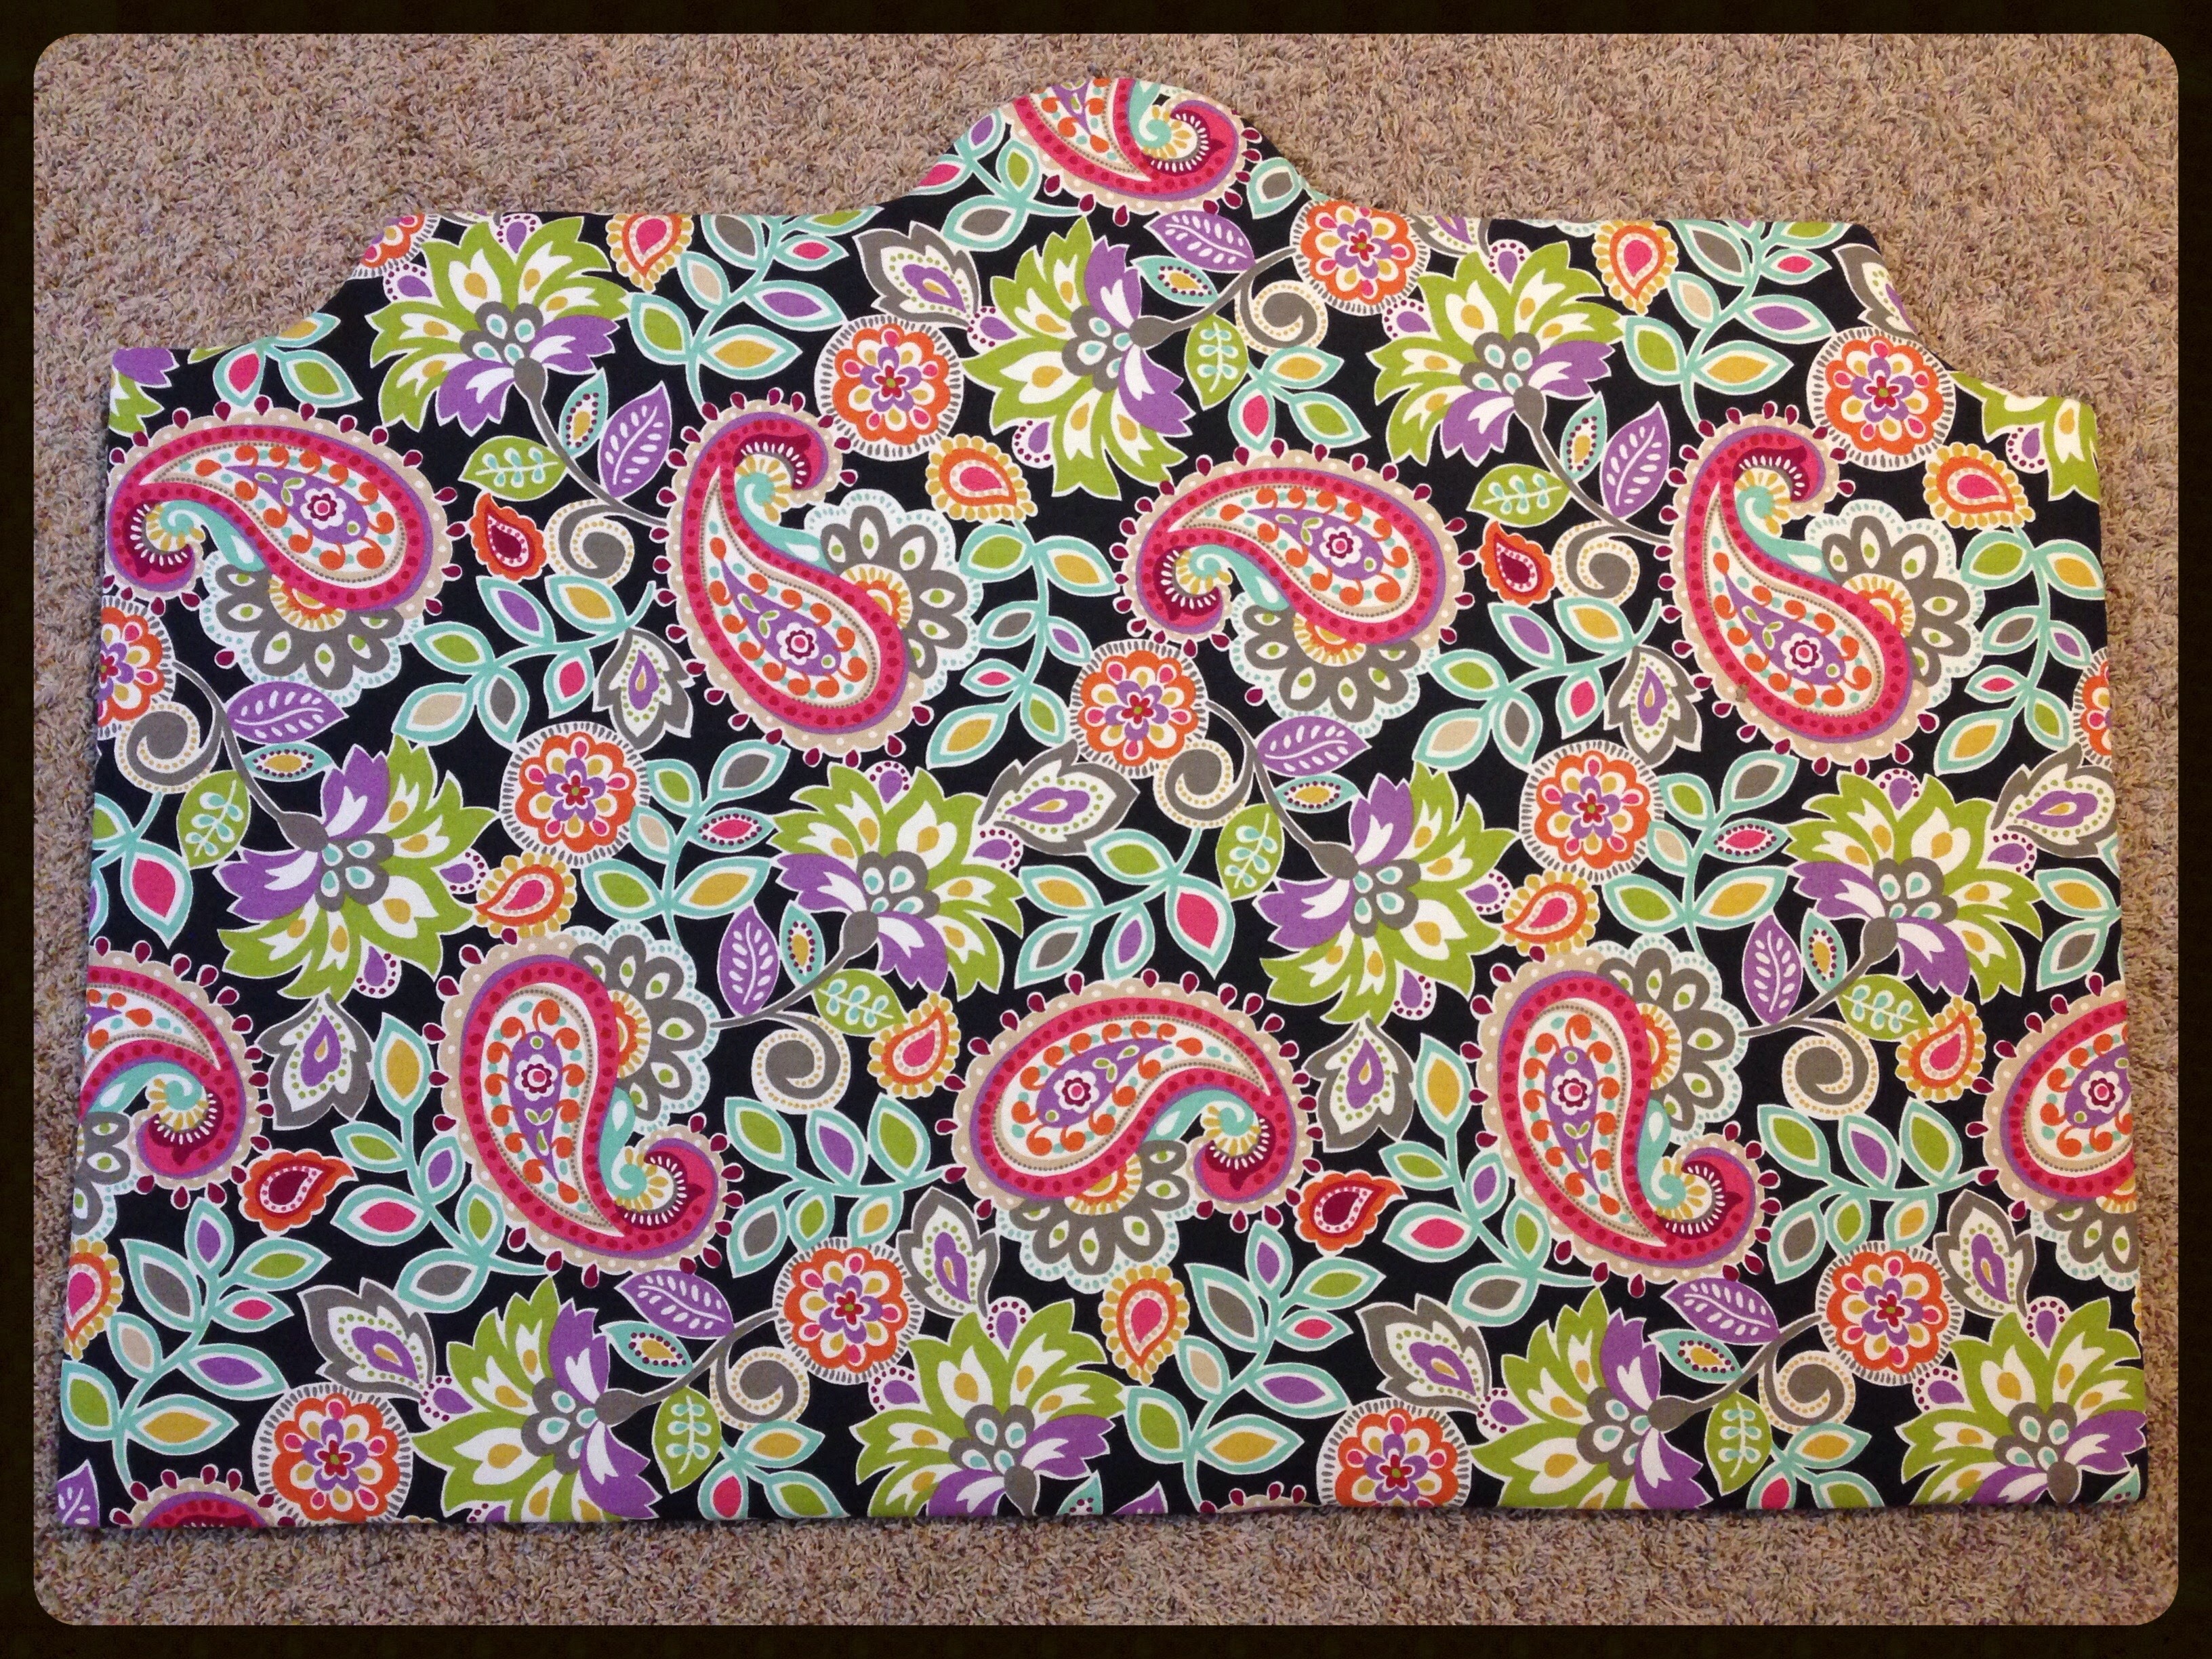
All done!
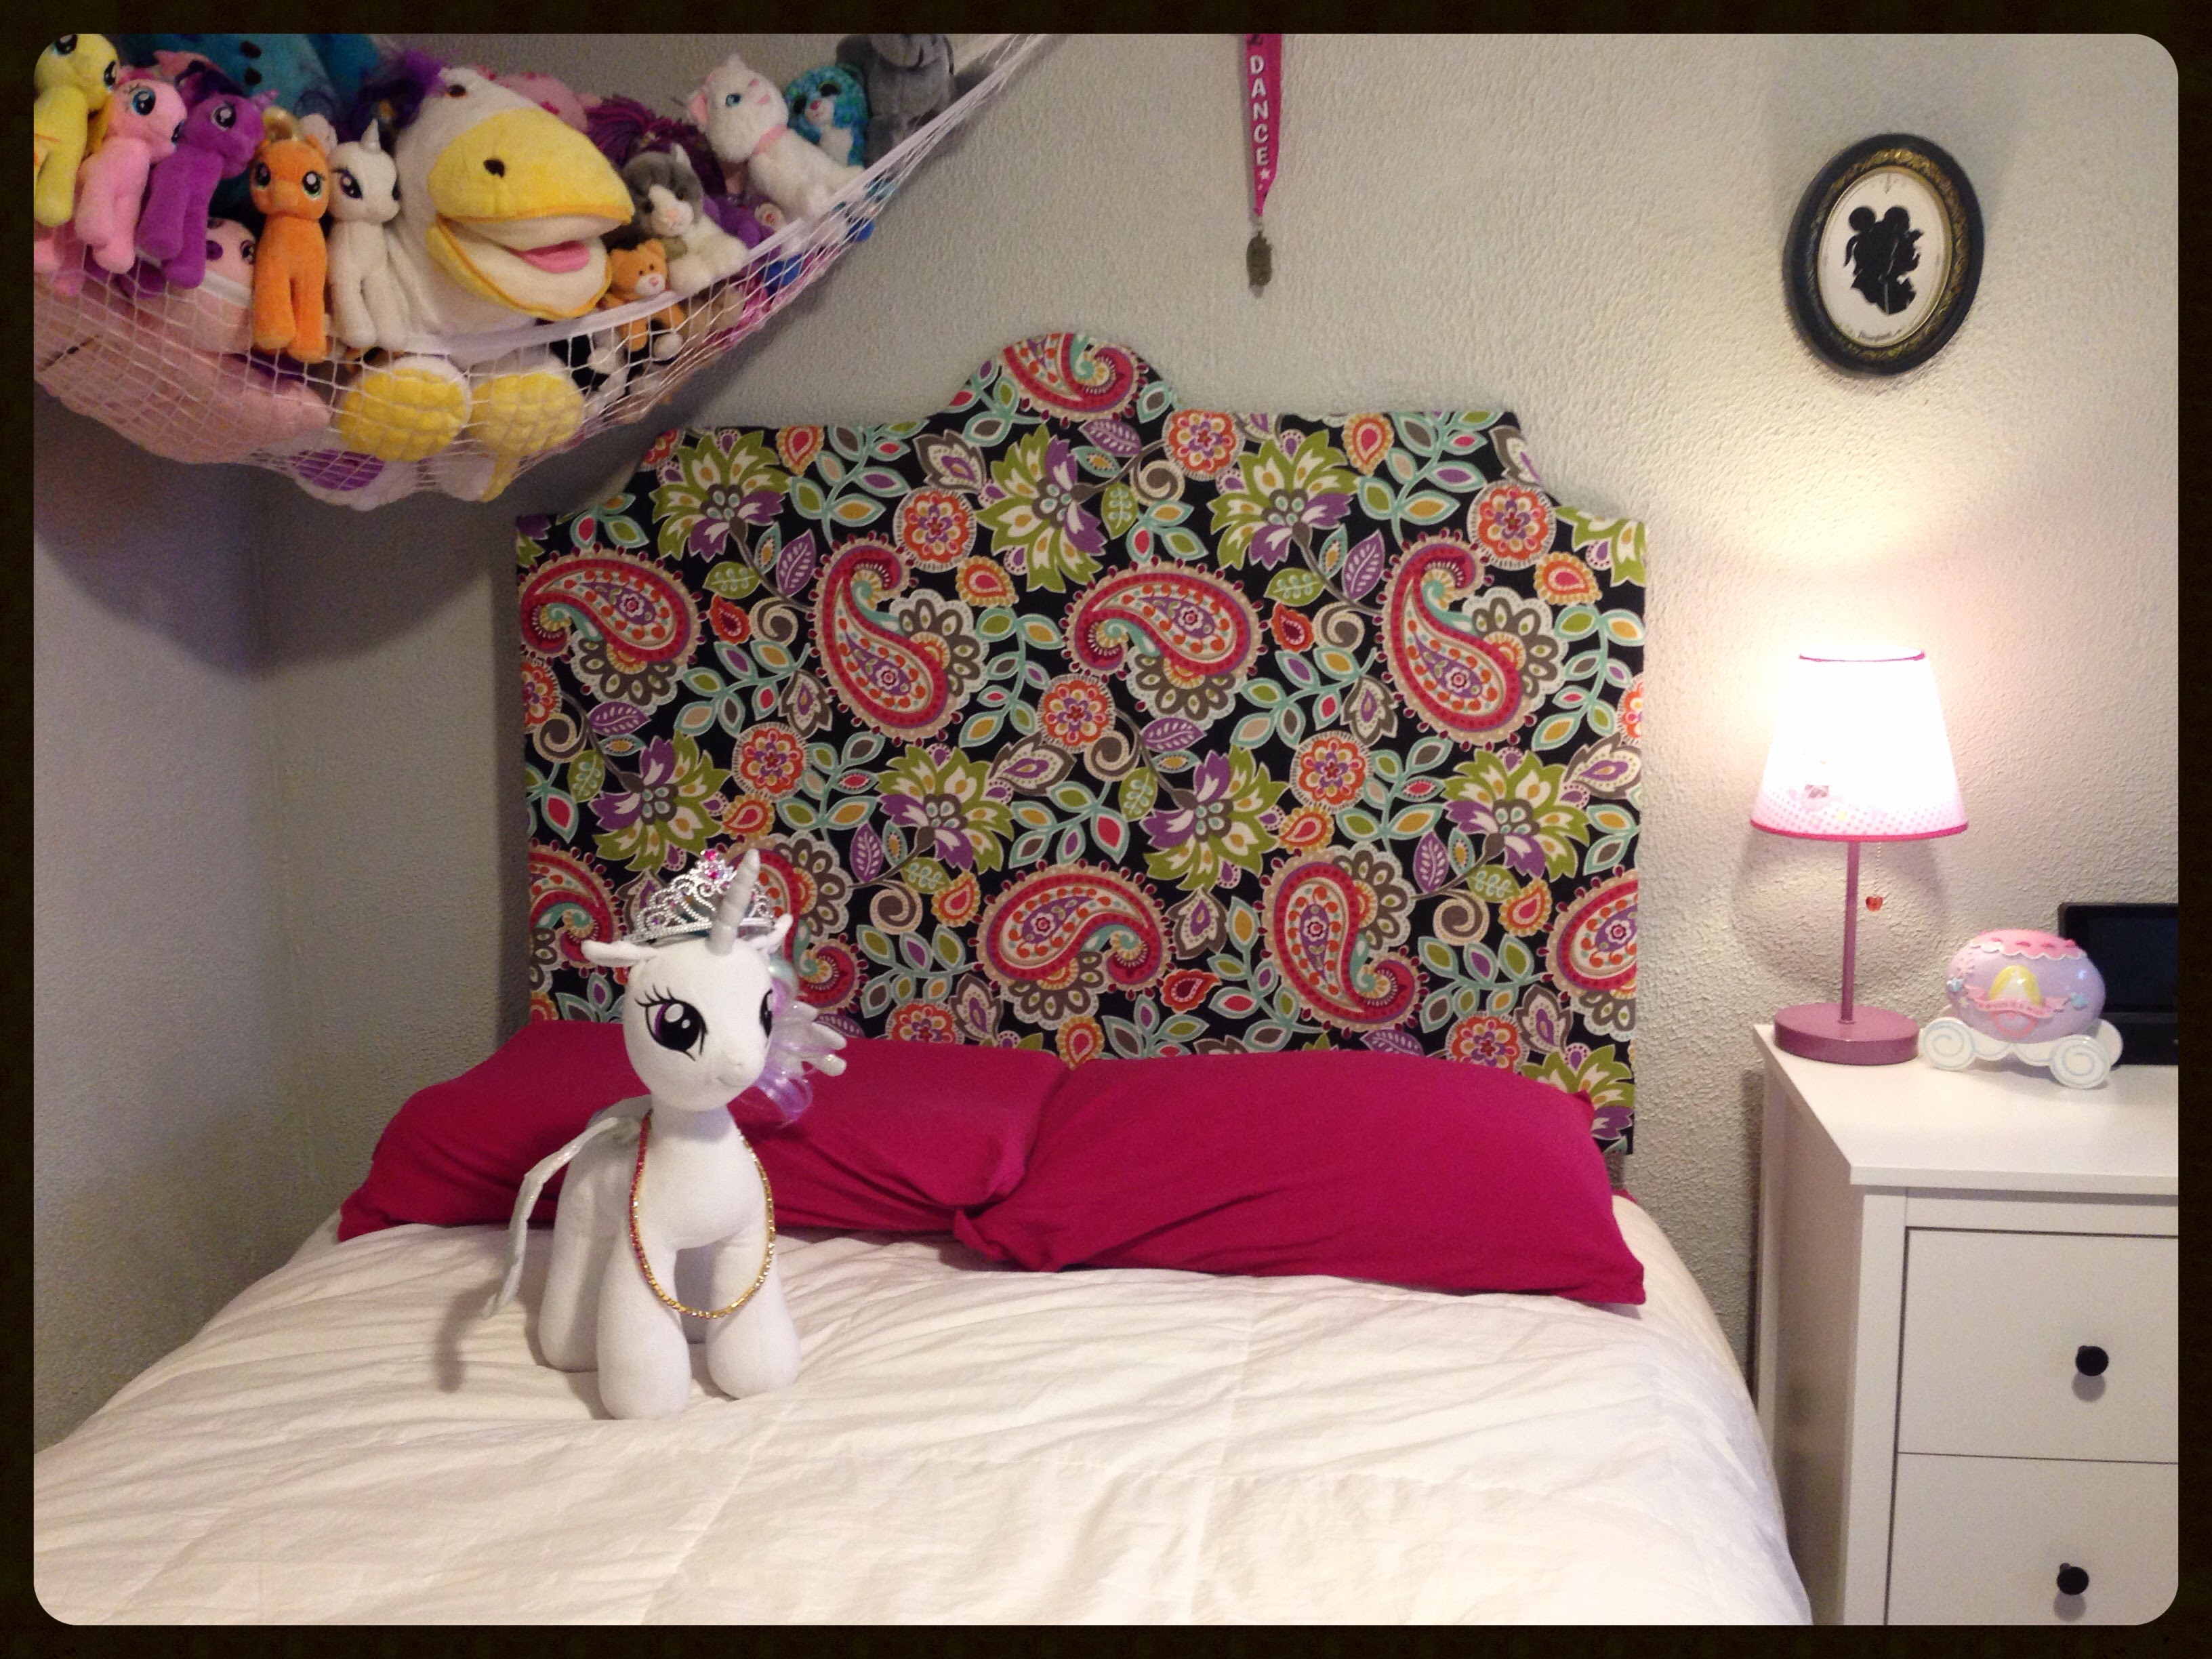
BEFORE
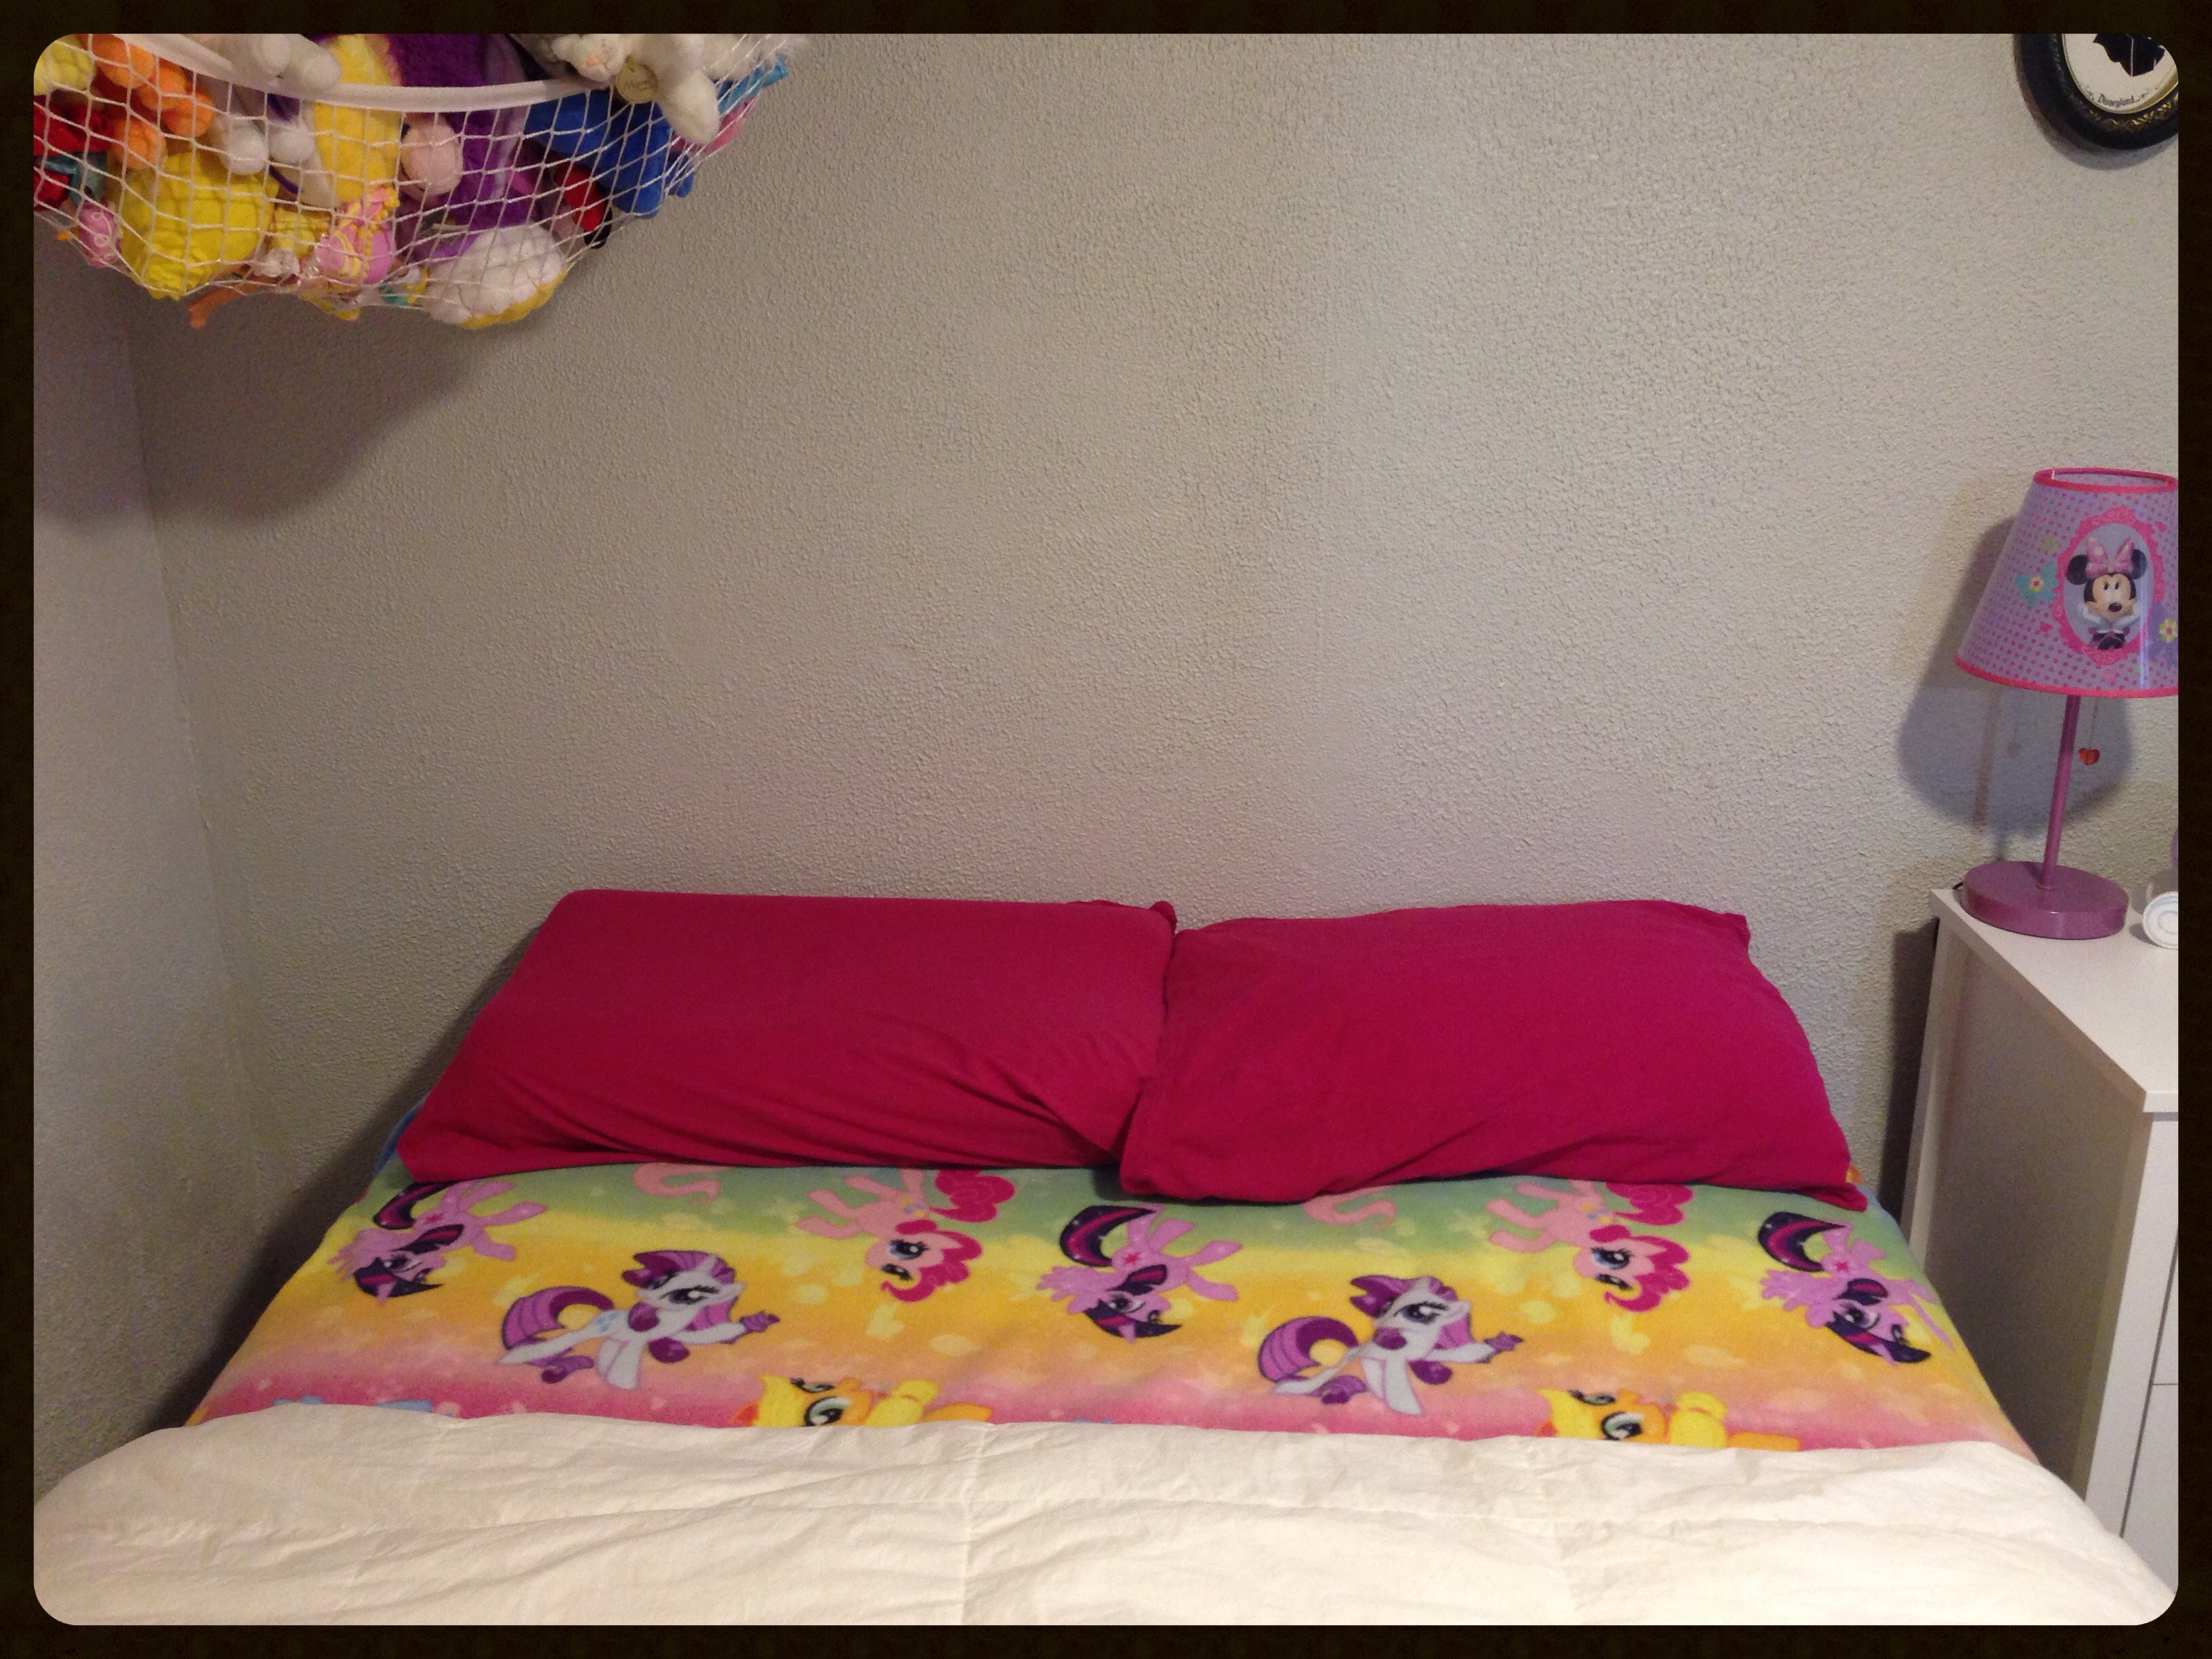
AFTER
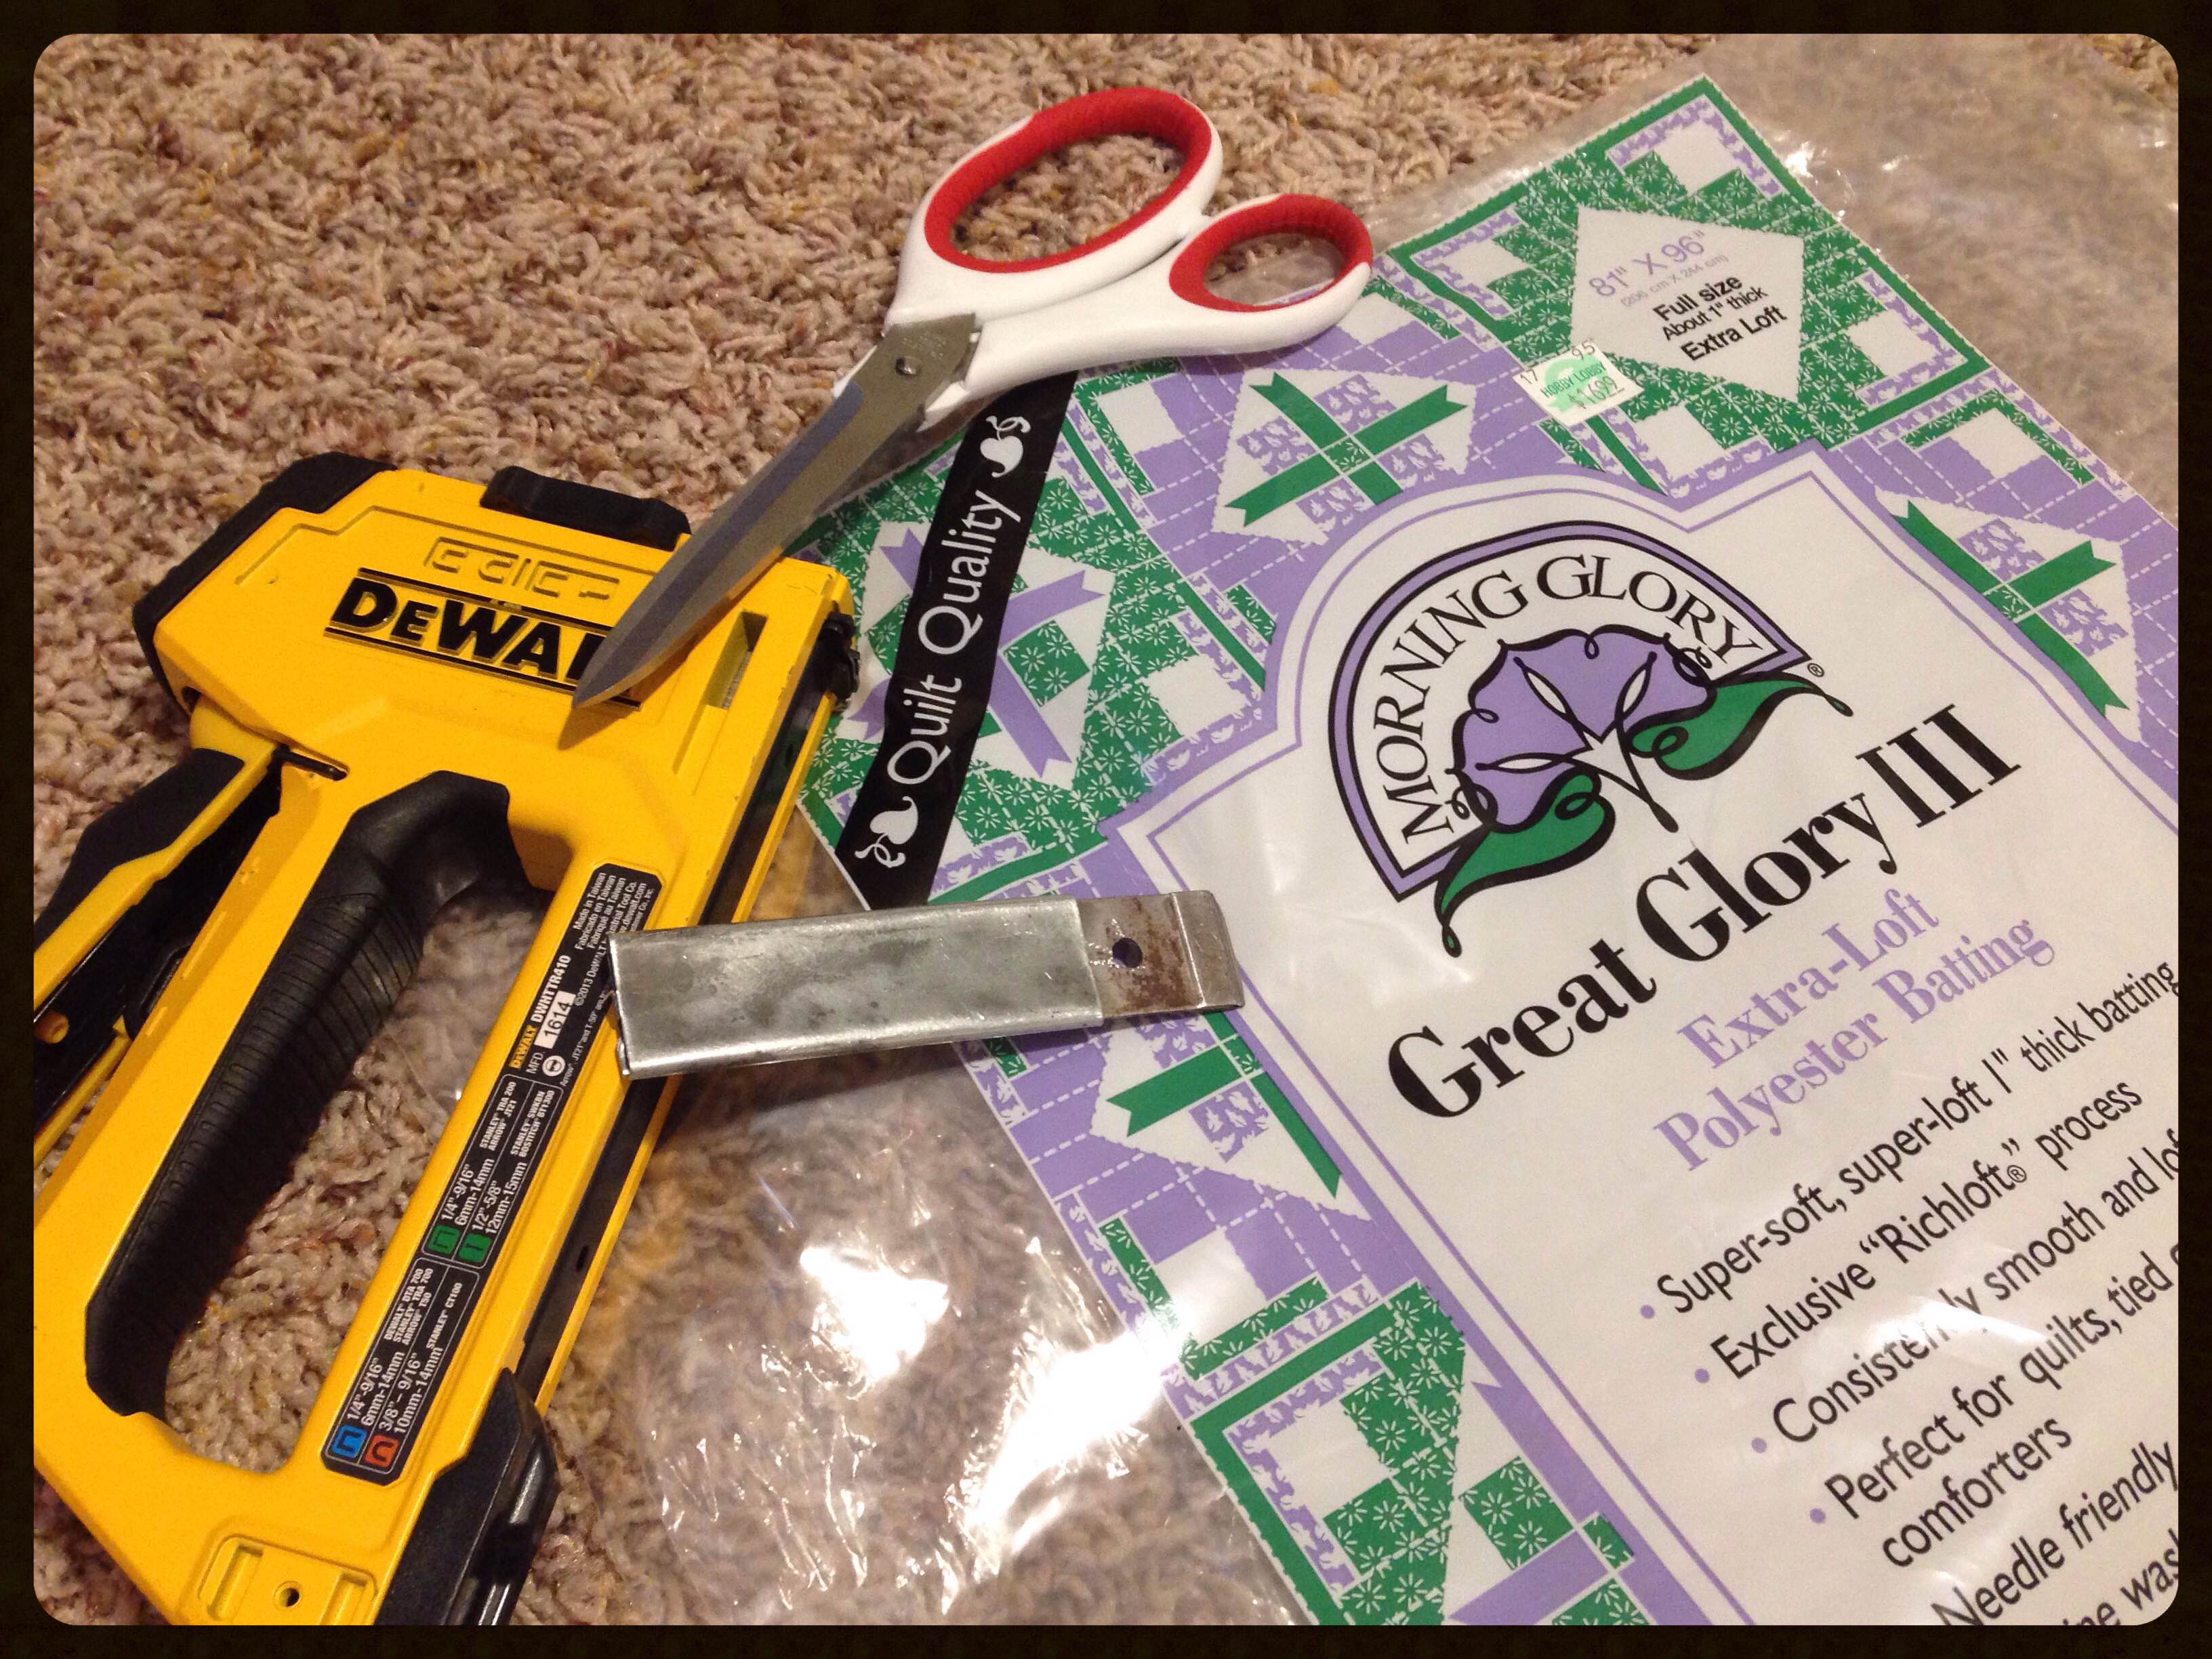
All for less than $20! Here’s my supplies and cost:
Cardboard = Free
1 3/4 yard Fabric = $10.49 with coupon from Retailmenot
Batting = $10.23 with coupon from Retailmenot. This bag of batting is enough to do both my headboards, so cost per each for batting is only $5.12!
The scissors, box cutter and staple gun we already owned. If you don’t have them see if you can borrow from a neighbor or friend. We just had to buy some staples = $1.
Total: $16.61!!!
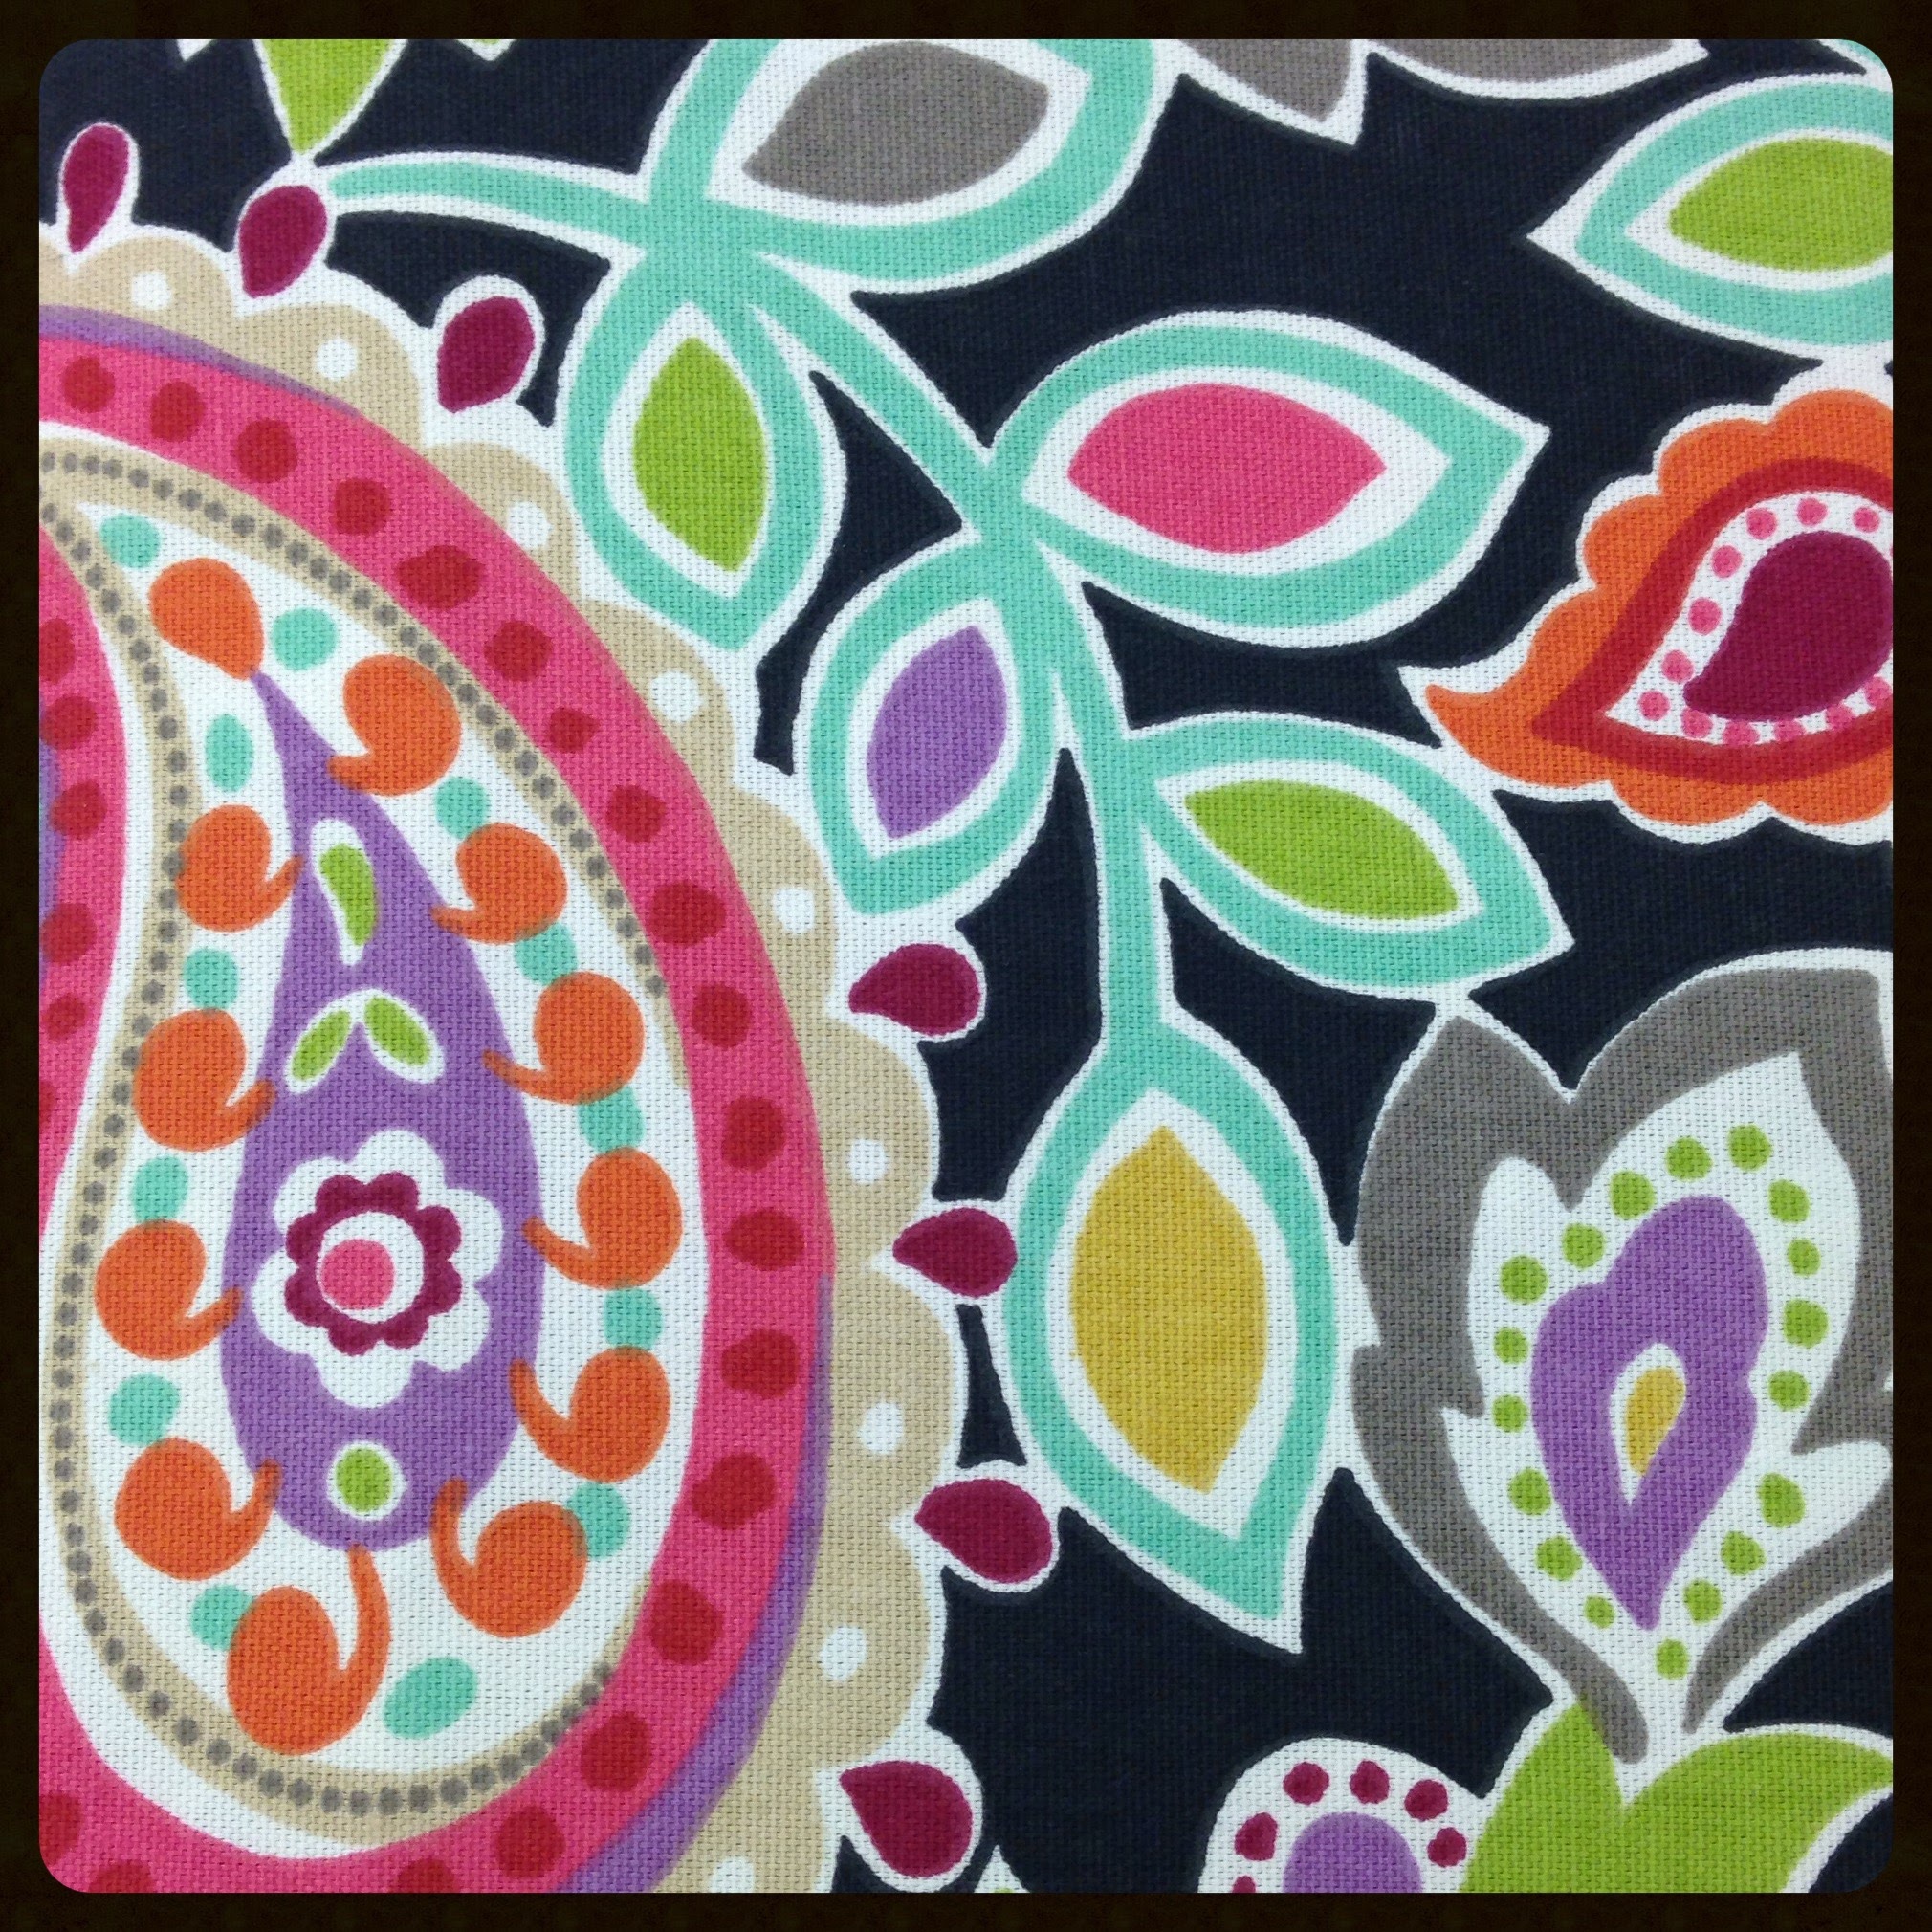
If you’re interested in this specific fabric here is the info from the bolt label:
My best neighbor girlfriend was with me when I was shopping for the fabric. She helped me decide on this fabric that wasn’t too themed or mature for my little girl.
(Thanks Michelle!)
Last thing to mention, the project was done from start to finish during my son’s 3 hour nap! Not including shopping time of course. 🙂
It turned out so well we can’t wait to make the one for our own room. My husband is even impressed and sharing design ideas and I’m impressed with that! All we need is the perfect fabric and more cardboard.
Though I still covet the headboard of my dreams, I am now empowered to make something much cheaper.
I must say this is an excellent DIY for military families especially. Budget friendly and customizable. In a couple years when it is time to move it is okay to part with it. You can make another for your next home. You’ll always be up to date on the trends in fabrics and there won’t be any sob story of how the military movers damaged that $500 headboard you practically sold your soul for.
Let me know what you think. Does this inspire you to give it a try too? Let us know how it goes or any other unbelievable DIY home projects you have done.
For my other helpful home ideas see my other posts: 2 Simple Home Improvements and Mission: Organization. My daughter’s down comforter was also featured in another post of mine Highlight THIS.
We have done other little home improvement projects over the years and we will be posting soon so check back!
3 thoughts on “DIY Cardboard Headboard”
The headboard is beautiful, you did a great job! Your daughter will love it! You will get your own things in due time, it took us a while, thank God you have family to pass down items it let’s you save for what you really like! Have a great day!
What?!? That turned out great! I’ve never considered cardboard. What a cool idea.