Homemade Hopscotch
Spring is here and Summer is near! Time to get the yard in shape and give the kids some extra play space. We are so looking forward to it after our first loooong winter here in the Denver area. Before we moved here we were under the impression that there were 4 seasons, like most places outside the desert. Winter, Spring, Summer, Fall. Right? Not true in this place. It’s more like Winter, Second Winter, Some Summer, and Fall. All that cold keeps you indoors and breeds cabin fever. So to celebrate the ability to finally tolerate the temperature outside we wanted to set our yard up to be a great play place for the kids.
Now, as wonderfully fun as those big thousand dollar playgrounds look, we are still on a budget. Besides, there’s a park 5 minutes walking distance from our front door. So we were looking for maximum impact on few dollars, and fell in love with this idea.
Painted paver hopscotch.
I ran across the idea on accident when I was looking at BBQ stuff on Pinterest and I couldn’t click it fast enough. My girl and all the others in the neighborhood are always drawing and playing hopscotch. Plus we had pavers laying on the side of the house and nothing else to do with them anyway. So again, as Home Depot inspires, let’s do this!
Homemade Hopscotch with Painted Pavers.
All you need is 10 pavers, various colors of paint you’d like, some foam brushes, and an afternoon. The paint we used was from Michael’s, Craft Smart outdoor paint, or this is similar.

This is how ours started. Plain, unused pavers, and snow for dramatic effect.
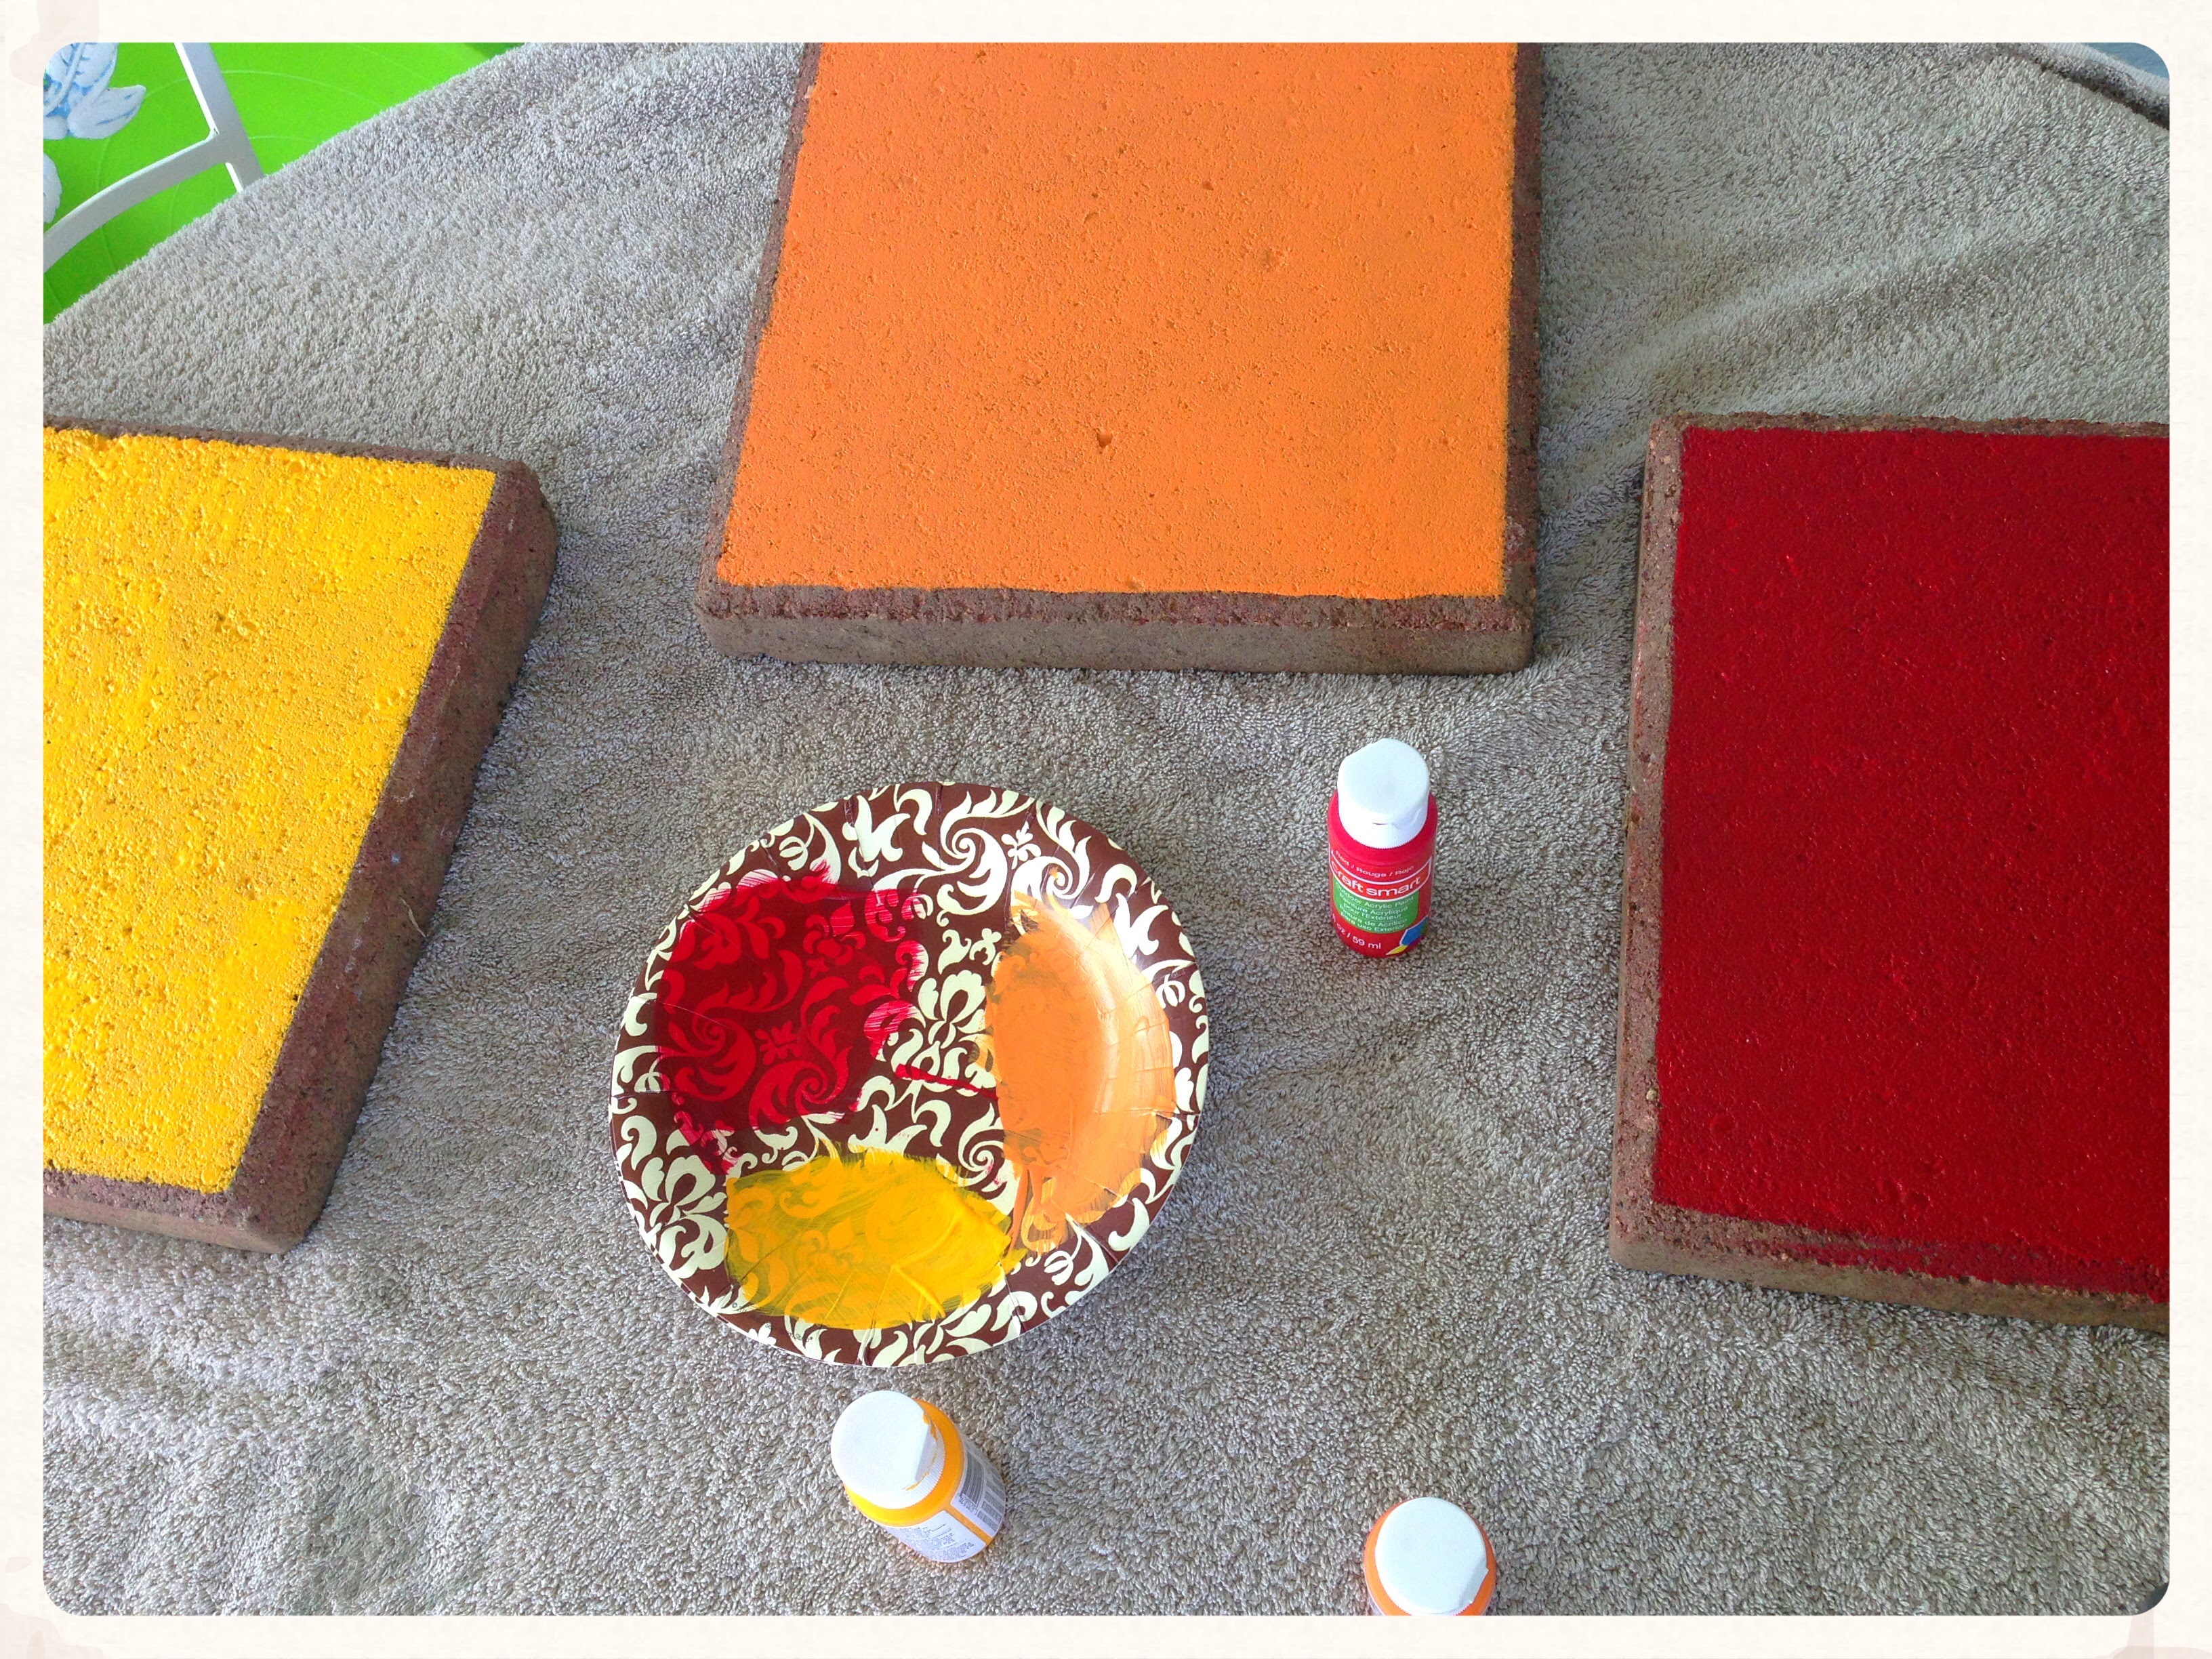
Gather your supplies. Prepare your stones by wiping them to remove any dirt or debris. I used an old kitchen towel (don’t use paper, it will shred). Paint 3 coats of color on each using foam brushes. Allow to dry between coats. This takes some time if you have fewer brushes than paint colors and have to keep washing. I ended up doing mine over a span of a week. I left the edge unpainted because I thought it added a nice framed look. …and maybe because I did paint all the way to the edge on the red one and didn’t like it. You choose your style!
For the paint I went with a rainbow layout because I was inspired by the original I saw. And who doesn’t love a rainbow?
2 coats each. 1 more to go!
Once the colors are finished allow them to dry again. With a 1 inch brush paint on the numbers. Freehand is probably best since the surface isn’t perfectly smooth for a stencil. Some of the curvy numbers are hard, but if you need to touch up or start over you can! …my 6 was the hardest, but nothing a coat of more turquoise can’t cure!
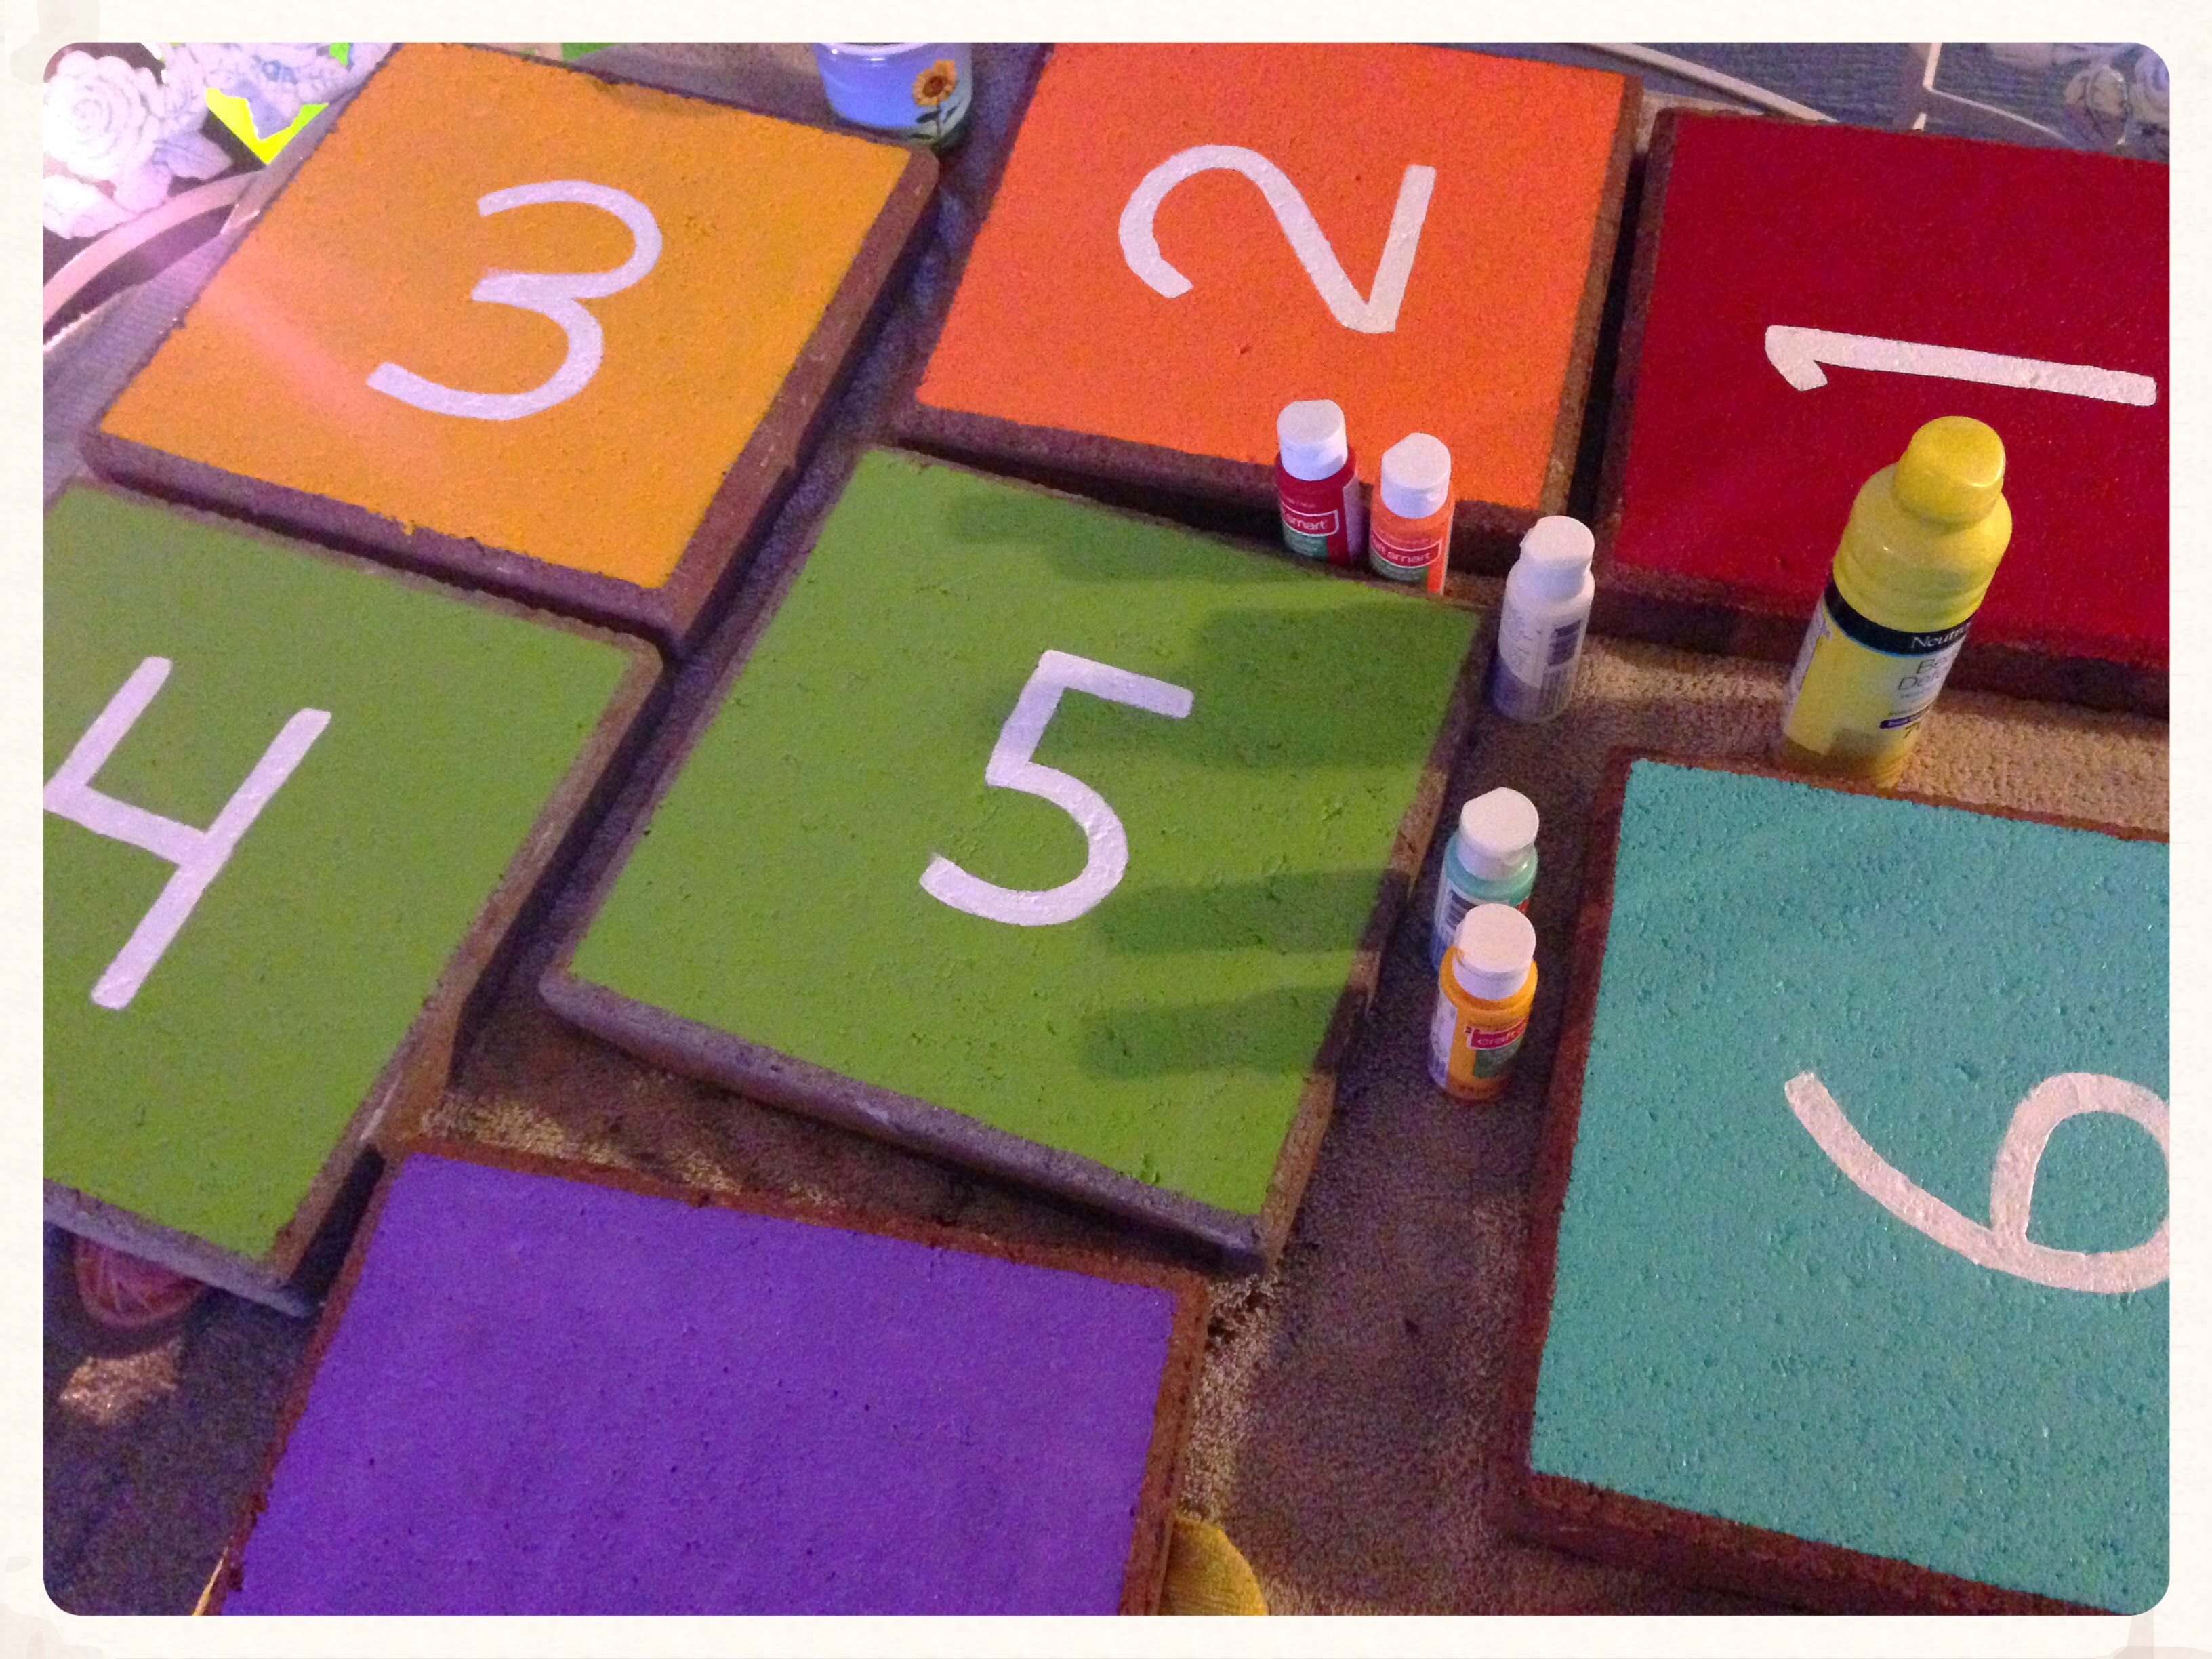
More than halfway done! The vision is coming together!
The number 10 proved to be the biggest (literally) challenge. We were after the true hopscotch half moon shape, but no such luck finding such a paver. Instead there was a 16x16inch version of the same square at Home Depot for $3.50. Sold!
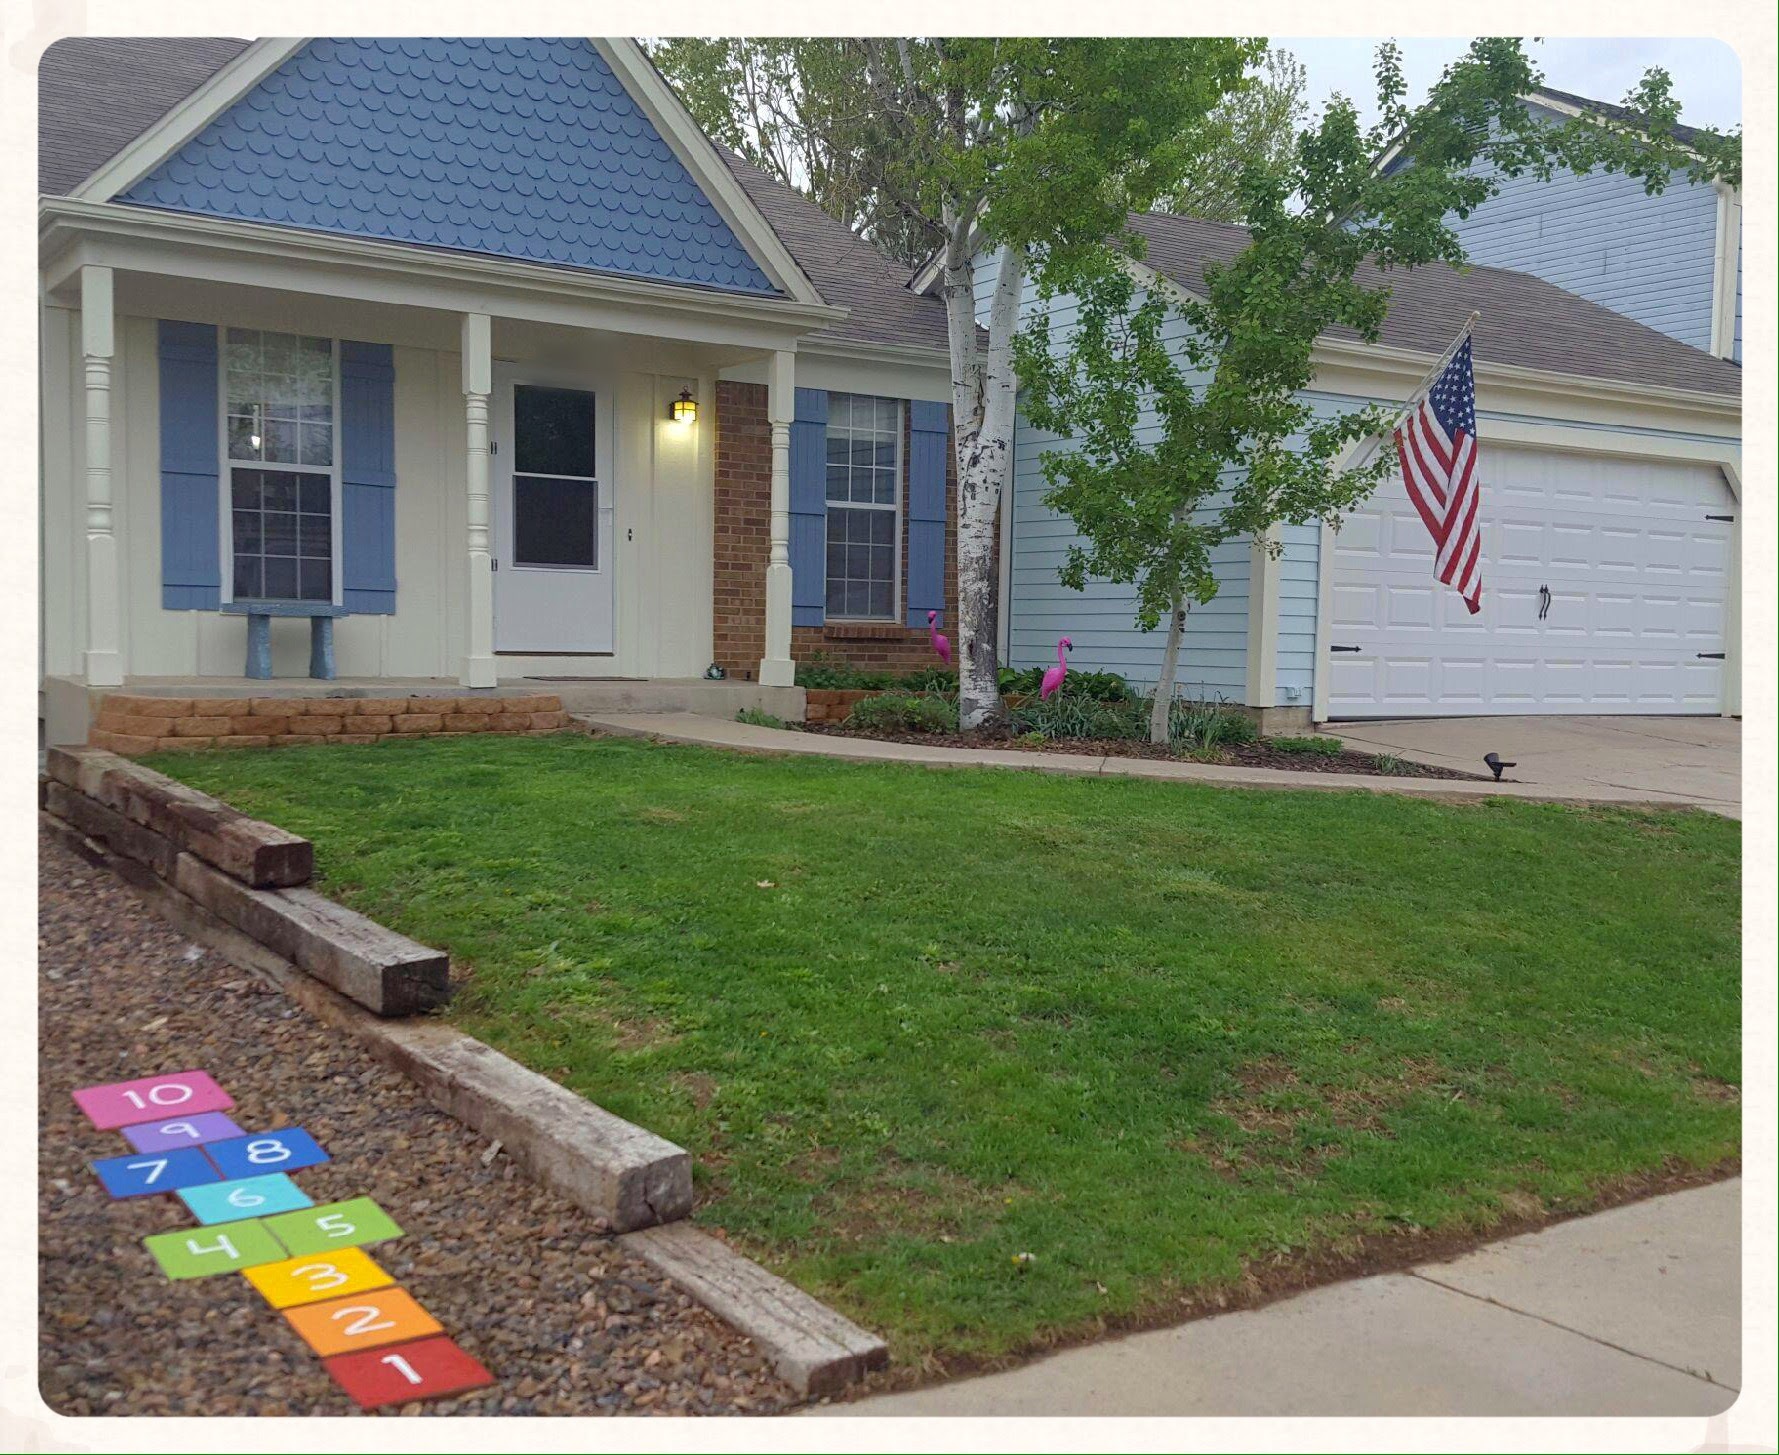
Once they’re all done allow to cure for 72 hours in a dry area, or follow the instructions on your paint label. When they are ready find a nice flat area and sink them in. We dug out our rocks a little and set them in place in our front yard. Yes, we love it enough for all to see and welcome all the children to use it. It only took a day before the neighbor kids were coming over.
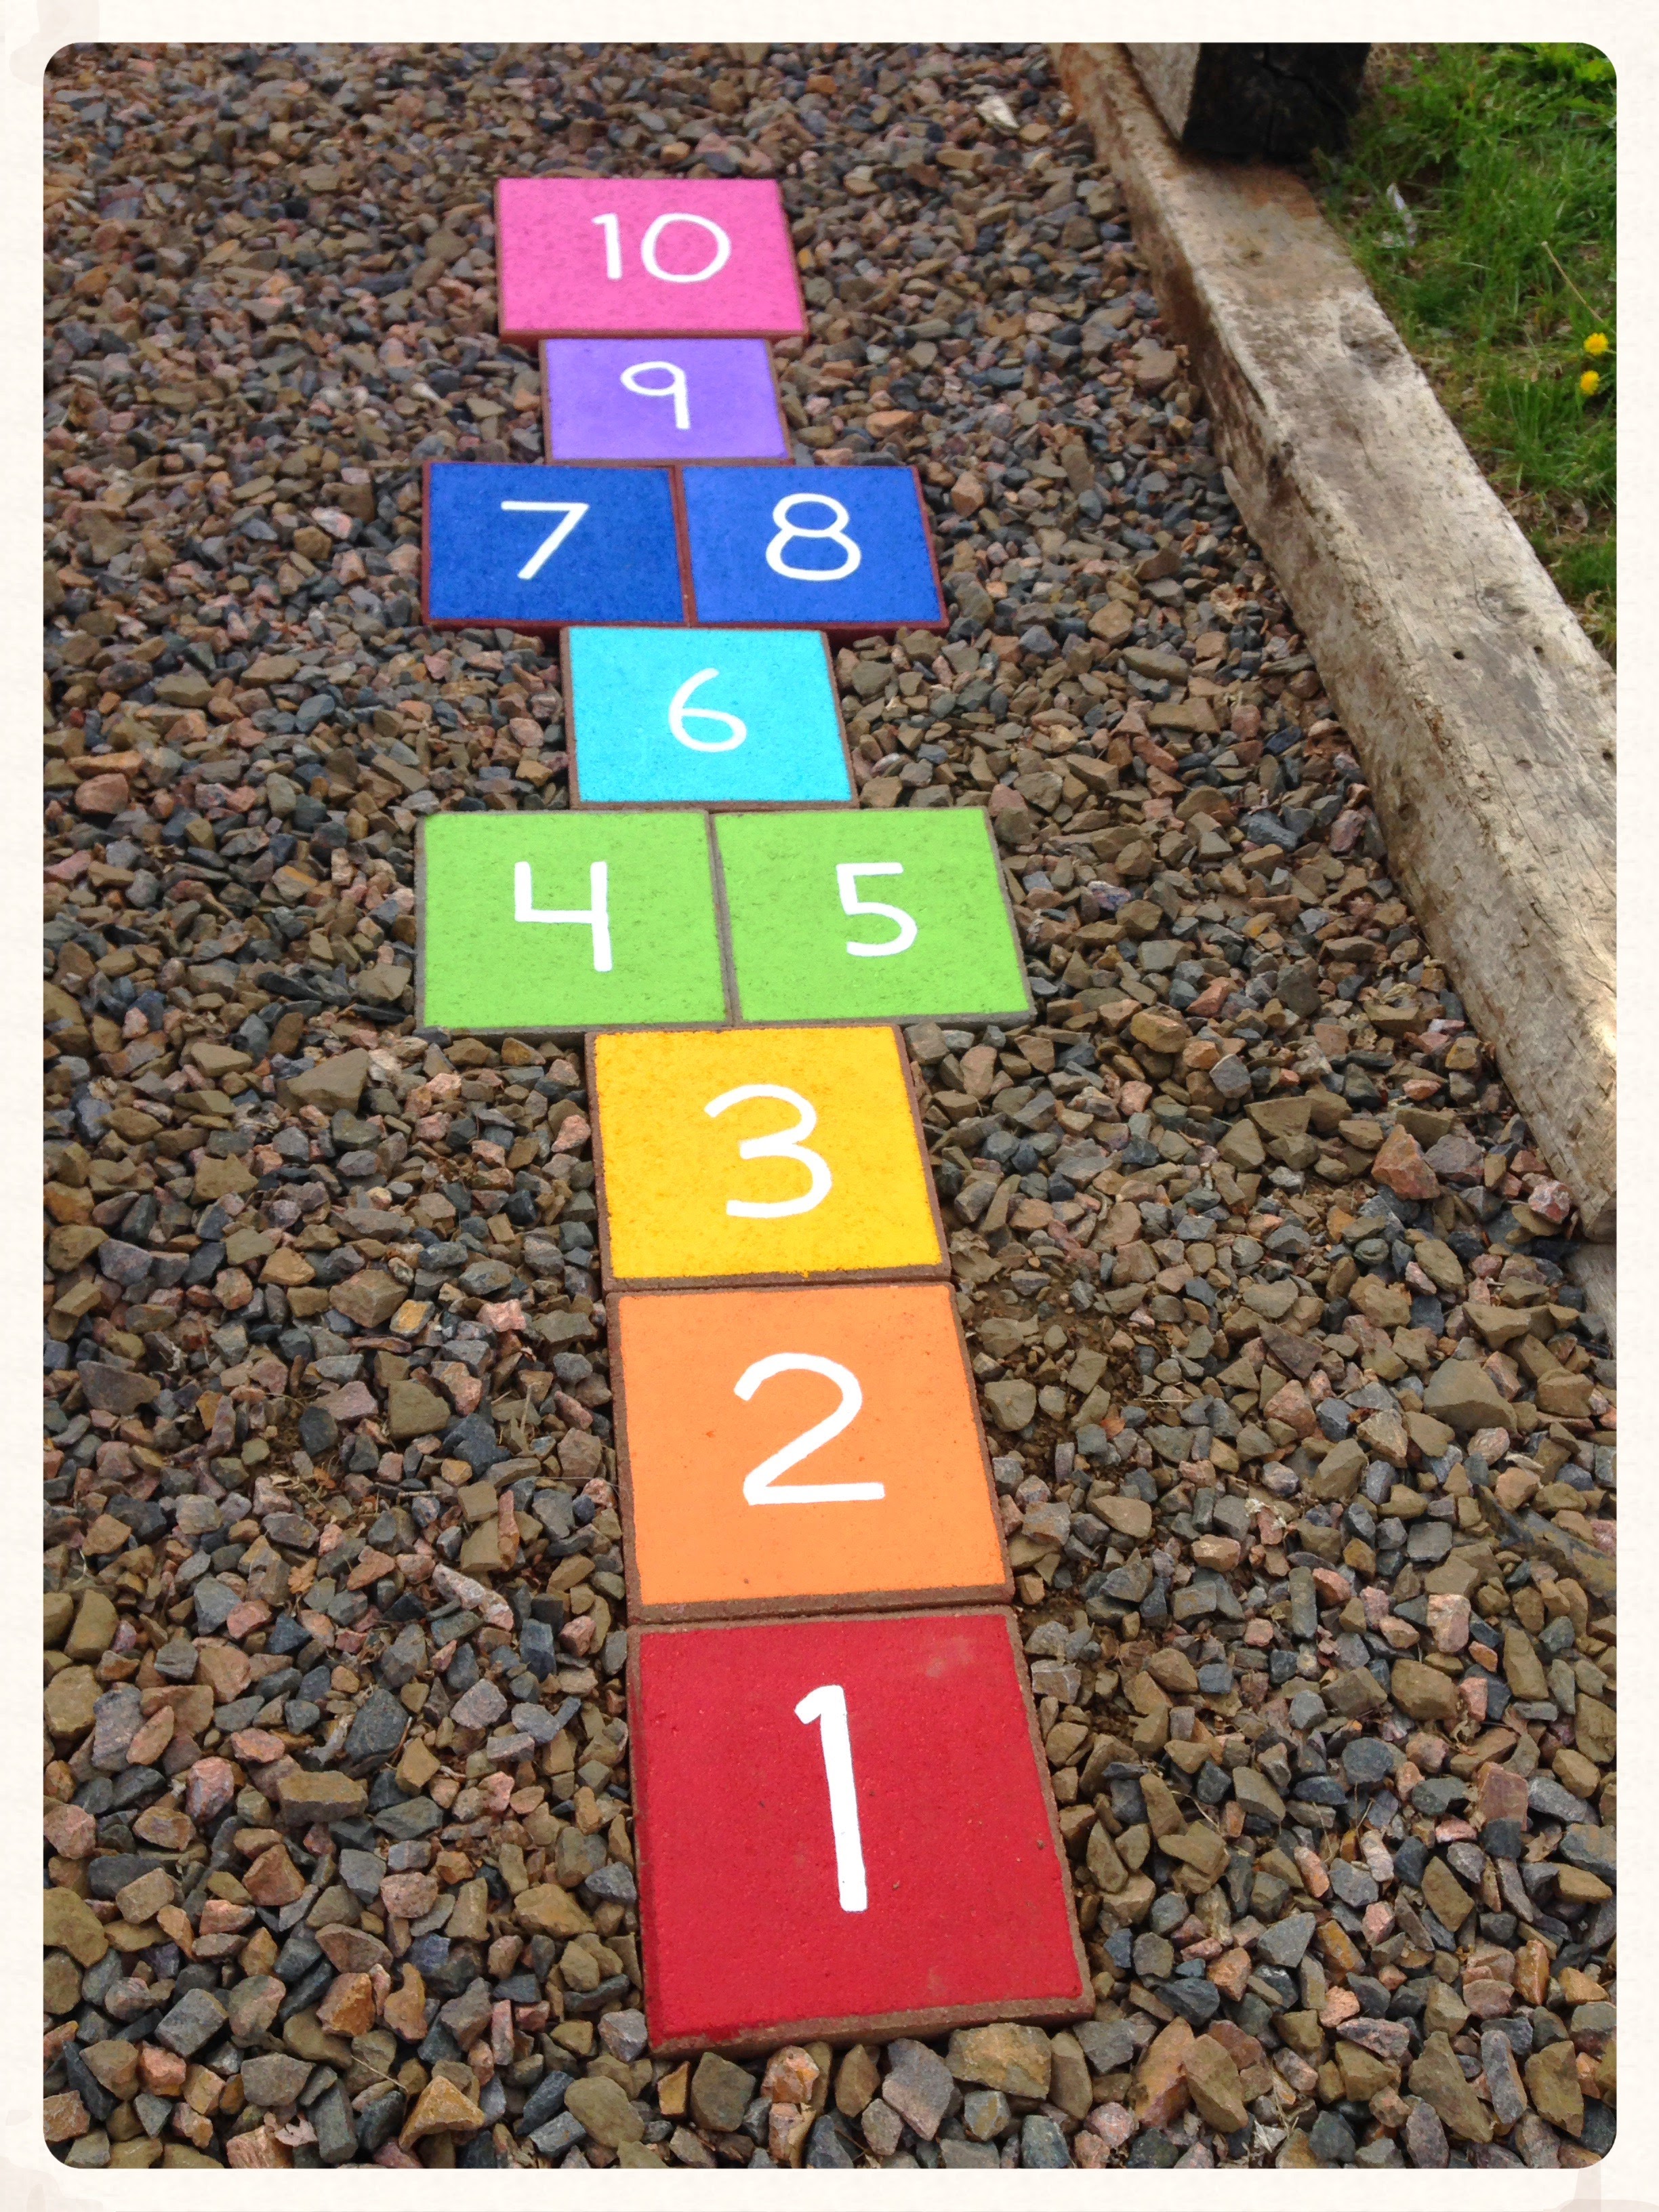
Ta da!
Super simple. Super unique. Super affordable. This cost us about $15 for the paint, brushes and #10 stone. Even if you had to buy all the stones, I estimate it less than $30.
There you go! It really is as simple as it sounds. Make them for your little ones and share with us. We would love any other yard activities/game ideas you’d like to share too!
Happy hopping! 🙂
For more simple homey ideas see our other posts DIY Cardboard Headboard and JBS’s 2 Super Simple Home Improvements.