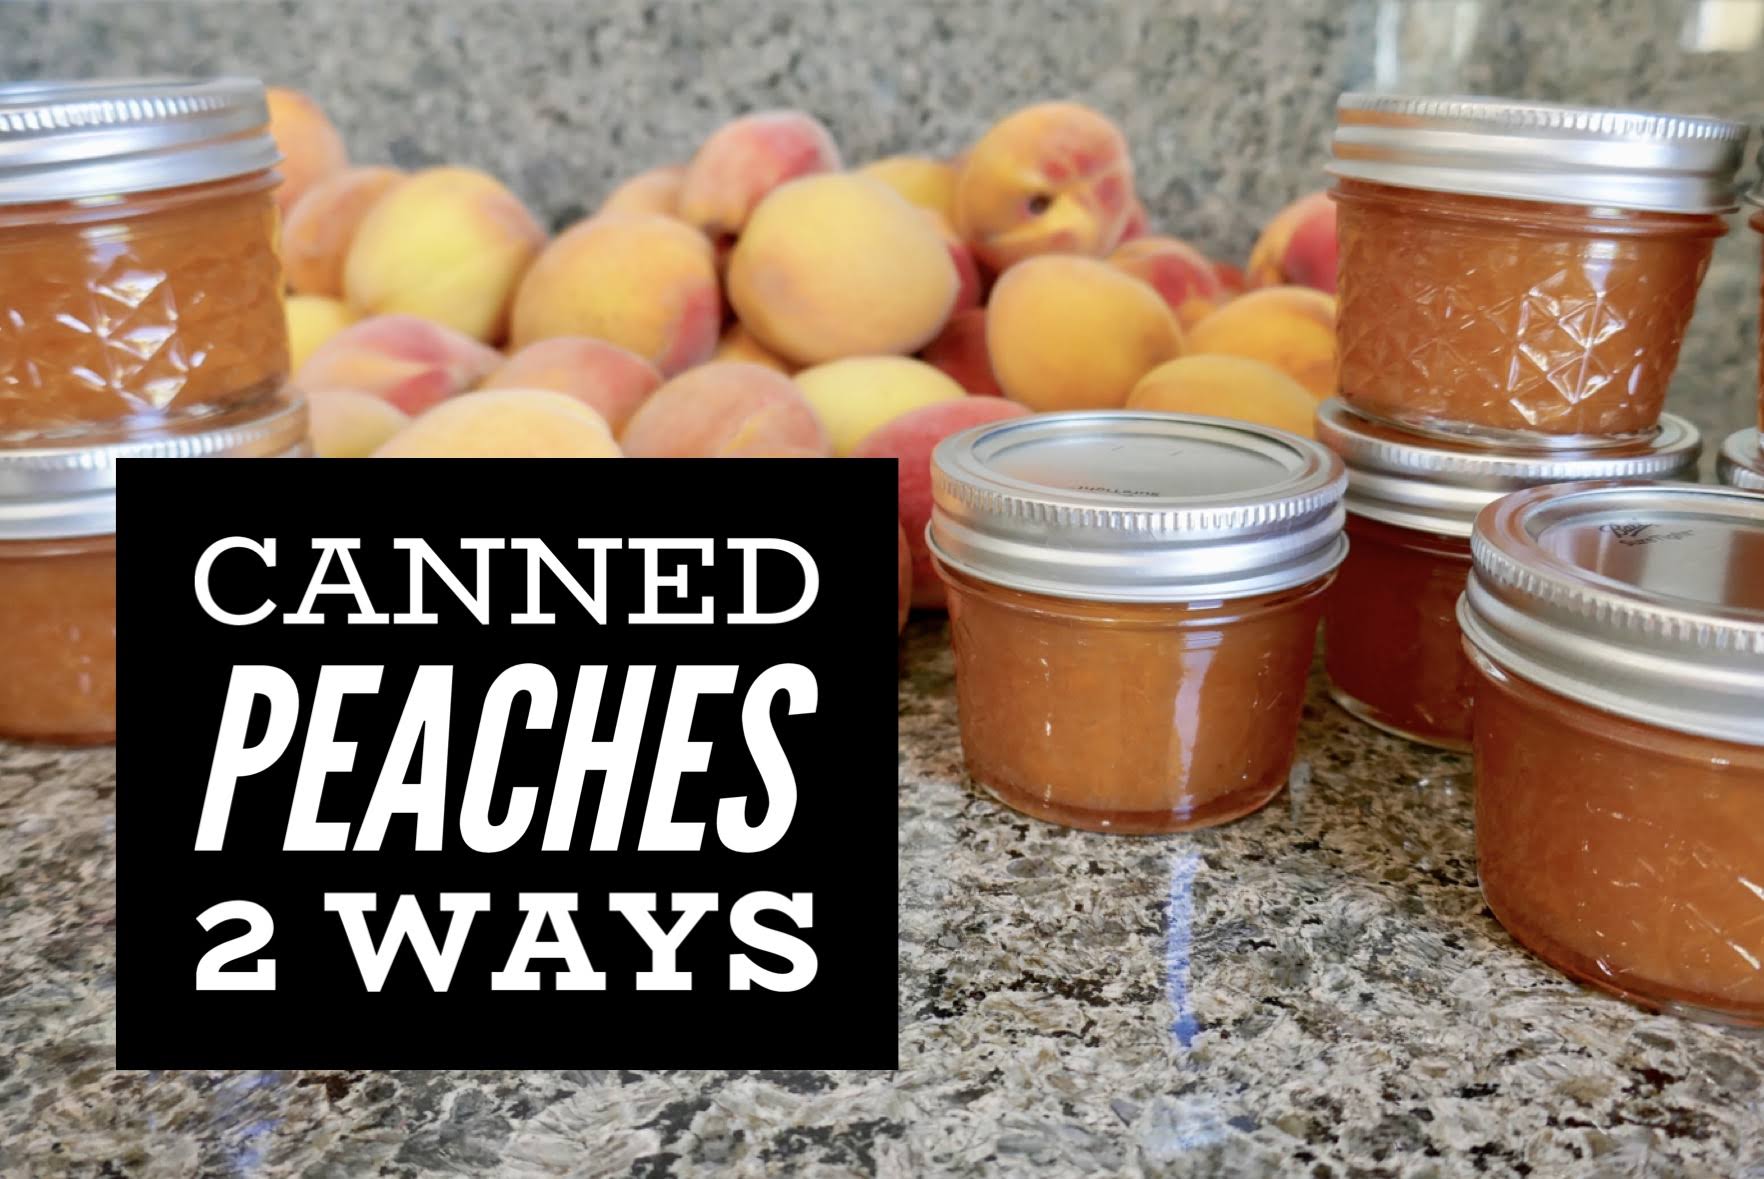
How To Can Peaches 2 Ways
If you would have told me 10 years ago that today I’d be living in a (relatively) small town and canning fruit from my backyard, I would have laughed. Probably more like witch cackled, and thought you were nuts. Heck, even 1 year ago the result would have been the same. Today I am happy and proud to share I have expanded my culinary game and added canning to my kitchen skills set. The first crop to contend in our yard was peaches. Now time to share my beginner’s guide to canning peaches 2 ways.
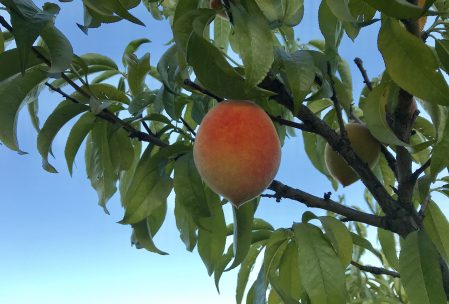
Peaches are prime for picking in late summer in most areas. Mine were ripe and ready around the beginning of August. Peaches start out tiny, green and hard and grow, soften, and turn yellow to orange as they ripen. Once ours were mostly orange, we checked their readiness by picking one off the tree everyday and trying it. We came to learn that peaches are pretty temperamental, similar to avocados. They sit in their unripened stage for ages, then are ripe and perfect for maybe a couple days, then it’s too late. These picky peaches forced my hand into canning because even as good as peaches are, my family certainly can’t eat a whole tree full at once.
Canning peaches is simple enough once you understand the concept and have all the materials. But to be real, it is time consuming! So, once you have your peaches, time to gather the rest of your canning materials. There are whole lines of canning materials, but substitutions can be made for some of them. The main items are:large, deep pot for boiling water (should be deep enough for jars to submerge with 1 inch of water above)L
Large bowl of ice water
Large sauce pot to cook peaches
Glass preserving jars (I like Bell brand)
Jar lifter
Funnel
baking sheet pans
Ripe, fresh peaches
And some typical kitchen tools such as spatula, slotted spoon, paring knife, oven mitts
With all the materials gathered, time to set to work on canning those pretty peaches! Years ago in another blog post we covered how to freeze peaches, which goes into depth on the peeling process of peaches. Reference that post here.
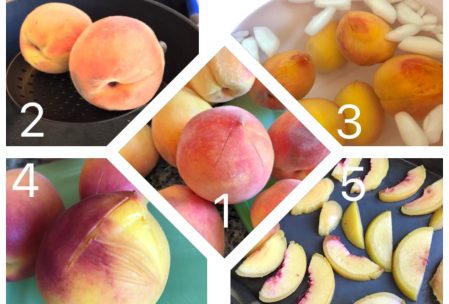
Peeling peaches takes 5 steps: score, boil, ice, peel, slice. For a handy reference in peeling peaches, we put together a little graphic below. Peeling peaches is the first step no matter what treatment your canned peaches will get down the road.
Peel enough peaches for your whole batch at a time, following your recipe. I found about 40 medium sized peaches will produce several jars of canned peaches (whether in jam or sliced form) and 40 is about all I can handle quickly enough. I try to work quickly so my peaches don’t oxidize (turn brown) too much before I get them to the cooking steps.
To keep the peaches from oxidizing (turning brown), there are a few things you can do. Toss gently in a few squeezes of citrus juice like lemon or lime. I tried both and both are good. Neither will detract from the peach flavor so don’t worry. Using this juice method is best for freezing peaches, or for jams. Another way to preserve their color can be, depending on the recipe, placing them into some room-temp sugar water. If you’re canning sliced peaches, the sugar water is the way to go.
Now the batch of peaches are peeled and sliced. Time to make canned peaches 2 ways! The first canned item I was simply craving to make out of my peaches was jam.
Tangent time: My sister made me some peach jam a few years ago, and it was super delicious! In fact, she introduced me to canning as a whole a while back too when she invited me over for a day of canning cucumbers. So I guess I do have some canning experience. But I was way more interested in just spending time with her and following her instructions than trying to learn canning at the time. Reminder, never thought I would decide to do such a thing as canning! She must have sensed something I didn’t though, because her introduction and guidance those years ago helped me have the courage to embark on this culinary adventure! Tangent complete. Back to canning peaches.
Ok, first up is peach jam!
Peach Jam
- 40 medium peaches
- 1 pouch liquid pectin (I used Certo brand)
- 3 1/2 cups granulated sugar
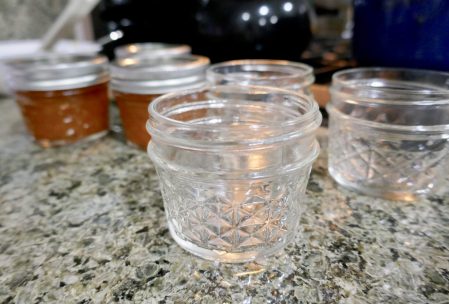
Before we can begin with the peaches, we need to have clean, sanitized canning jars ready. The easiest way based on my research, to sanitize these jars is to bake them at 220 degrees for 20 minutes. This can be happening while you prepare your recipe for canning. Always keep in mind you want to place hot peaches in hot jars to avoid any explosions.
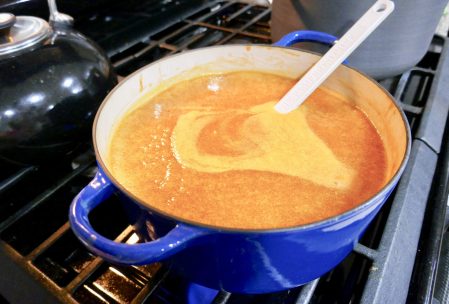
Begin with peeled, sliced peaches. Decide first whether you’d like your jam smooth or with chunks, or some variation between. Dice peaches to the desired size for a chunky jam, or pulse in a blender or food processor to puree peaches to achieve smoother jam. Place all prepared peaches in desired large sauce pot. Add entire pouch of liquid pectin. Stir to combine well. Turn the heat to medium high and stir constantly until pectin completely mixed in. Add all sugar at once. I’ve seen recipes with as much as 5 cups of sugar, but found a good balance of sweetness at 3 1/2. Bring to a boil and stir constantly until all sugar is dissolved.
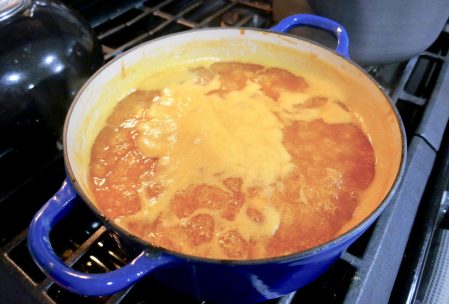
Continue to boil and allow to come to a hard boil, meaning stirring will not bring the boil down. Use a timer to continue hard boil for 1 minute exactly. Once 1 minute is up, turn off the heat.
A foam should have formed on top. This foam is fine and tastes just like the jam, but for a uniform appearance in the jam jars it should be scraped off. Use a kitchen spoon to gently spoon off just the layer of foam. (I saved mine in a bowl and ate it happily once the rest of my canning was finished.) The photo below shows the foam beginning to form and the pot nearly at a hard boil.
Using your jar lifter, gather your hot, sanitized jars and bring them close to the hot pot of peaches. Set the jars on a heat-proof surface for filling. Using a funnel, spoon the jam into the jar until 1/4 inch from the top. In most jars I found 1/4 inch from the top to be at the top screw line, but it can be eyeballed or measured if you prefer. Wipe off the rim of the jar if any spills or drips occurred. Place the jar lids on top. Screw on the rings until just barely tightened. They should be able to be unscrewed with just your fingertips. Fill all your jars.
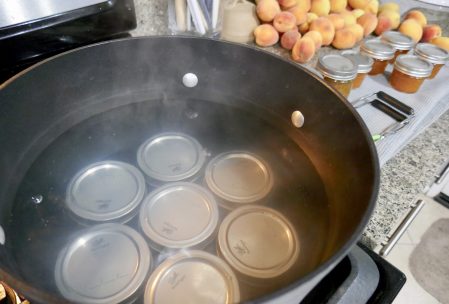
Bring a large, deep pot of water to a medium heat. Lower in filled jars of peach jam using the jar lift tool. Ensure at least 1 inch of water is over jars. Bring the pot to a boil and boil for 10 minutes. This step is the canning process. Boiling heats the contents with the pressure left between the jam and the lid to vacuum seal. Prepare a space for the jars to set without being disturbed for 24 hours. A kitchen towel on the counter will do the trick. After 10 minutes, use the jar lifter to remove the jars of jam from the pot. Place them on the designated space and do not disturb for 24 hours.
During this time, a small click should be heard from each jar as the lid seals down. Most of the time this happens pretty quickly, but can take up to 24 hours and regardless of it happening sooner, the jars still need to cool and sit undisturbed. After 24 hours, press down in the center of the lids to check their seal. If there is no movement, canning is a success! If the lid does depress, it should be refrigerated and eaten first. It can be reprocessed, but it is always best to remove the lid and use a fresh one.
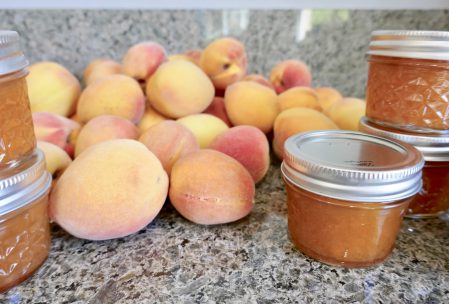
Fresh, homemade peach jam is my jam! I processed 95% of my peaches in the food processor for smoothness and kept a handful diced into small bits for texture. Take my word for it, eating that foam that gets scraped off is a delicious preview to the goodness you just canned. Canned peach jam should keep in a cool dark place for about 1 year. Mine are in a variety of jars to give to family, so hopefully I don’t eat it all.
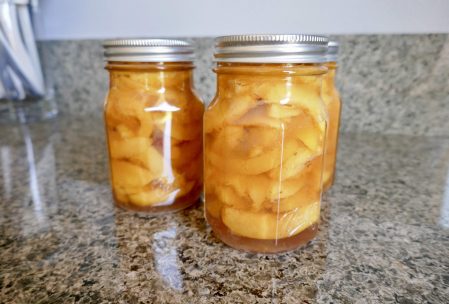
Our second variety in this feature of canned peaches 2 ways is sliced peaches!
With an entire tree full of peaches in my kitchen I knew I couldn’t just make jam. My main reasoning was I love it so much and wouldn’t want to get sick of it with the abundance of it around. Still, it is so delicious so that is probably unlikely anyway. But, if you’ve seen my other posts, Blueberry Muffins 2 Ways or Strawberry Cake 2 Ways, you guessed it, I have a fruity duo of desserts tradition going and we’re just gonna keep it that way!
Sliced Peaches
- 20 medium peaches
- 8 cups water
- 1 cup granulated sugar
Before we can begin with the peaches, we need to have clean, sanitized canning jars ready. The easiest way based on my research, to sanitize these jars is to bake them at 220 degrees for 20 minutes. This can be happening while you prepare your recipe for canning. Always keep in mind you want to place hot peaches in hot jars to avoid any explosions.
On to the recipe!
Begin by preparing a simple syrup in a large sauce pot. Peaches will be added to this later, so choose a big enough pot now. Bring water and sugar to a boil for 5 minutes ensuring all sugar dissolves. Set aside to cool. Peel and slice all peaches. As peaches are sliced, place them into the cooled syrup. Place the pot with syrup and peaches back on the heat. Bring to a boil and cook for 5 minutes. Remove from heat.
Bring warm, sanitized jars close to the pot of peaches for filling. Using tongs, pick peaches from the pot to fill each jar. Once the jars are full with slices, use a funnel and spoon some of the syrup into the jars to leaving 1/4 inch at the top. Insert a thin plastic device (I used an orange peeler) into several parts down the inside of the jars. This releases air bubbles inside the jars. The syrup may redistribute a bit so add more if needed.
This process gets pretty messy. Use a damp paper towel to wipe the rim of each jar clean. Add the lids, and rings and screw until just tight enough to unscrew with your fingertips. Submerge in a large deep pot of heated water. Make sure jars are covered with at least 1 inch of water. Bring to a boil and continue processing for 20 minutes. Remove with the jar lifter onto a heat safe surface where they can remain undisturbed for 24 hours. A kitchen towel on the counter is the typical setup for this.
During this time, a small click should be heard from each jar as the lid seals down. Most of the time this happens pretty quickly, but can take up to 24 hours and regardless of it happening sooner, the jars still need to cool and sit undisturbed. After 24 hours, press down in the center of the lids to check their seal. If there is no movement, canning is a success! If the lid does depress, it should be refrigerated and eaten first. It can be reprocessed, but it is always best to remove the lid and use a fresh one.
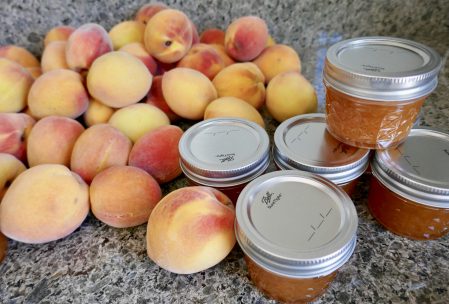
Canned peaches 2 ways complete! I couldn’t be more pleased I attempted this and succeeded on my first try. It is certainly time consuming unlike anything else. And it takes over your whole kitchen. My beginner’s lesson on canning would be to clear off surfaces and do all your dishes first, because you don’t want that thing you need right now to be dirty. Or to run out of counter space. Canning sure took over my life for about 3 days, but it is so rewarding. Dozens of successfully sealed jars are sitting atop my counter like a flock of deliciously golden trophies. Never won a trophy in my life, but these will do any day!
Baking and crafting fancy treats has always been my thing. Seriously though, canning your own food you grew is extremely satisfying. Don’t be afraid to try it! Now that I’ve done peaches, I’m waiting for my figs and apples to reach their harvesting time next. Secretly hoping those fruits will be easier without the peach-peeling-process, but I’m willing no matter what!
Whether you’re grabbing peaches out of your own yard, a farmer’s market, or a supermarket, try canning your own peaches! You won’t regret it once you taste the fruit of your labor.
For my tried and true favorite recipe of peachy goodness, see my other post Perfect Peach Cobbler. This recipe calls for frozen sliced peaches, to which I definitely froze plenty of pounds from the backyard to make us some perfect peach cobbler this holiday season.
What else do you like to make with peaches? Let us know below!