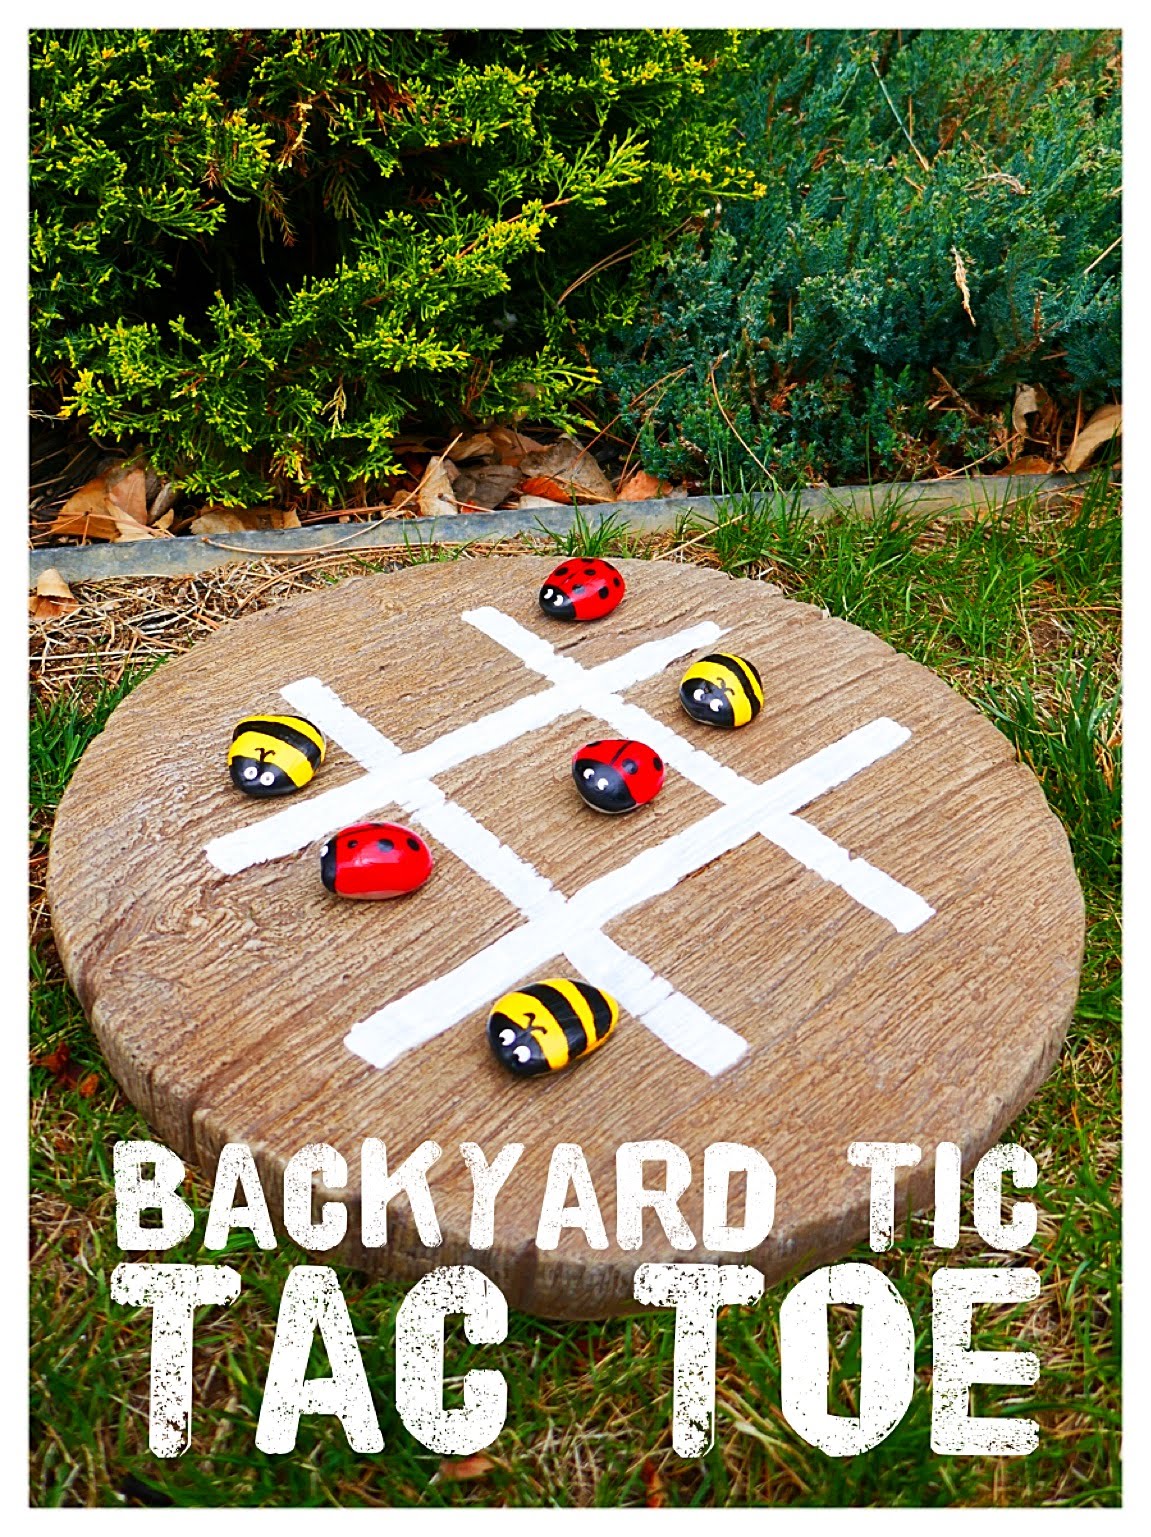
Backyard Tic Tac Toe with Painted Stones
Backyard Tic Tac Toe with Painted Stones is the newest addition to our yard. I love making something new to add to the yard once the weather changes for the better. Simple additions that blend in with the existing landscaping are my favorite. Painting regular yard features is a simple staple. Backyard tic tac toe with painted stones is super simple and super cute. This outdoor twist on the timeless game is so cute.
Kids playing outside is one of my favorite parts of summer. Having the great outdoors as a play place once again is such a relief from being cooped up from the cold. Each year I bring a new feature to keep it interesting for the kids. Best part is, I’m not talking about some thousand dollar play structure. The biggest impact I’ve found are classic games and toys made into outdoor or permanent versions. The past few summer additions were Homemade Hopscotch and DIY Toy Car Brick Road . Each brought such an impression to our yard, our kids, their friends, and are still going strong. I came across this idea a while ago and was so excited to finally make backyard tic tac toe with painted stones!
Making this backyard tic tac toe took just a few items and 2 hours to make. It can cost next to nothing if you have the items already. I splurged on the paver for the board itself because I had the rest of the materials already. I bought a paver stone at my local garden shop that looked like a slice of wood because I like the rustic natural look. It was a steep $24, but a regular round stone paver is about $3 at any home improvement store. The other items are simple: a pencil, a couple colors of outdoor paint, small paintbrushes, smooth stones, and some clear glaze paint.
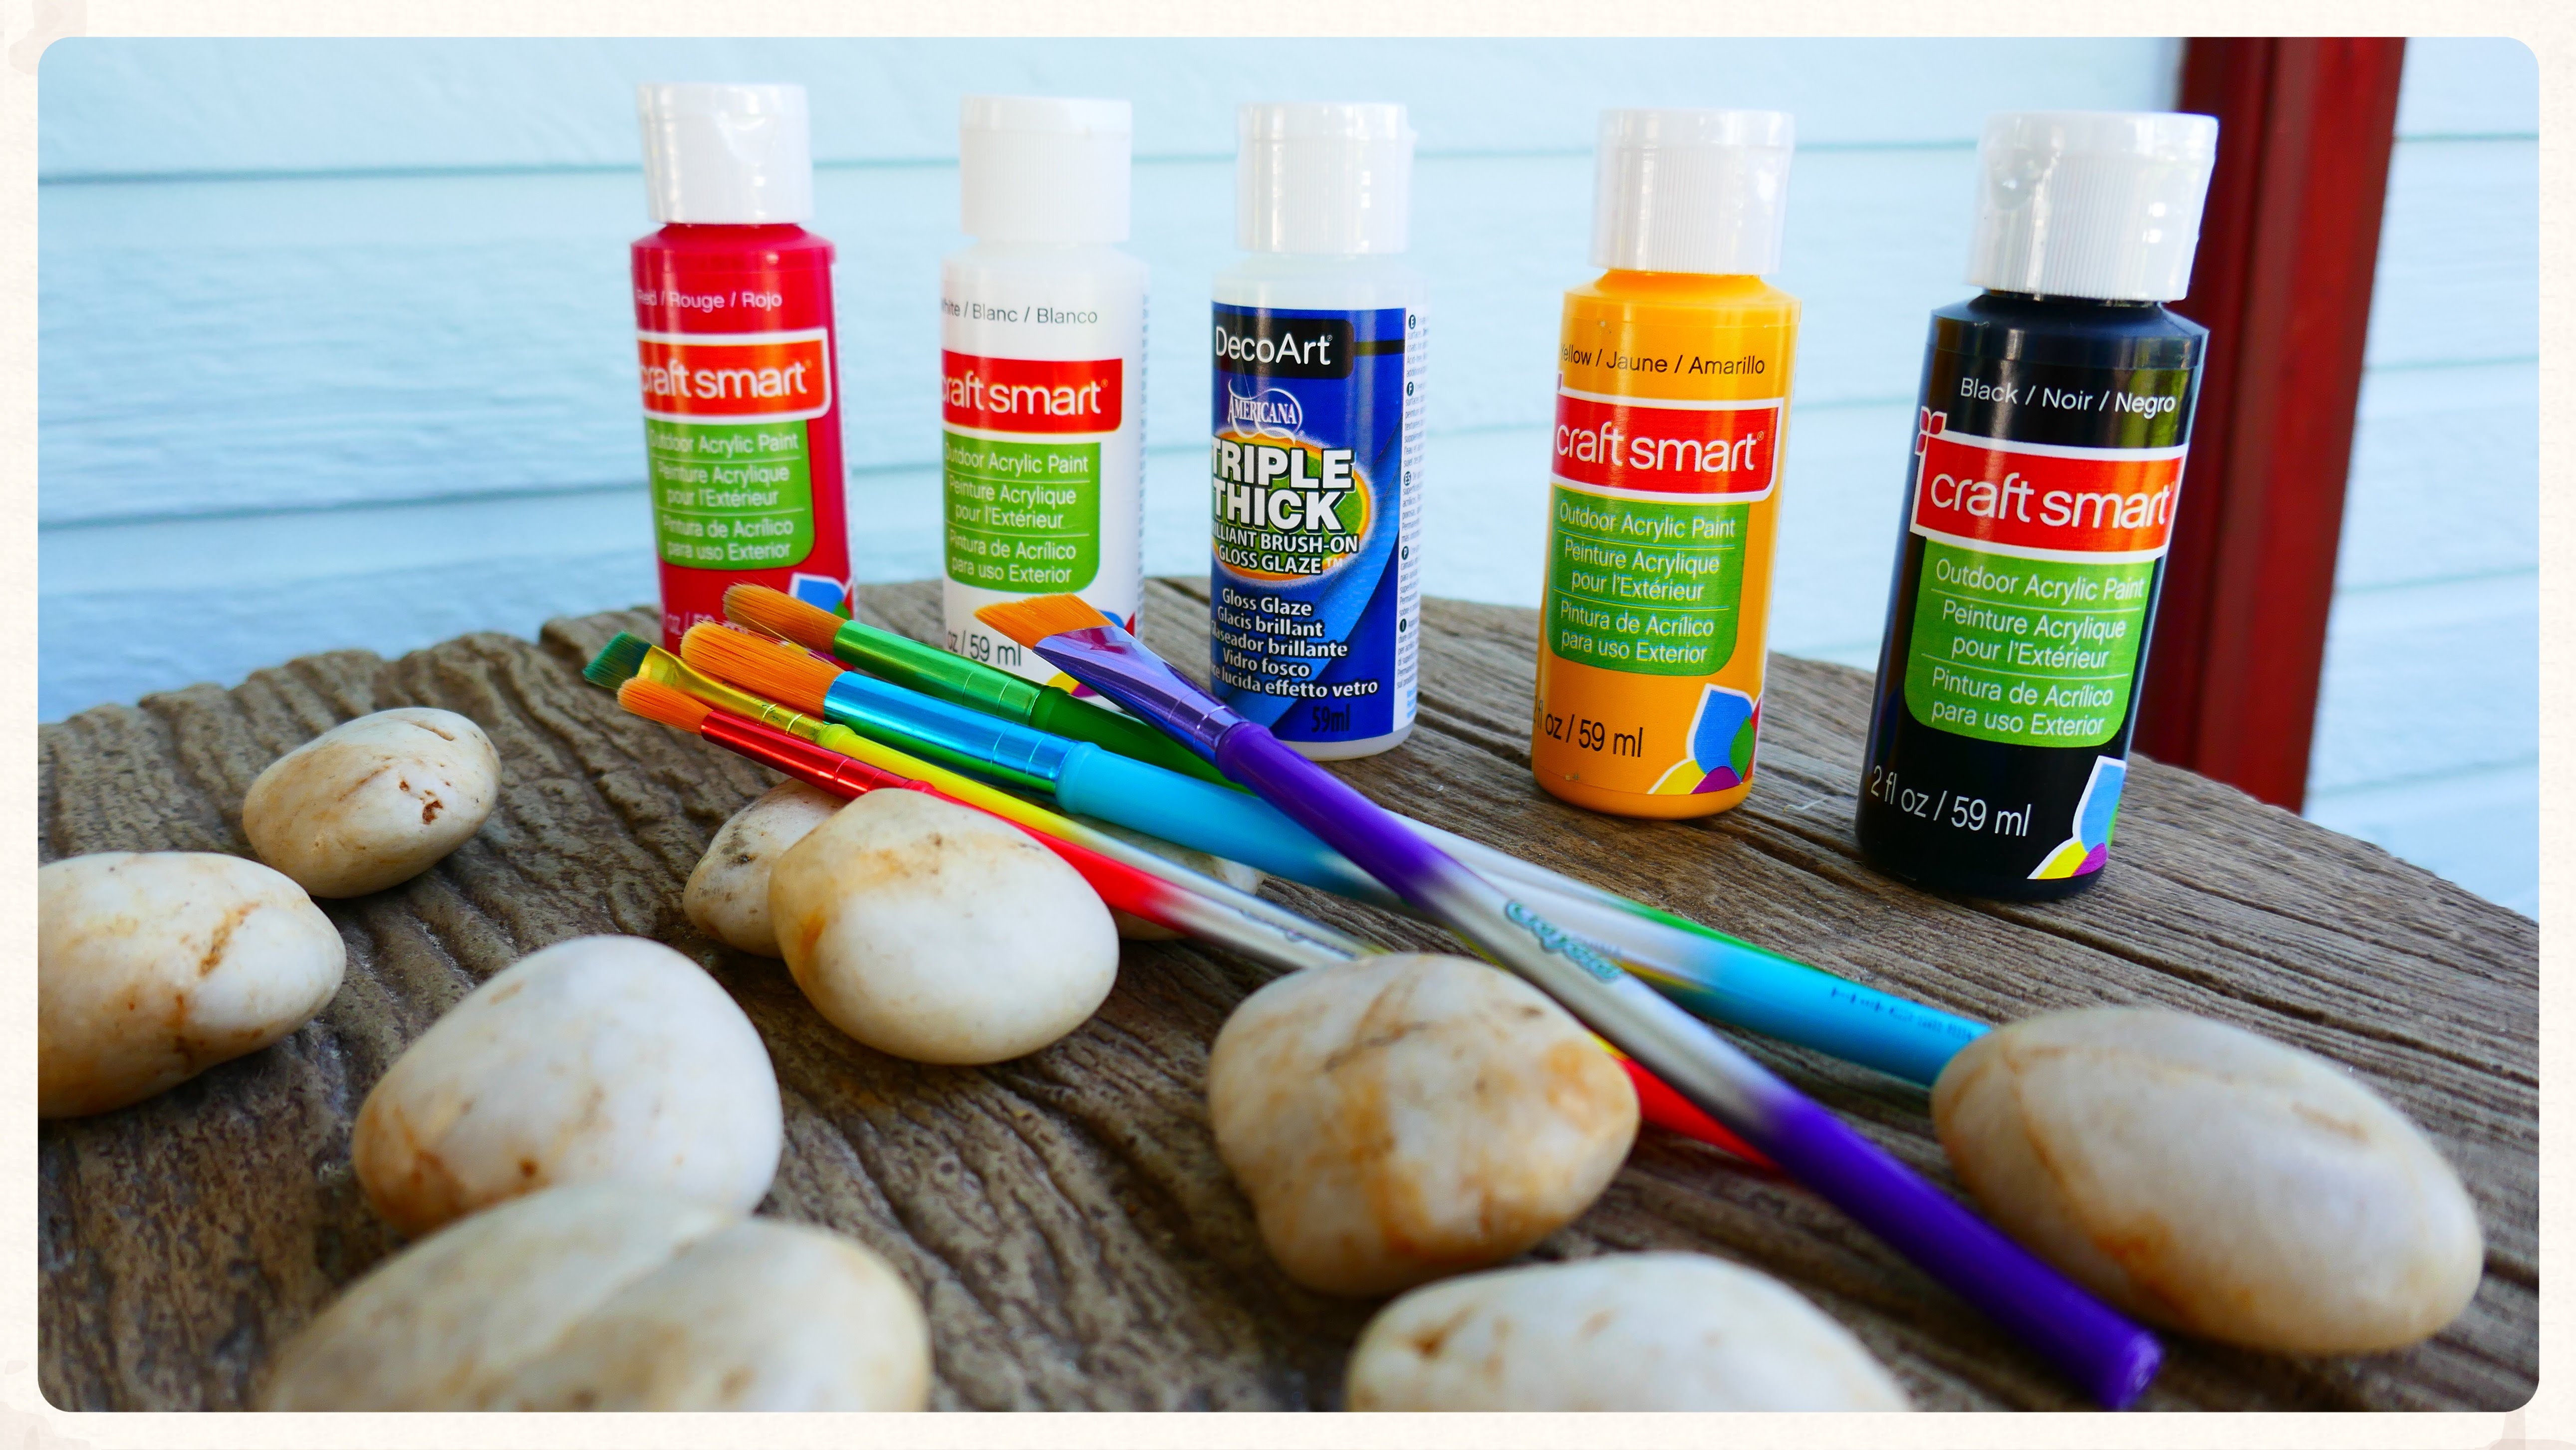
I did buy the stones from Michaels just because I didn’t have smooth stones in my yard already. Such a deal at less than $2 for a small bag of the rocks from their floral department. The paintbrushes are nothing fancy, in fact they are the cheapest variety pack from Crayola. There are some crazy brush prices out there, but nothing fancy needed for this art project. Materials gathered, you are ready to make Backyard Tic Tac Toe With Painted Stones come to life!
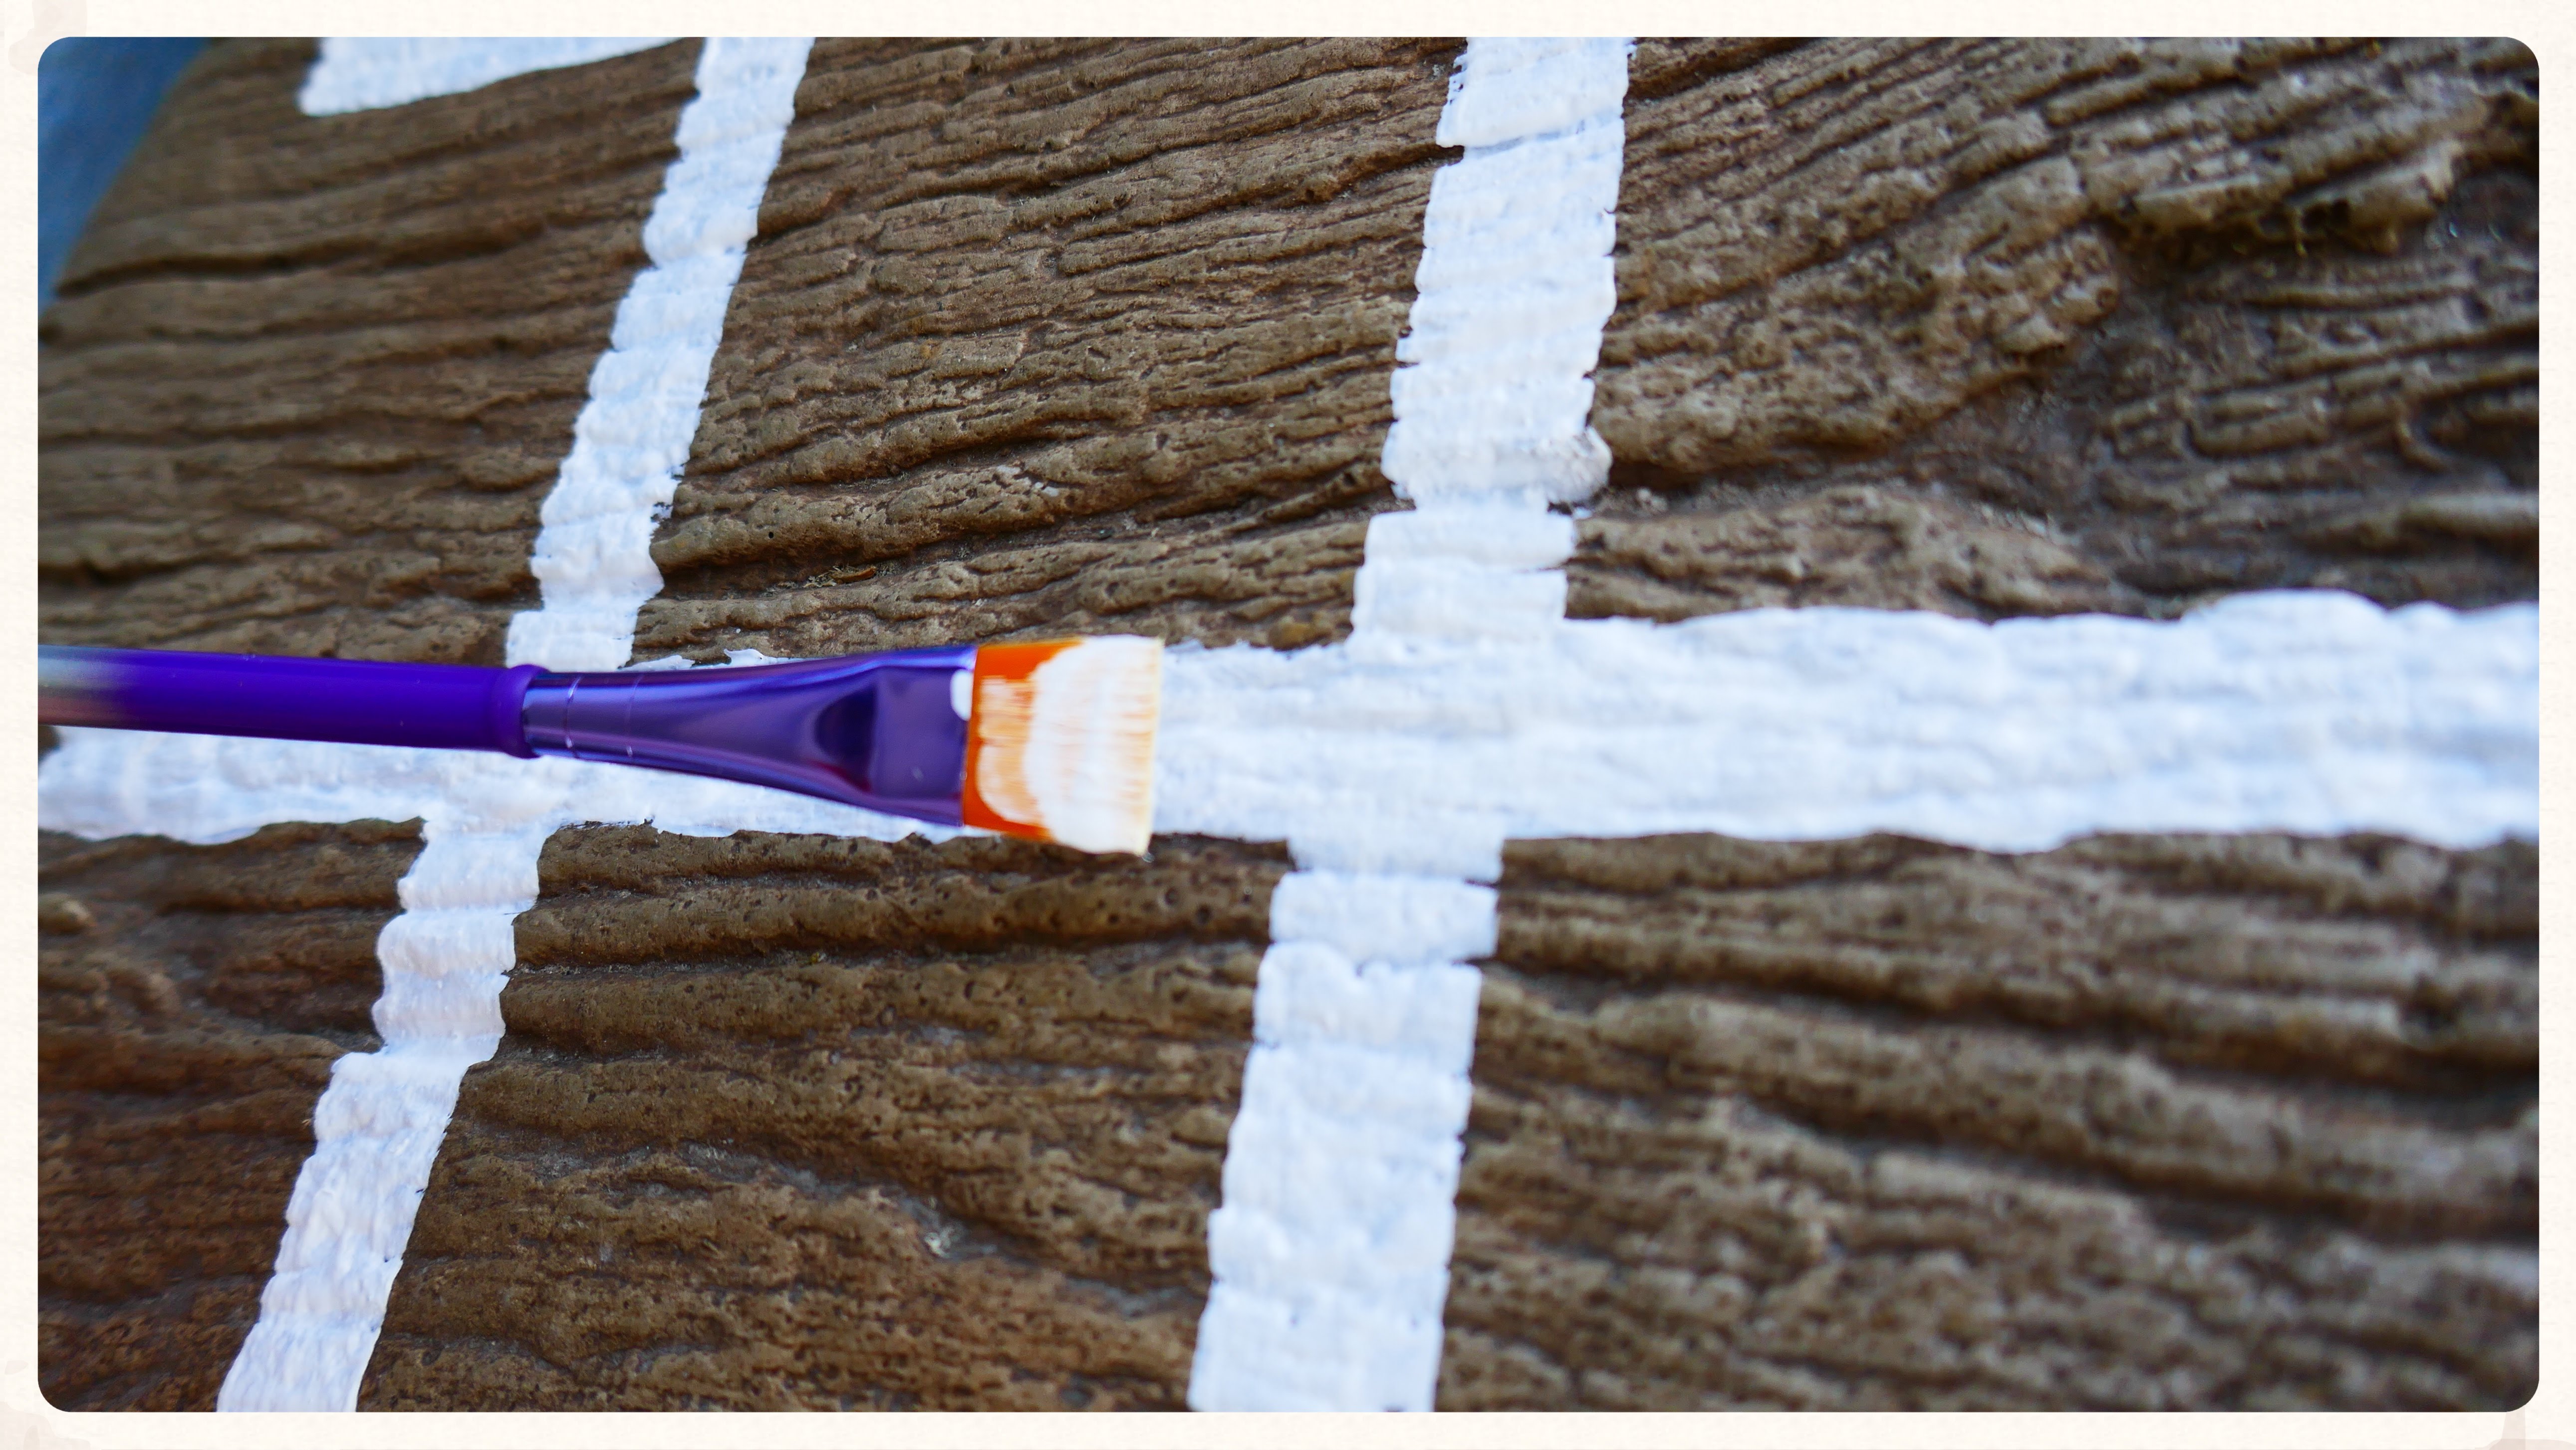
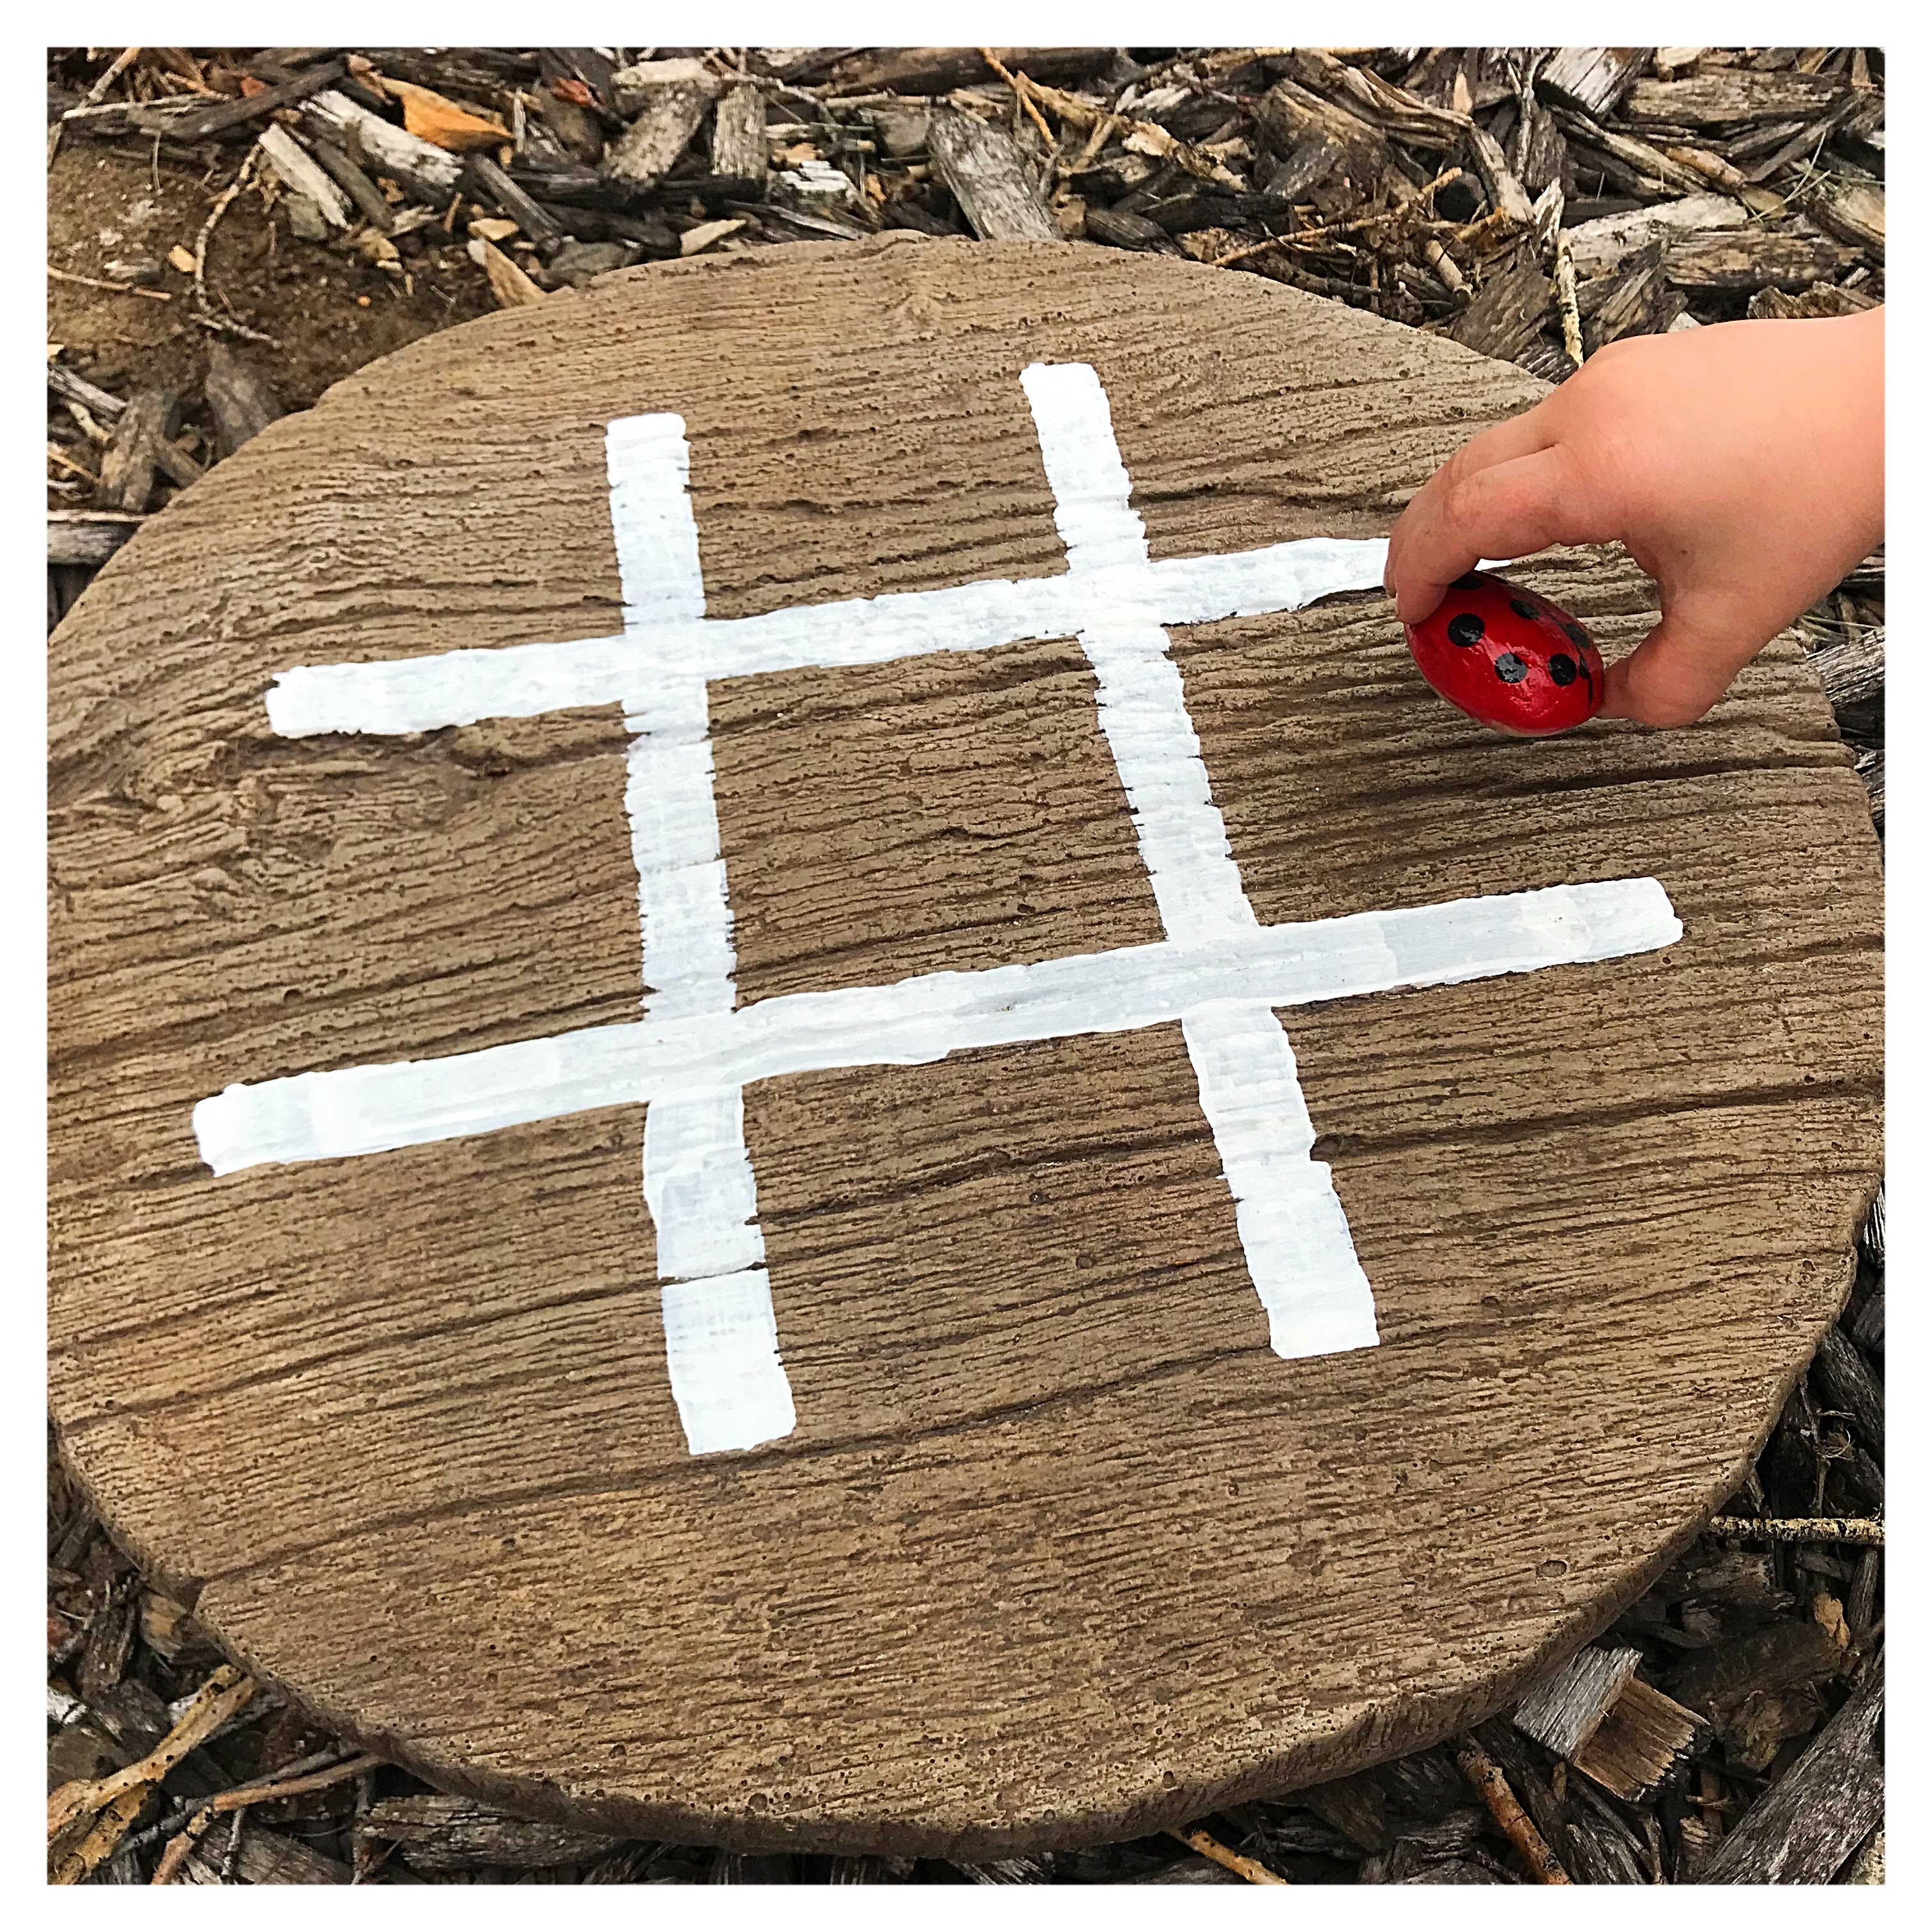
First thing to do is plot out the tic tac toe grid on your paver. It is best to gauge the size of the grid before painting. Place the stones on the paver to visualize the spaces for the stones. Use a small square brush and your chosen paint (I used white) to make the grid. Paint 2 coats and let each dry completely before finishing with a clear glaze paint over the grid lines.
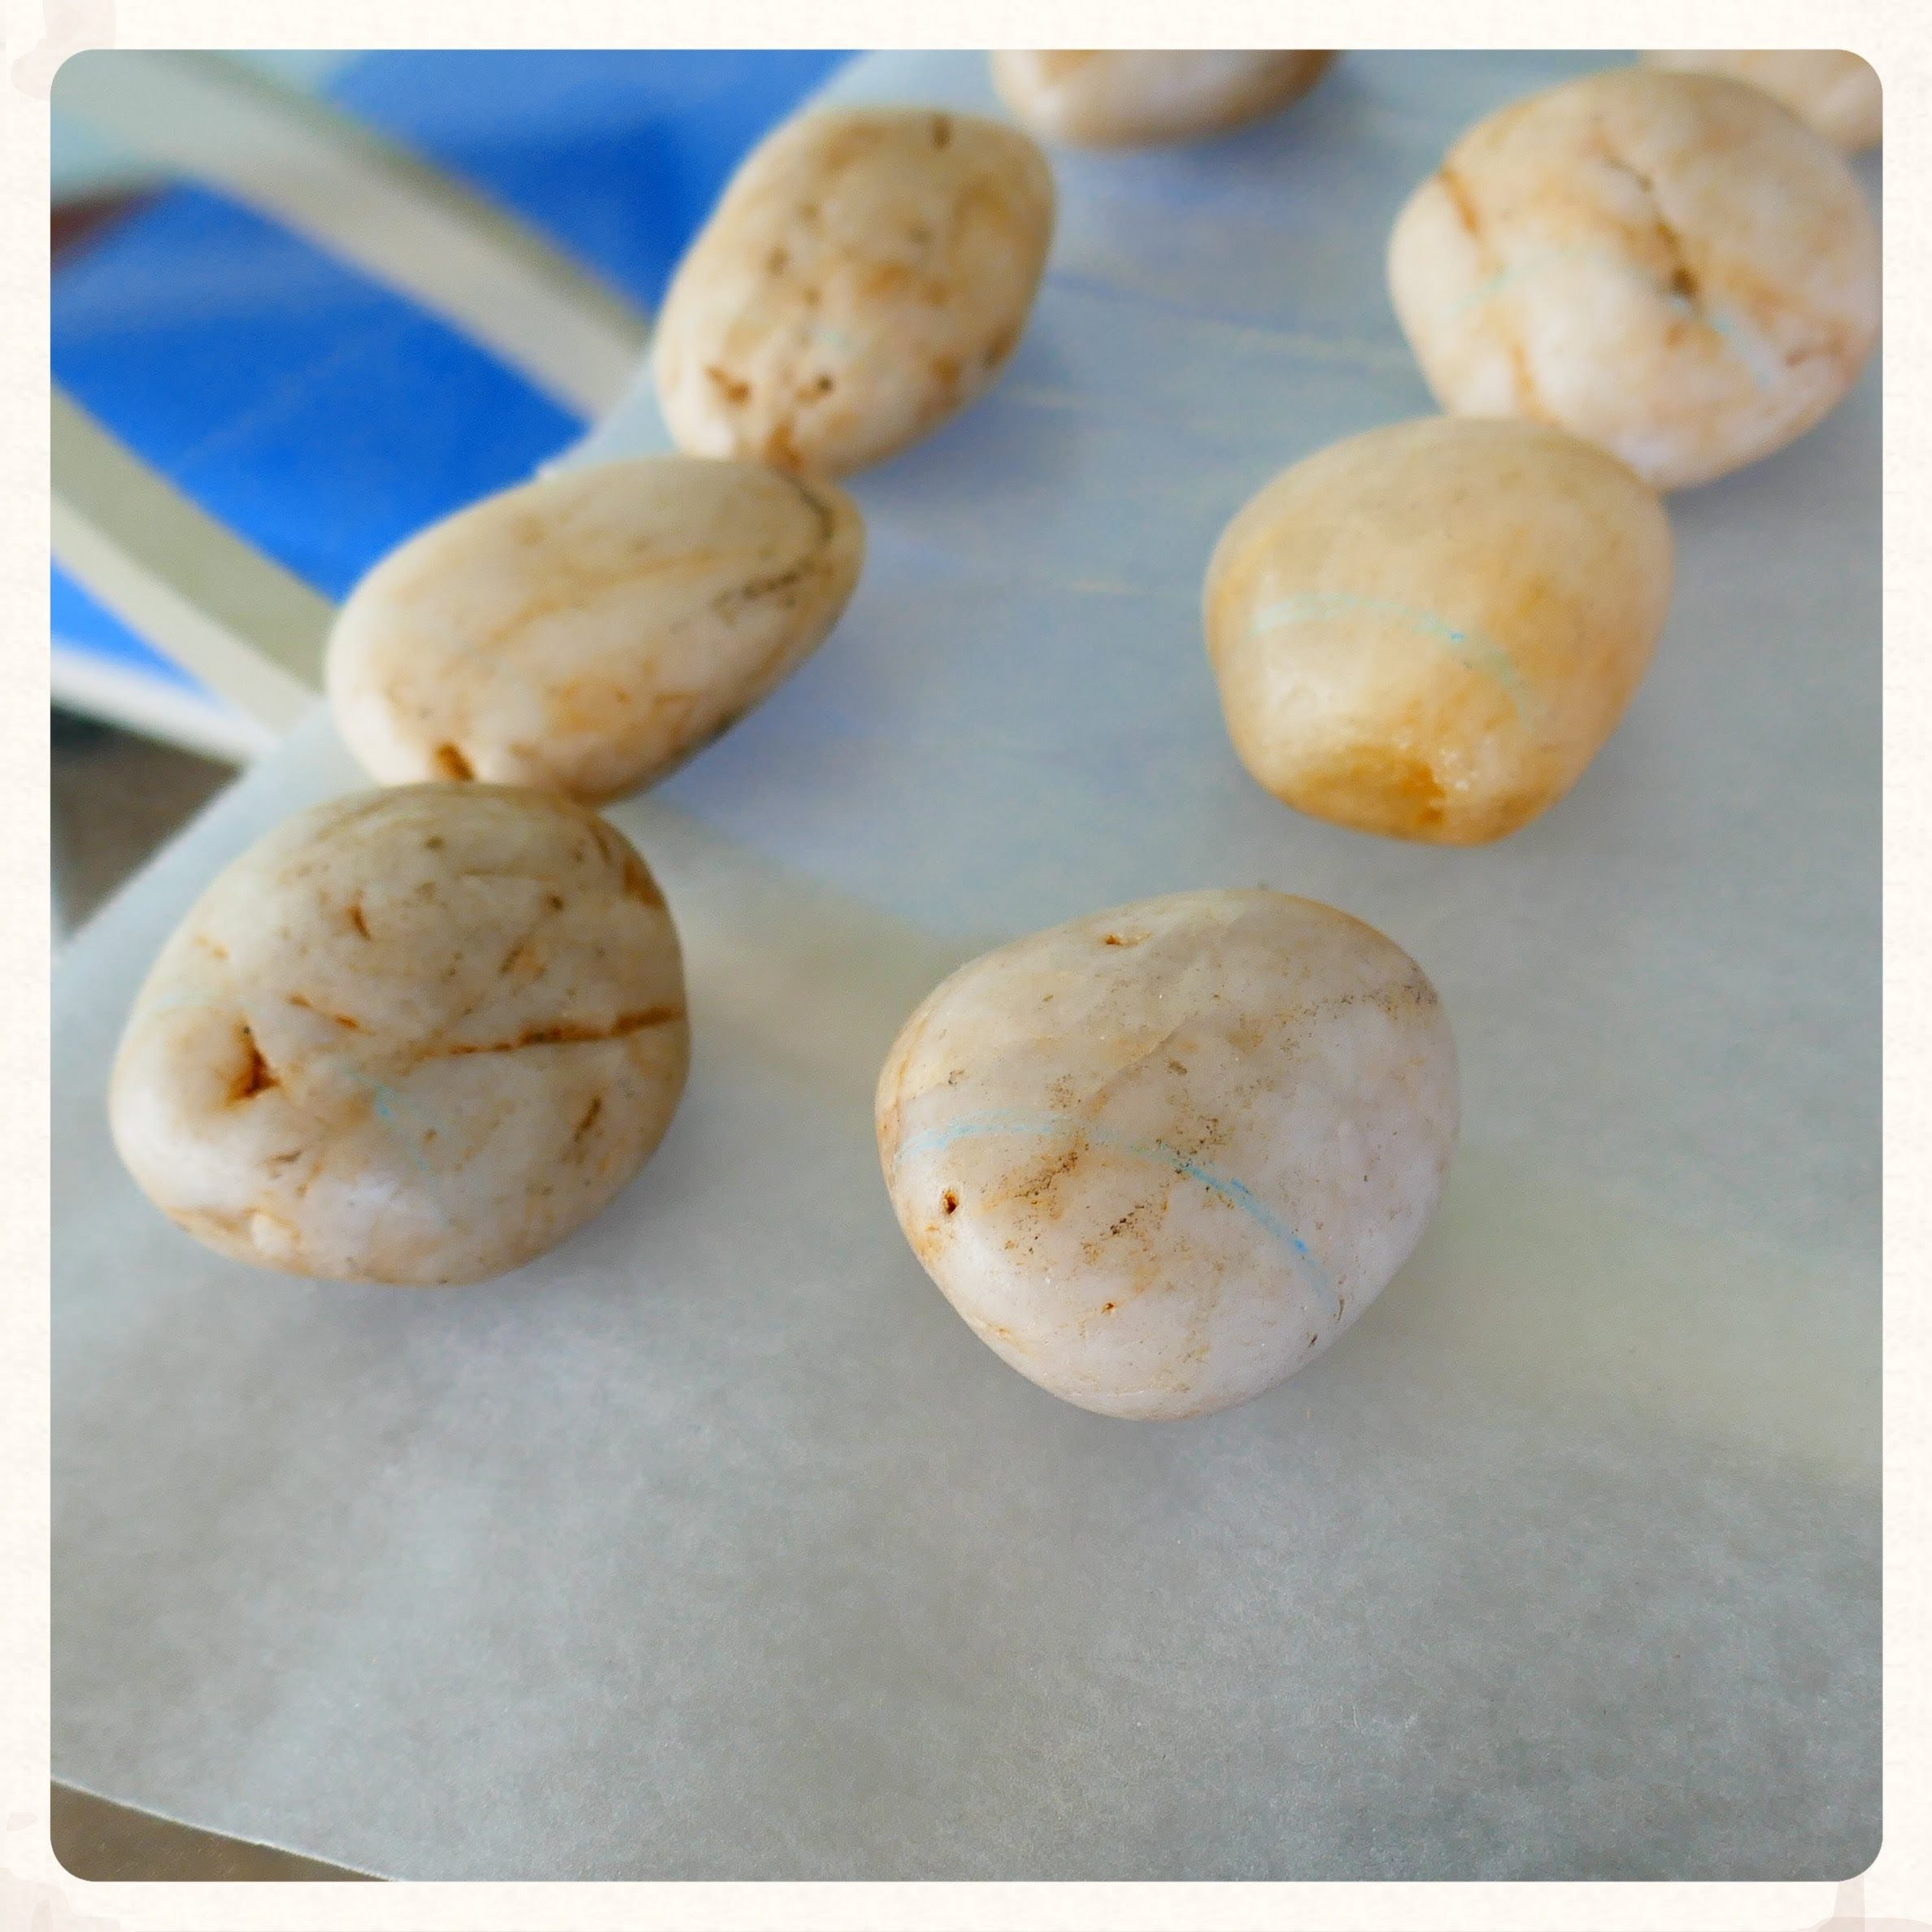
To make the game pieces, select 10 stones. You want them to be smooth and relatively stable when placed. Having a rolly rock won’t do you any good when it comes to game time since you’ll want your piece to remain in place. Think of it as your first strategic play in all your tic tac toe tournaments to come. Mine are all similar sizes too. To prepare them for the design, use the pencil to draw a half circle toward one end of each stone. A blue colored pencil was all I had, but that worked too. The line will come in useful if you’re no major artist like me.
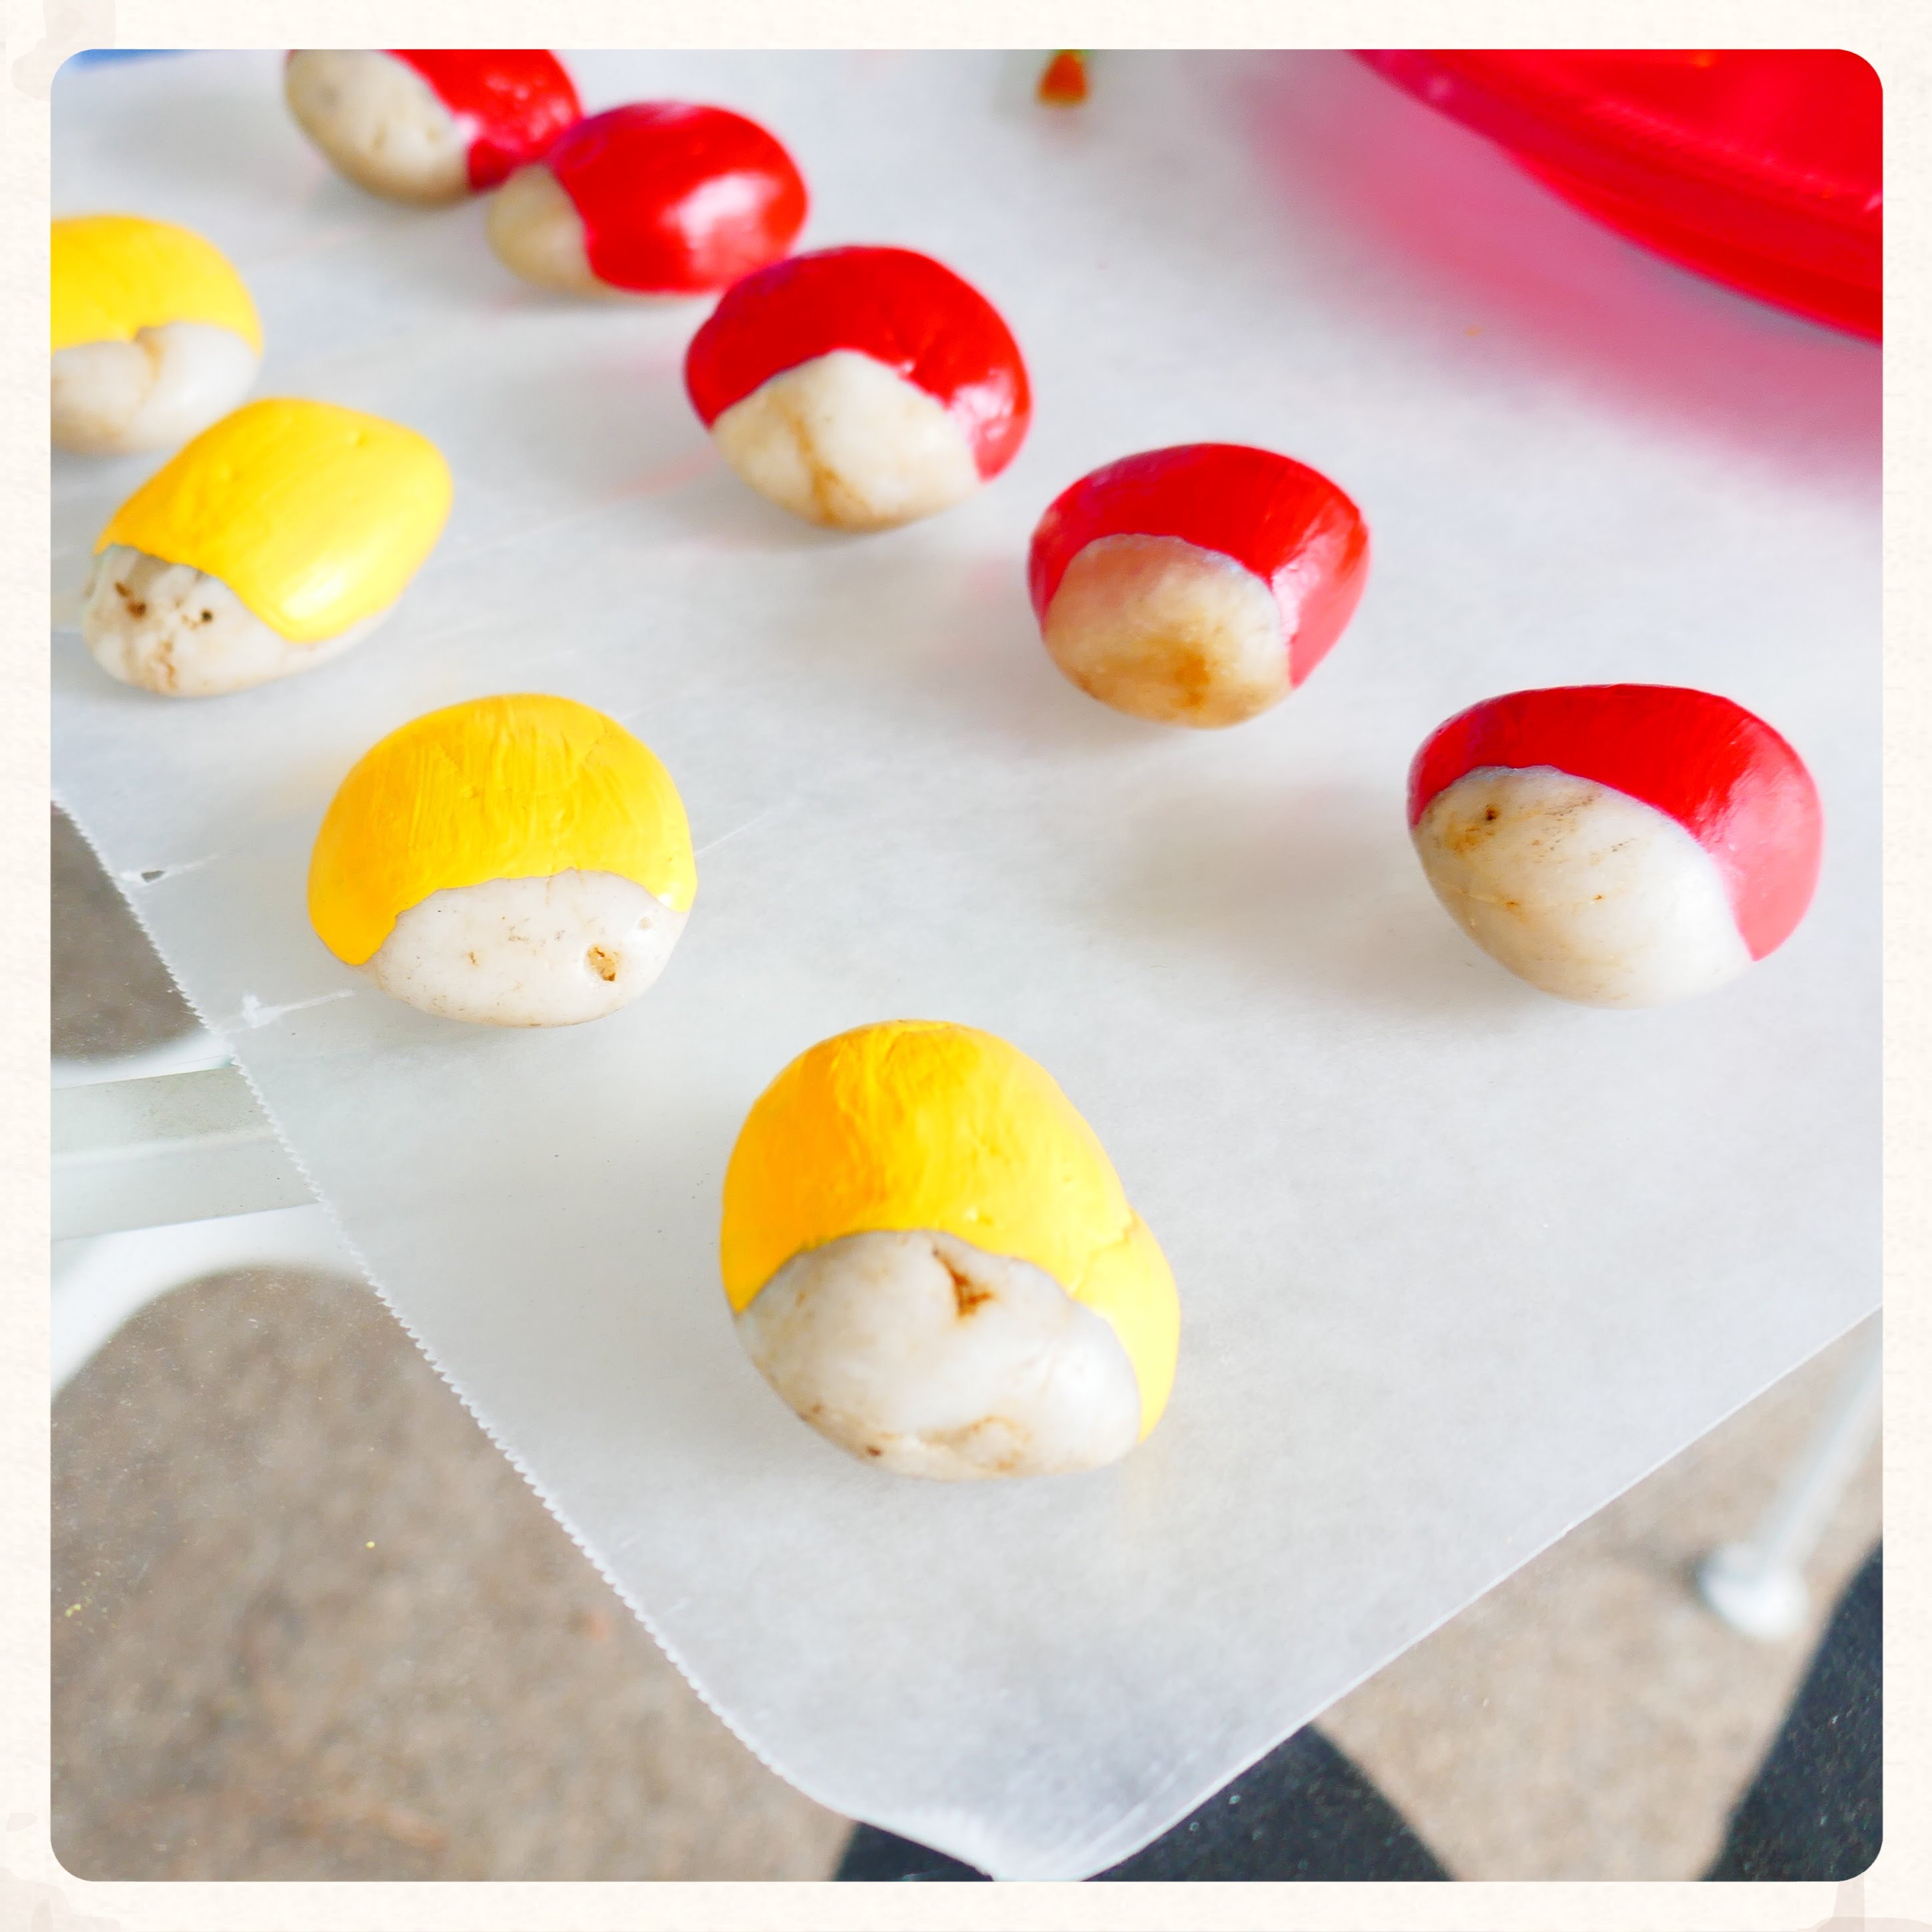
Use a small paintbrush and your chosen colors of outdoor craft paints to color the larger side of the stone from the pencil line. I used red and yellow since I am painting stones into ladybugs and bumble bees, but you can choose any colors or designs. Be sure to make 5 of each color for the 2 player game setup. The part of the stones that are not painted yet help you hold it up to paint a little down the sides. My stones took 3 coats each which I let dry completely between applications. It goes faster than it sounds.
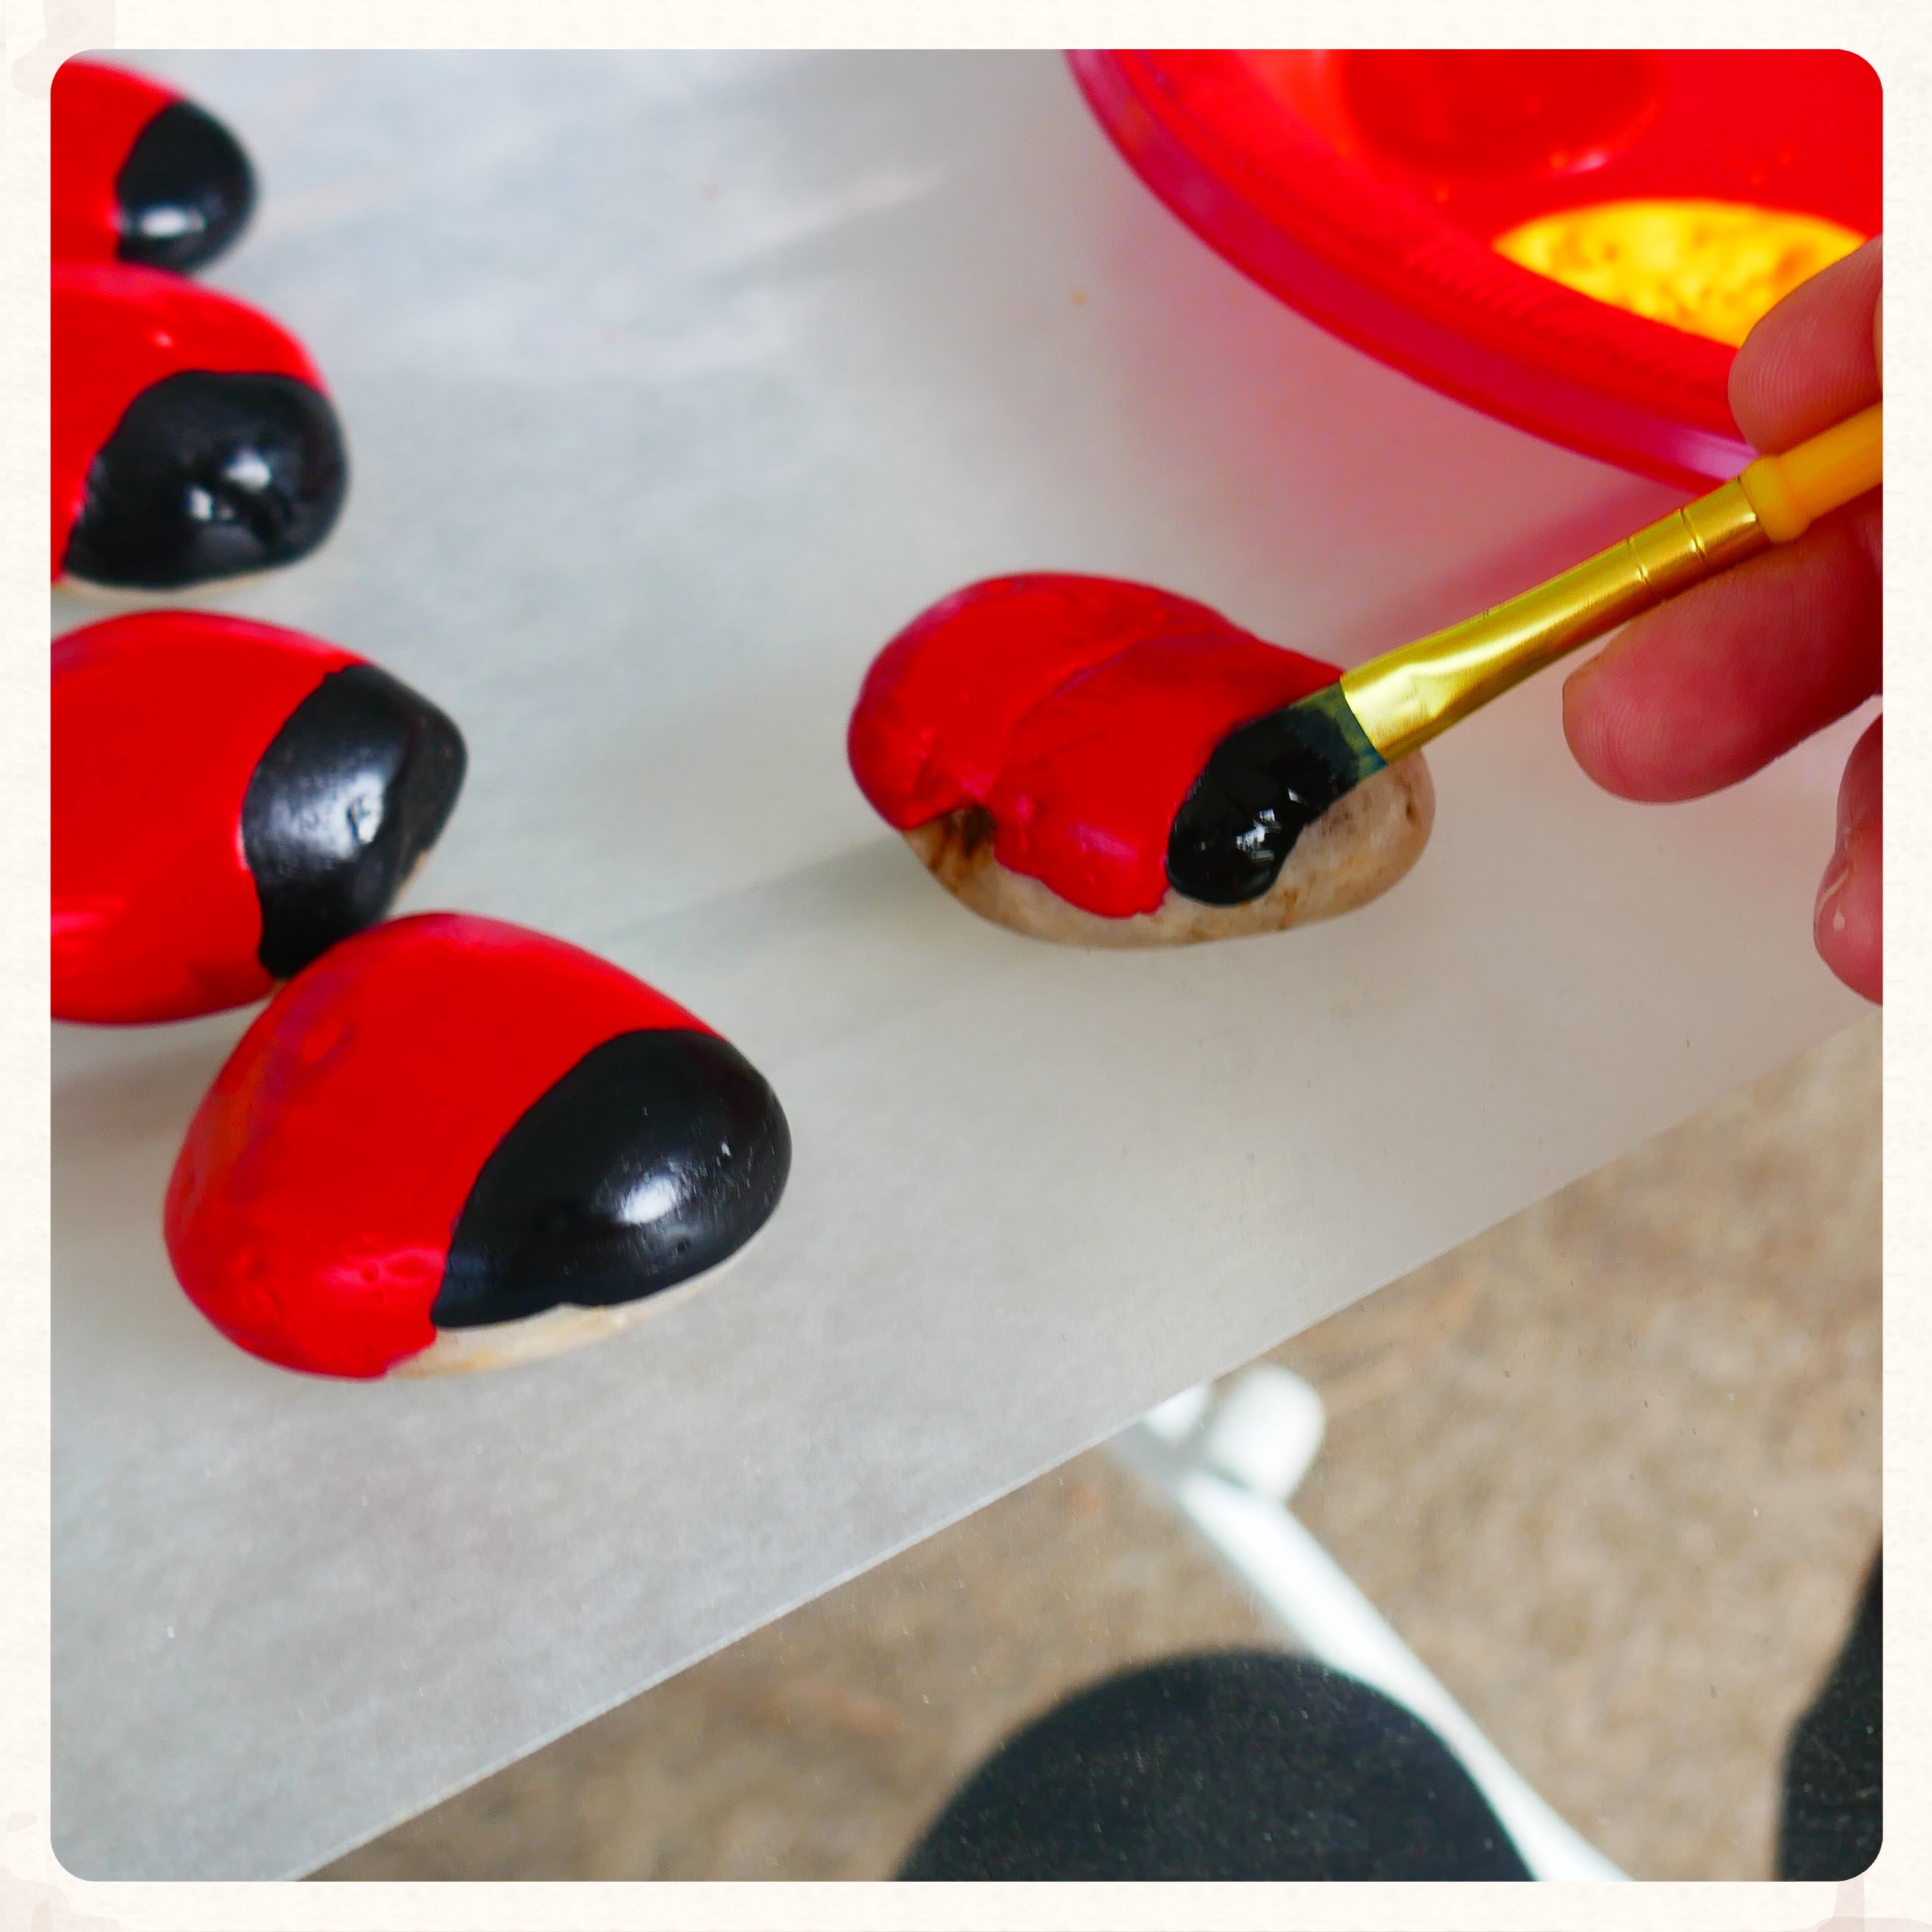
Once the color is completely dry, use an angled brush and black outdoor paint to paint the rest of the stone. The angled brush will help this go easily and smoothly in one stroke from side to side. Fill in the front of the bug’s head too with the black paint. The black only needs 1 coat. Allow to dry completely before painting the eyes. While waiting for the head of the bugs to dry, paint the other details such as the bumble bee stripes and lady bug spots.
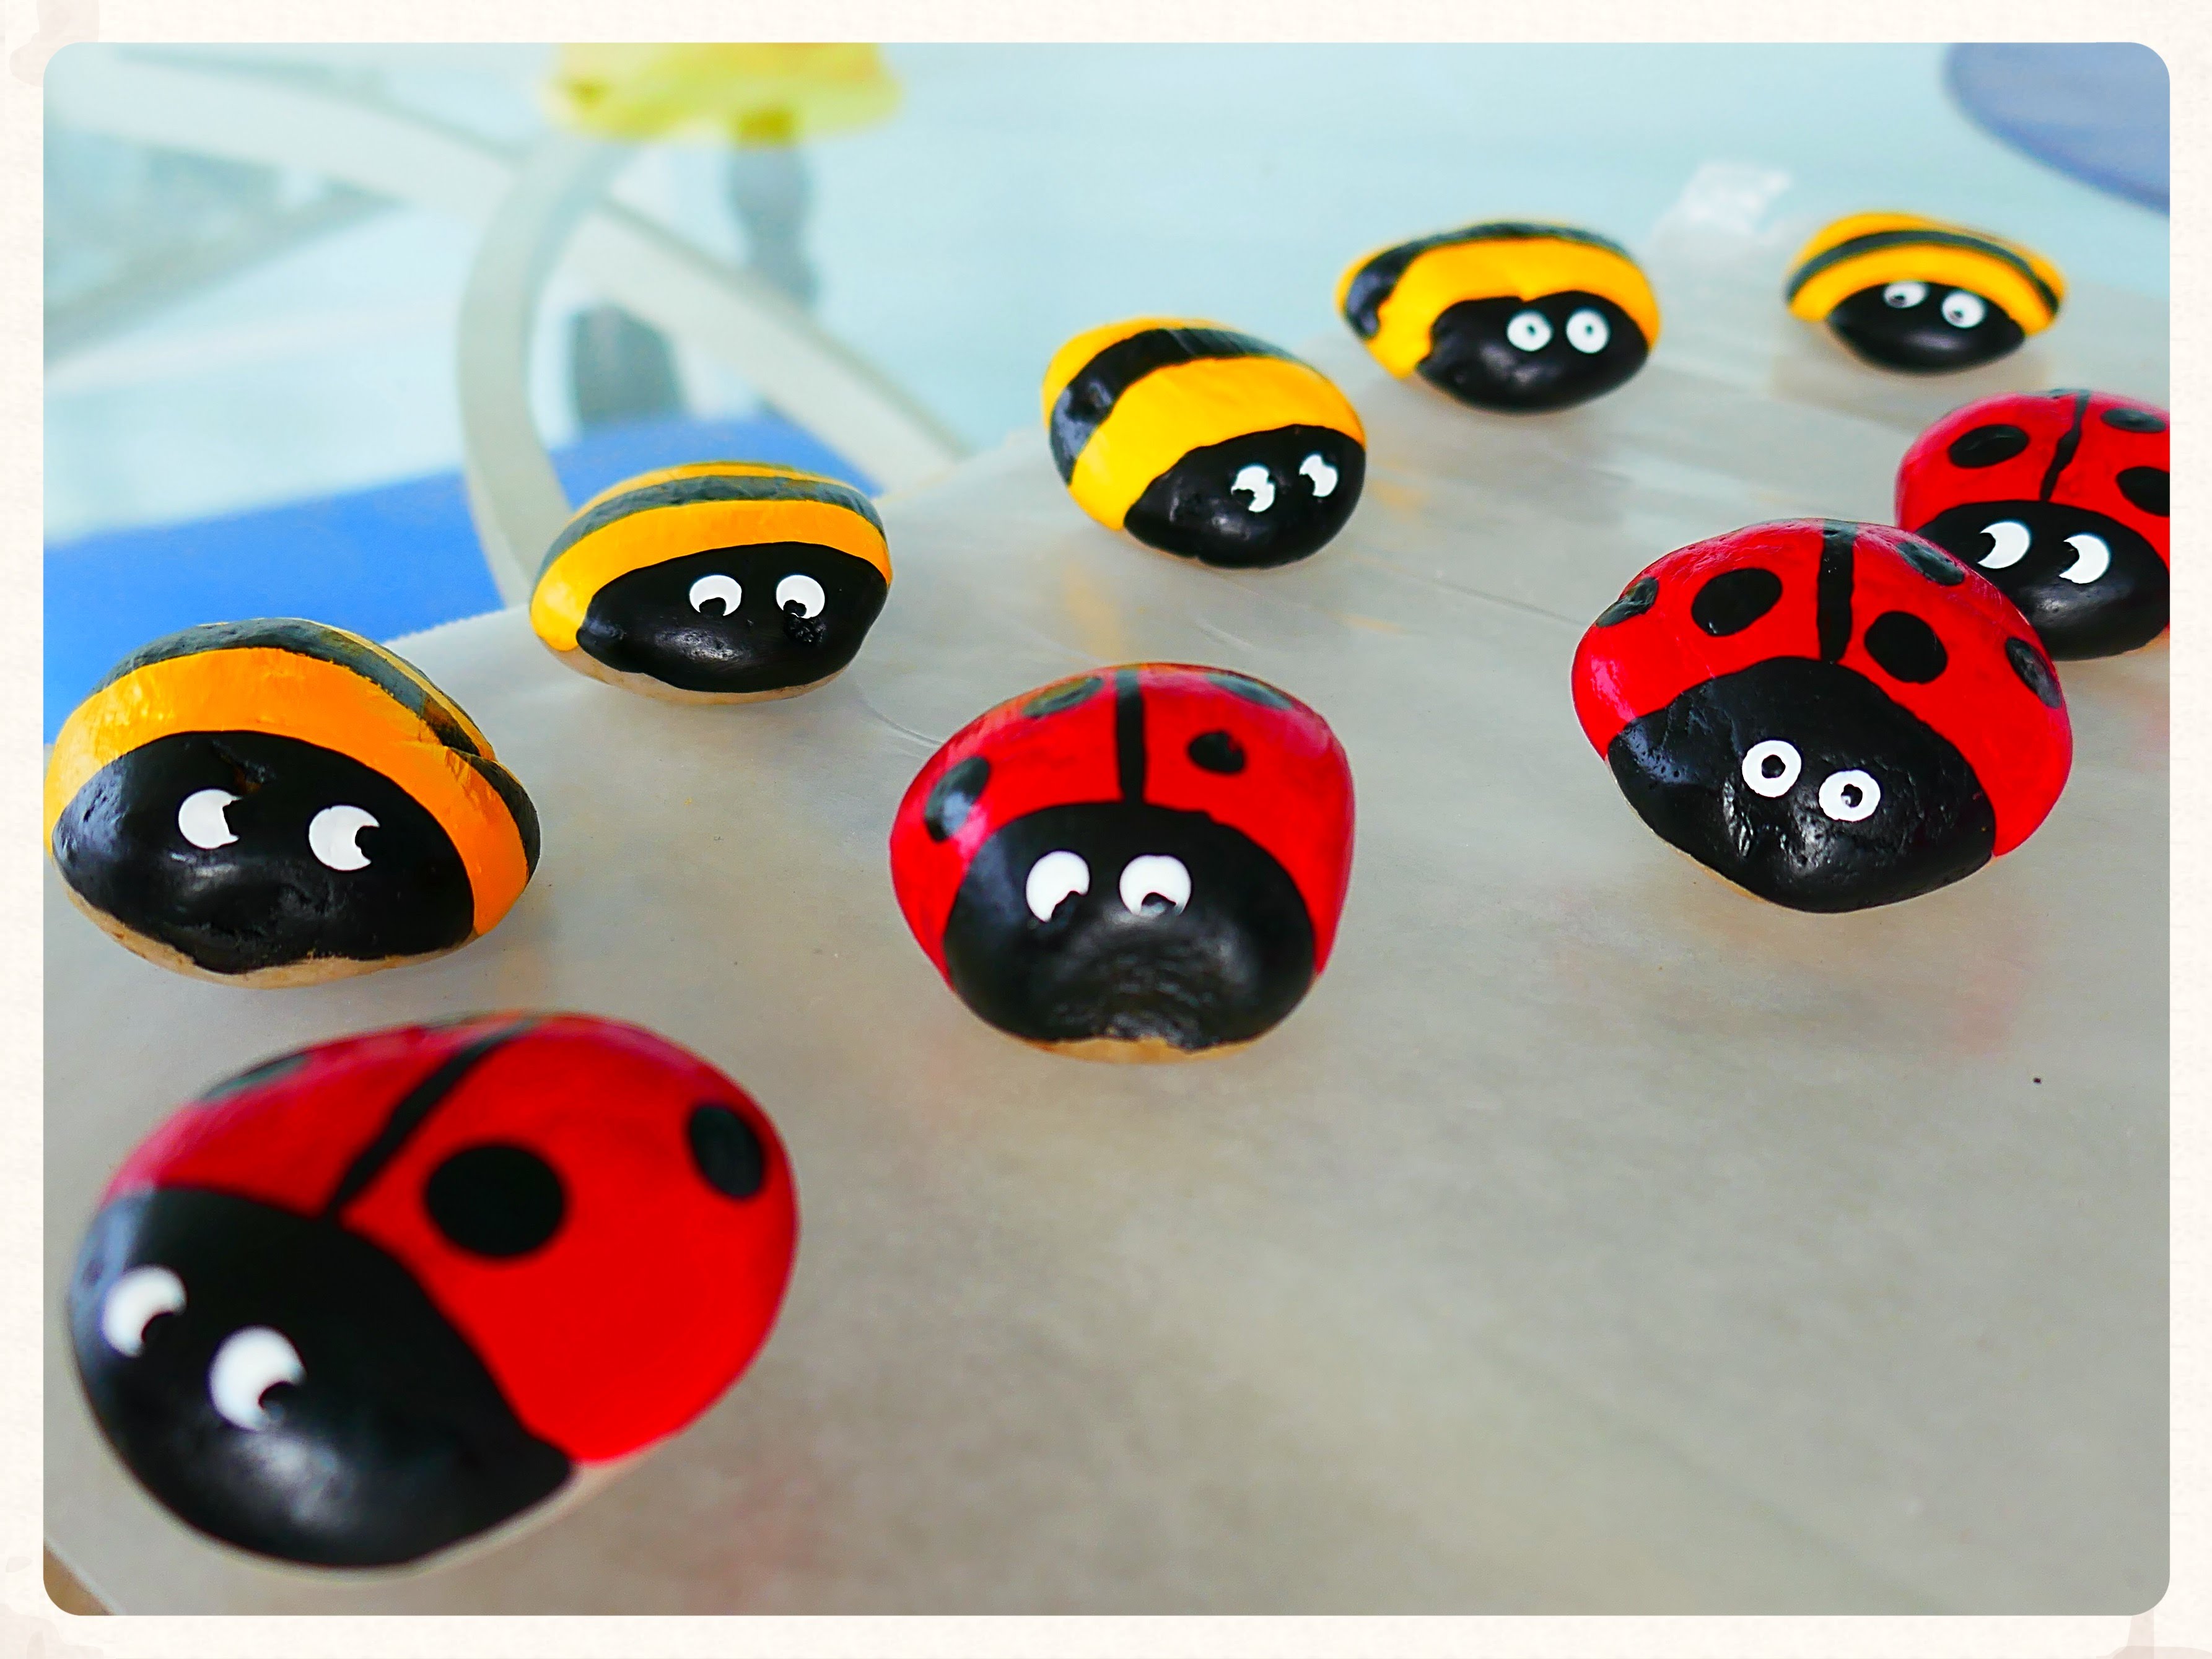
Once the black is dry, use the end of the brush handle dipped into white outdoor paint and dab on for the eyes. I never used this technique before and it truly works! A pleasant surprise since painting circles evenly can be tough. Use the same method with a bigger brush for the ladybug spots.
To make little black eyeballs, use the very tip of the angled brush from earlier in a small circular motion if you don’t have have a brush end that tiny. Every ladybug and bumble bee has a different look that gives them fun personality. The bugs looking excited or worried or surprised really makes the kids laugh! The bumble bees didn’t look quite finished still, so I gave them a little antennae detail. Wings would be a fun detail, but again, I’m no artist so little antennae did it for my bumble bees.
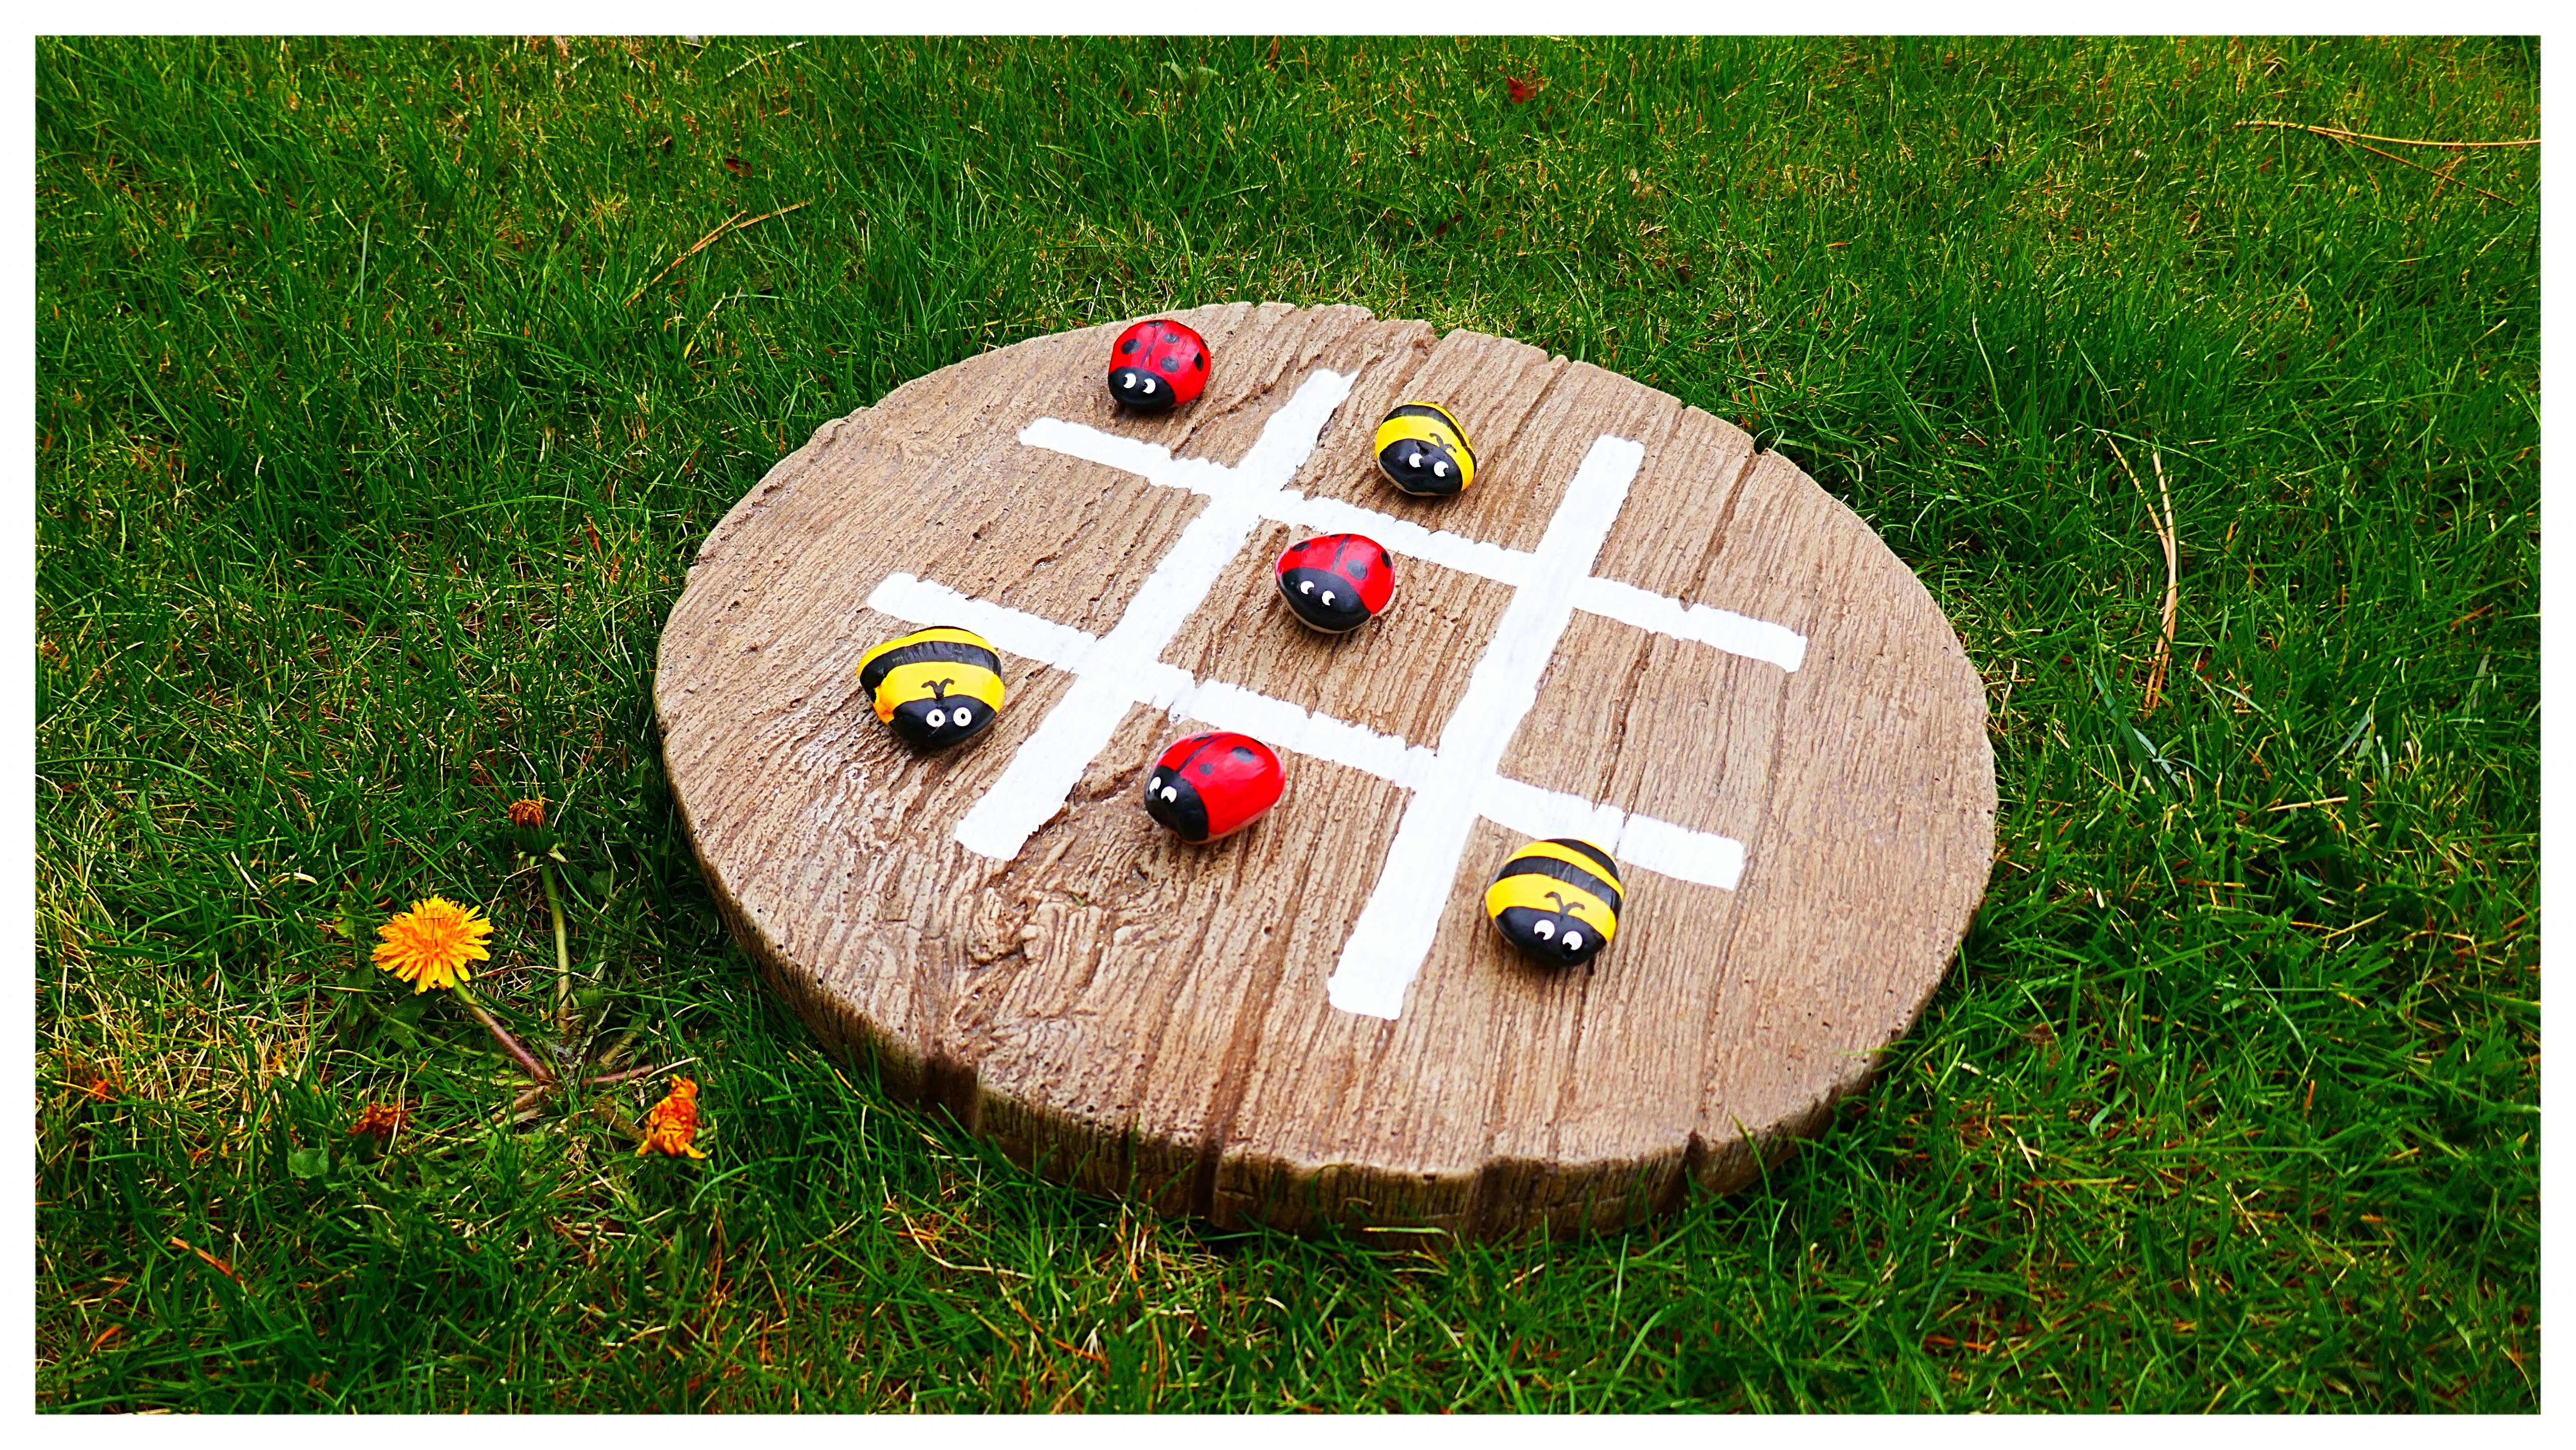
Ta da! Once the bugs are complete, paint with a clear glaze all over. This makes them all shiny and will hopefully protect the paint from chips or sun damage. Only thing left was to place our brand new backyard tic tac toe with painted stones in just the right spot and play! This feature blends in with the natural surroundings well, but stands out enough to be noticed and played with constantly. Even our preschooler is a tic tac toe gamer now. Ah, I love it.
If Backyard Tic Tac Toe with Painted Stones looks like a fun feature for you, try Homemade Hopscotch too. Permanent paver hopscotch is the true star of our yard. So far Backyard Tic Tac Toe is too. The kids’ friends love it so much it is actually under a tree in our front yard now. Where will you place yours?